


13
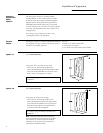
Procedure C (continued)
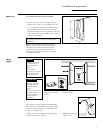
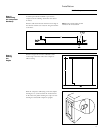
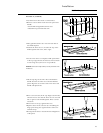
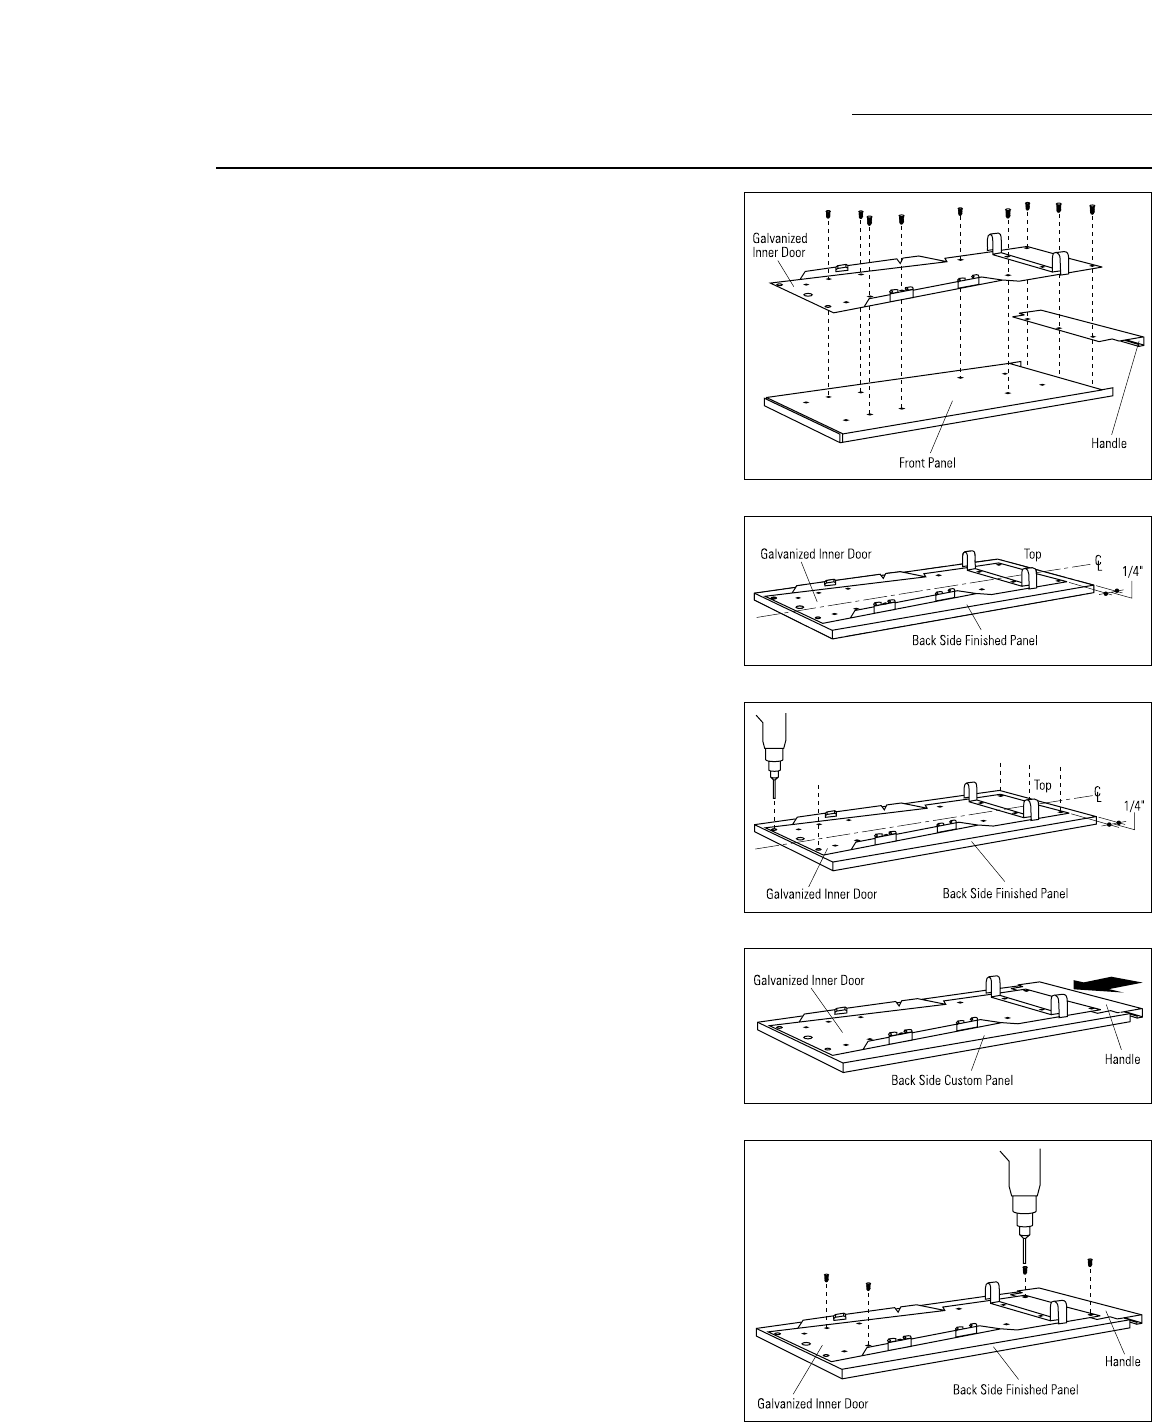
• Lay drawer front face down on a flat surface.
• Remove 9 screws which retain the front panel and
handle.
– Save handle and galvanized inner door.
– Discard front panel with side trim.
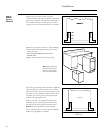
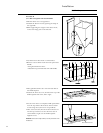
• Place galvanized inner door onto the back side of
the finished panel.
• Position the inner door 1/4" below the top of the
finished panel and center, left to right.
• Use the inner door as a template. Drill 3 pilot holes
in the top edge and 2 at the bottom, sized to match
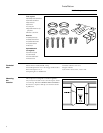
screws being used. (Screws are not provided)
Caution: Select screw length carefully to avoid penetration of the
finished side.
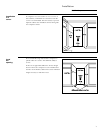
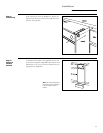
• Lift the top edge of the inner door and slide the
handle between the inner door and the finished
panel. Align the screw holes of the inner door and
handle with pilot holes.
• Drive 2 screws loosely in the top. Align bottom holes,
and check to be sure that the inner door is centered
left to right over the finished panel. Drive 2 screws
at bottom.
• Drive last screw at top, tighten all screws.
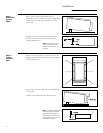
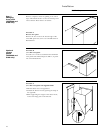
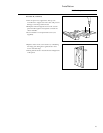
• Replace drawer front to drawer by re-installing the
hinge pins. Swing door against drawer and secure
with side clasp.
• Slowly push the drawer closed and check alignment
of the panel.
Installation
Built-In Compactors