32
SERVICING
To remove the cooker burner, the boiler burner needs to be
removed first following the section on boiler burner removal
a) Remove the lower panel as detailed above.
b) Remove the boiler burner as detailed previously.
c) Disconnect the cooker burner 6 way plug, the ignition lead, and
the ionisation lead from the control box.
d) The burner is connected to the gas supply pipe via a union with
a sealing washer which needs to be undone, retain the sealing
washer, replace if necessary. See diagram 3.
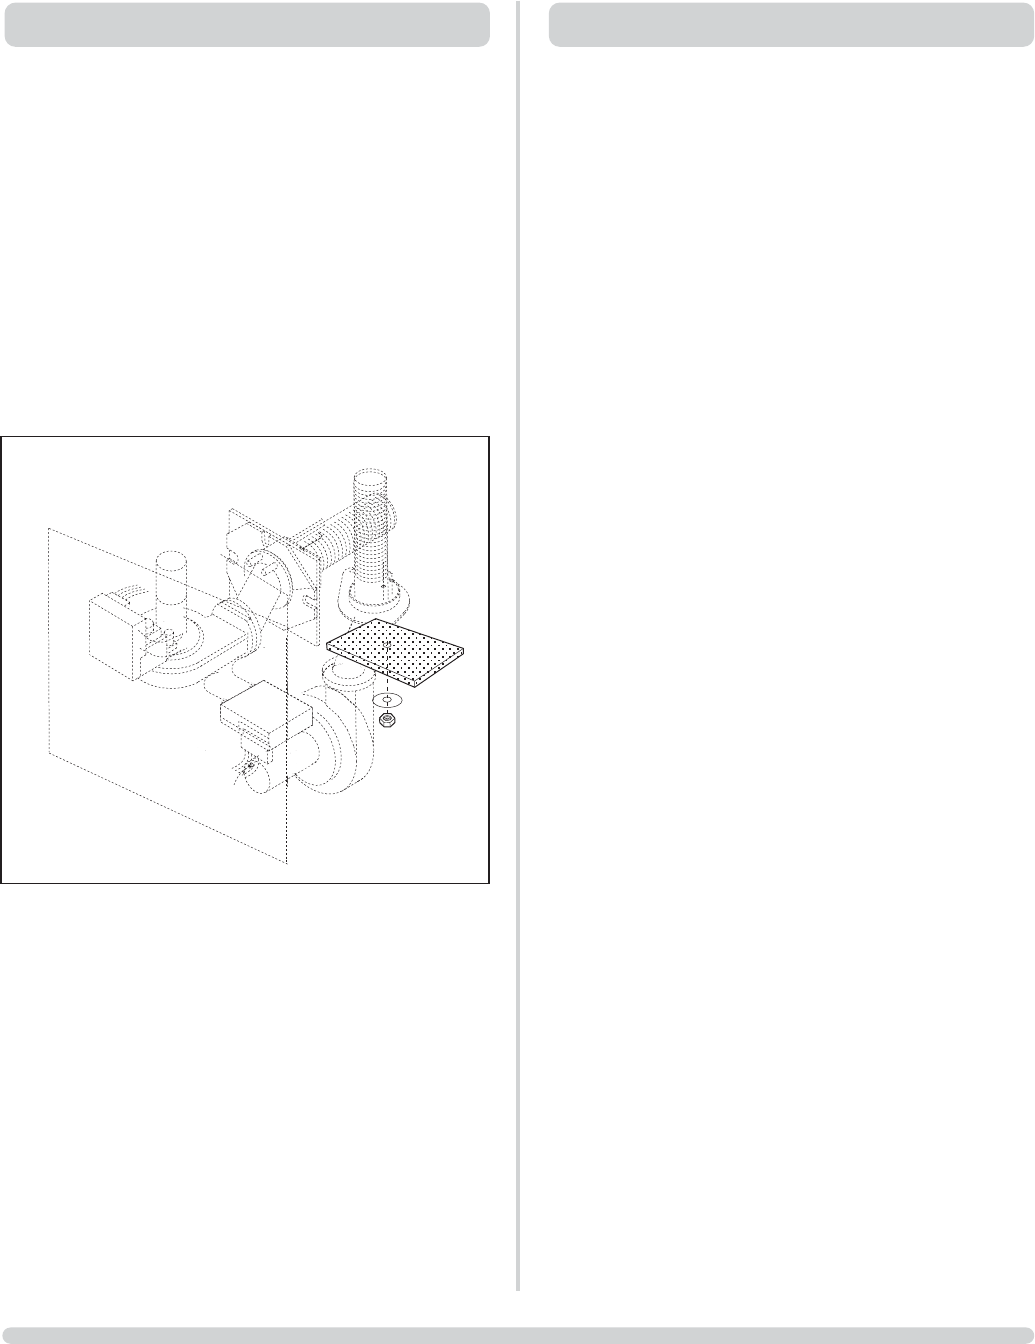
e) Remove the Front Insulation piece from the underside of the
cooker combustion chamber, undo the nut an mudguard
washer. See diagram 4.
f) Access to the securing nuts will then be possible. The cooker
burner is fixed to the cooker by a bayonet type flange. Undo the
two flange nuts (13mm) and whilst supporting the burner rotate
the burner clockwise. Gently lower the burner and then out of
the chamber.
g) Remove the ignition control box by unscrewing the single
retaining screw and fit to the new burner assembly, refit both
ignition & ionisation probe leads.
h) Fit the new burner ensuring it is the direct replacement and
reassemble in reverse order.
Ignition Electrode Removal
a) Remove the burners as described in the previous sections.
b) Disconnect the HT leads from the ignition control box and
electrode (push fit). Remove the single retaining screws and
remove the electrode.
c) Fit replacement and check electrode to burner head gap is in
accordance with specification (See Fig. 7)
d) Refit in reverse order
Ionisation Electrode Removal
a) Remove the burners as described in the previous sections.
b) Disconnect the white lead from the ignition control box.
c) The lead is permanently attached to the electrode and is replaced
at the same time.
d) Undo the single retaining screw and carefully remove the
electrode Fit replacement and check electrode to burner gap is
in accordance with specification (See Fig. 7 )
e) Refit in reverse order.
3. COOKER BURNER 4. IGNITION & IONISATION ELECTRODES


