


,.
-
I
1
.-.—..——
..
k-j~
~
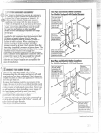
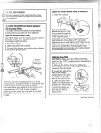
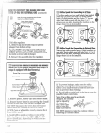
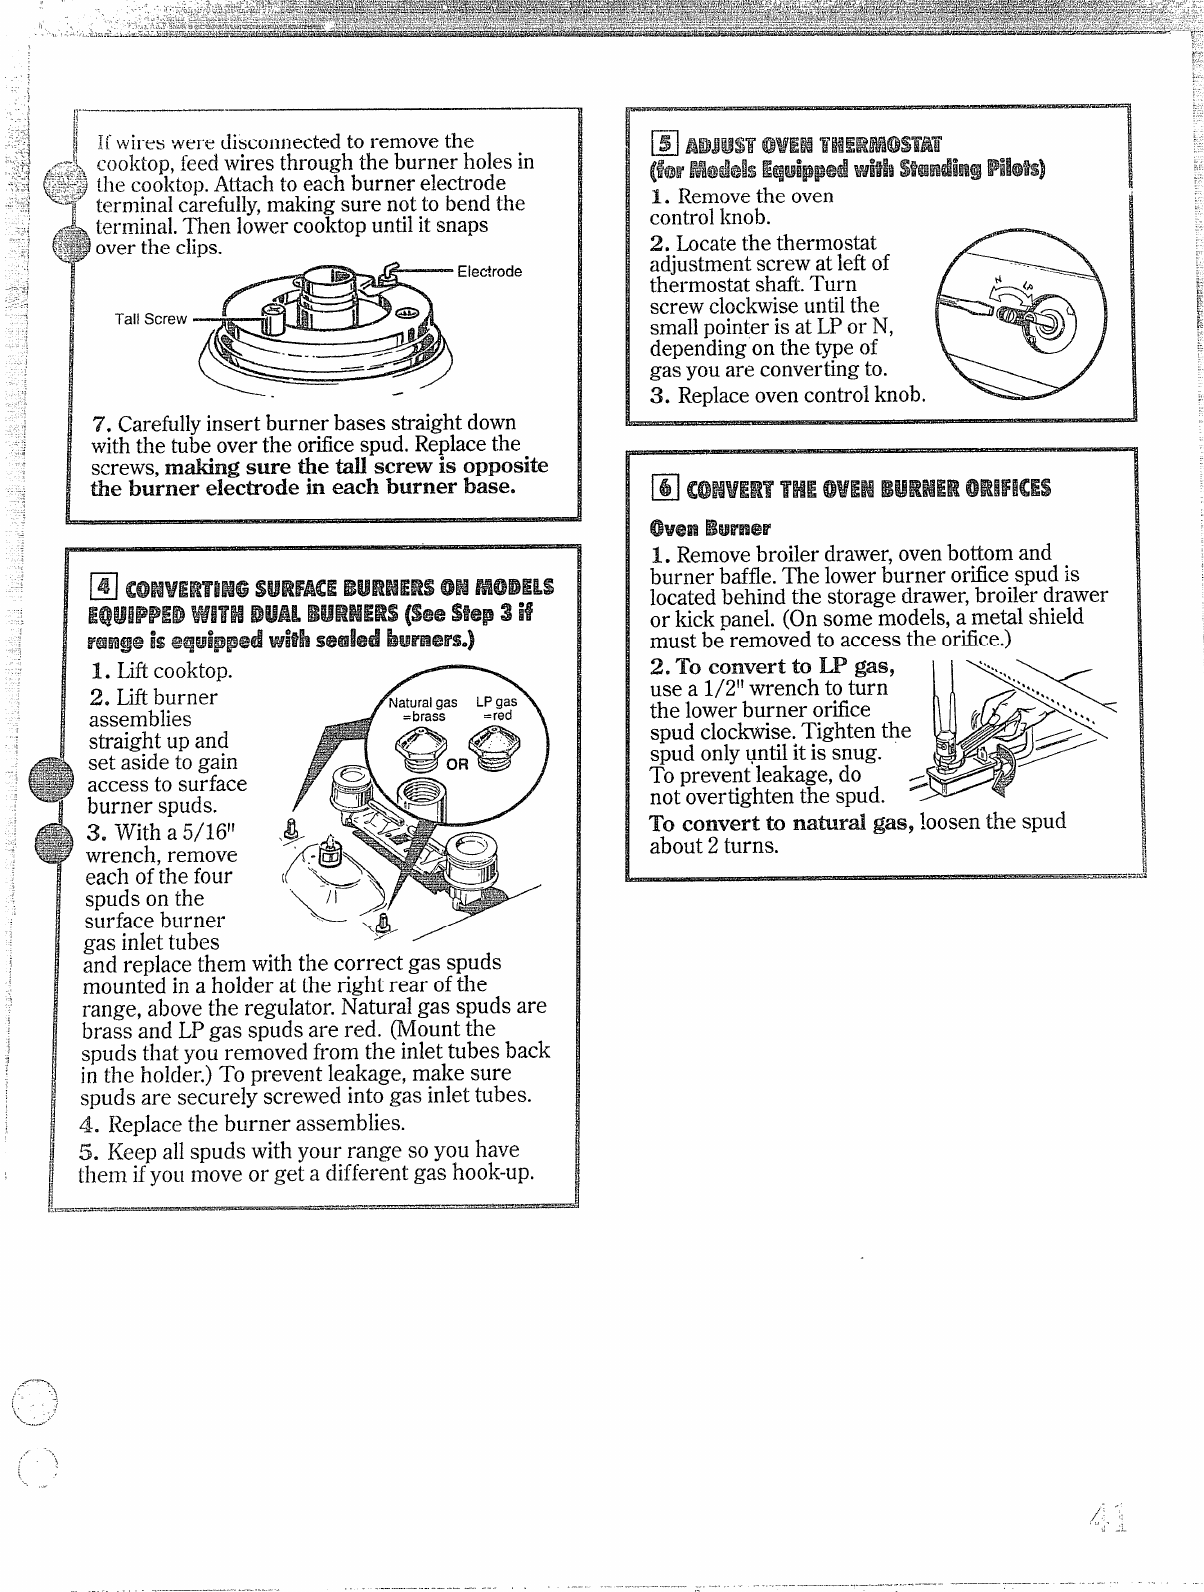
Ifwires were disconnected to remove the
‘.-
--’-L.cooktop, feed
wires through the burner holes in
,,~ ‘-..-,
.-.,
-‘ f~~~-:;)the cookIo~.Attach to each burner electrode
-.3
‘ terminal c~refully, making sure not to bend the
~terminal. Then lower cooktop until it snaps
$ over the clips.
.
Elec?rode
l-all Scre}v
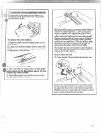
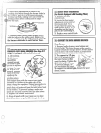
7. Carefullyinsert burner bases straight down
withthe tube overthe ortice spud. Replacethe
screws, mting SUretie ti~ screvviS opposite
be burner elechode h each burner basee
assemblies
straight up and
set aside to gain
access to surface
burner spuds.
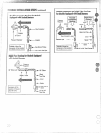
3. With a 5/1611 .
wrench, remove
each ofthe four
spuds on the
surface burner
gas inlet tubes
anclreplace them with the correct gas spuds
mounted in a holder at the right rear of the
range, above the regulator. Natural gas spuds are
brass and LPgas spuds are red. mount the
spuds that you removed from the inlet tubes back
illthe holder.) To prevent leakage, make sure
spuds are securely screwed into gas inlet tubes.
~. Replace the burner assemblies.
5. Keep all spuds with your range so you have
them ifyoLlmove or get a different gas hook-up.
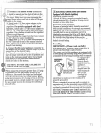
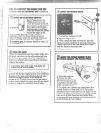
E Aa~usT@wEHTHERMOSTAT
[kr R%@d%l$EquippedWiflhSB%nwmgPi!@%)
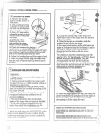
1. Removethe oven
controlknob.
2. Locatethe thermostat
adjustmentscrew atleft of
thermostat shaft.Turn
screw clockwiseuntilthe
smallpointer is at LPor N,
dependingon the type of
gas you are convertingto.
3. Replaceovencontrolknob.
-
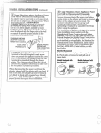
E COMVERTFHEOVEMBURNER@mHFBcEs
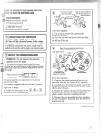
OwenBwrner
1. Removebroiler drawer,ovenbottom and
burner baffle.The lowerburner orificespud is
locatedbehind the storage drawer,broiler drawer
or kick panel. (On some models,a metal shield
must be removed to access the ortice.)
2. TOconvert to W gaS9
use a 1/2”wrench to turn
the lowerburner orifice
spud cloc~se. Tighten th
spud onlyuntilit is snug.
To prevent leakage, do
not overtighten the spud.
To convert to natird gas9 loosen the spud
about 2 turns.
.<->
..
j
~,,
-_,..
...’”’
,/;-,
. -L