


mEEWEL!HGFMEPaf#6E
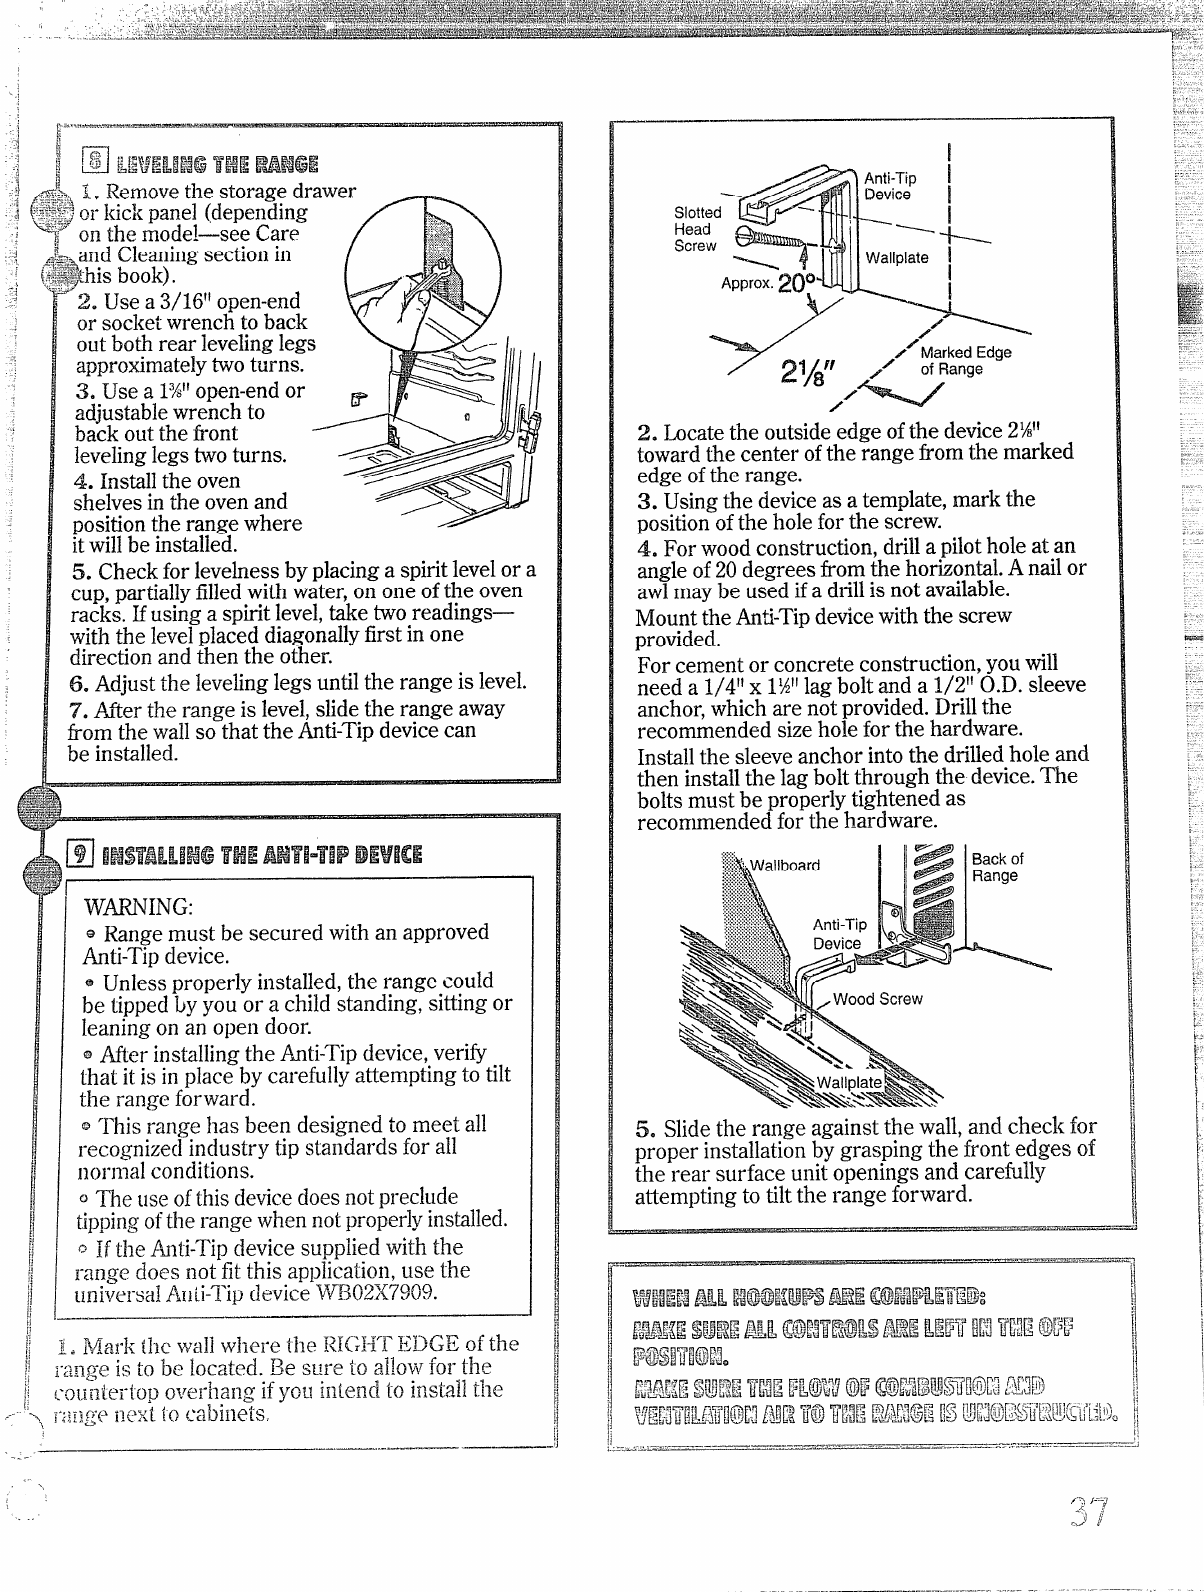
it willbe installed.
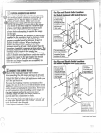
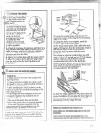
5. Check for levelnessby placinga spiritlevelor a
cup, partiallyfilledwith water,on one ofthe oven
racks. Ifusing a spiritlevel,take two readings—
with the levelplaced diagonallyfirst in one
direction and then the other.
6. Adjustthe Ievefinglegs untilthe range is level.
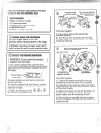
?. After the range is level,slide the range away
horn the wallso that the Anti-T~pdevicecan
be installed.
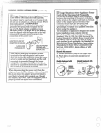
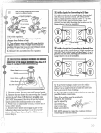
WNING:
~ Range
must be secured with an approved
Anti-Tipdevice.
= Unless properly installed,the range could
be tipped by you or a child standing, sitting or
leaning on an open door.
QAfter installingthe Anti-Tipdevice,verify
that it is i~~place by carefuily attempting to tilt
the range forward.
~ This range has been designed to meet all
recognized industry tip standards for all
norma~conditions.
QThe use ofthis devicedoes notpreclude
t~P13i11gOfthe
range when not pro~erlyinstalled.
~ If the Anti-Tipdevice supplied with the
range does not fit this applicatio~l,use the
unit~ersalAnti-Tipdevice W~02i$7909.
s
H
‘s
I
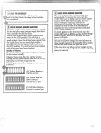
Anti-Tip
1
Device
1
Wallplate I
!
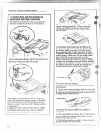
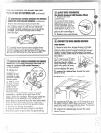
2. Locate the outsideedge ofthe device2%’1
toward the center ofthe range from the marked
edge ofthe range.
S.-Usingthe deviceas a template,mark the
positionofthe holefor the screw.
4. For woodconstruction, drilla pilothole at an
angle of20degrees from the horizontal.A nailor
awlmay be used ifa drillis not available.
Mountthe Anti-Tipdevicewiththe screw
provided.
For cement or concrete construction, you will
need a l/41t x 1%1’lag bolt and a 1/21’O.D. sleeve
anchor, which are not provided. Drill the
recommended size hole for the hardware.
Installthe sleeveanchor into the drilledhole md
then installthe lagbolt through the device.The
bolts must be properlytightened as
recommended for the hardware.
5. Slidethe range against the wall,and check for
proper installationby grasping the front edges of
the rear surface unit openings and carefully
attempting to tilt the range forward.
—
.-
.,
— .....--“.---—
--