


Rev. 0010
11
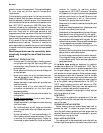
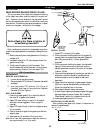
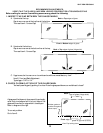
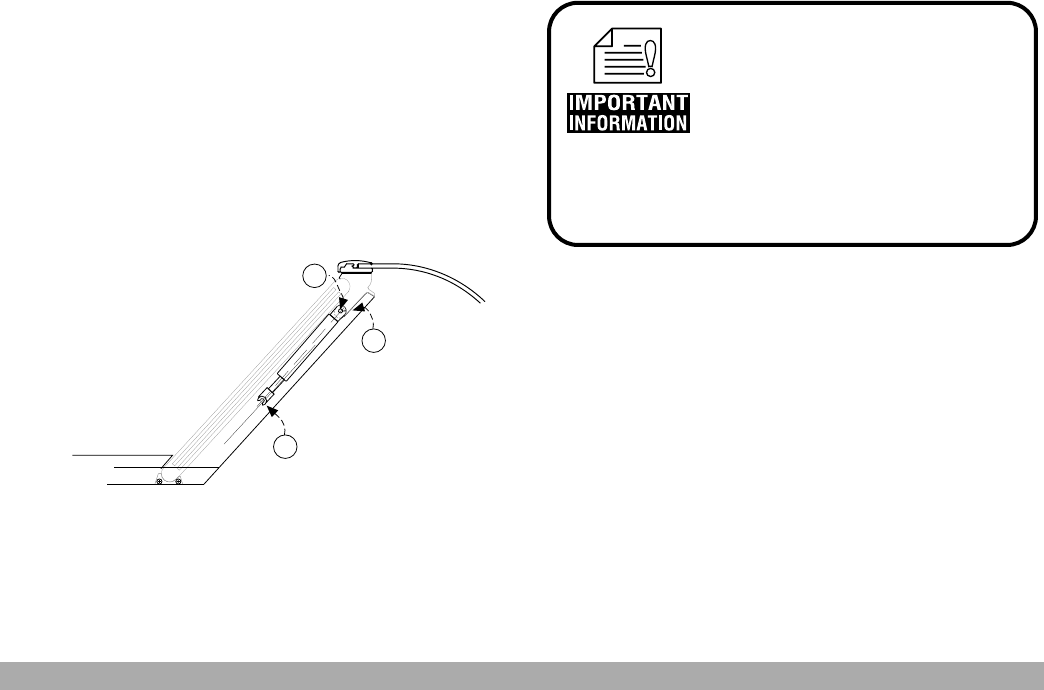
PISTON REPLACEMENT
1. OPEN GLASS. Glass must remain open throughout
procedure.
2. Loosen Allen set Screw (1).
3. While holding onto piston, remove and save pin (2).
4. Slide piston out.
5. Slide new piston in making sure the U-shaped end fits
around pin at bottom of arm (3).
6. Line up upper pin with arm, arm with strut, and
replace pin.
7. Replace Allen set screw.*
A
R
M
2
1
3
REAR OF CASE
P
I
S
T
O
N
*After installing either piston, prime them as outlined in
the "Read
Before Raising Glass" warning found in the "Installation
Instructions" section of this booklet.
ESHS Straight Glass
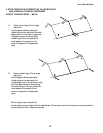
screw allows realignment of glass angle and position
front to back.
4. Raise glass and loosen hex screw. (See item/diagram
#6 on page 13.)
5. Shim to adjust until level using shims available from
Hussmann Chino (16 or 20 gauge stainless steel).
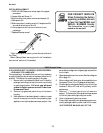
6. Check angle by using level placed on top of mini top
hardware. Note: a 6" level will fit perfectly within
access area.
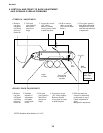
7. Remove 1
1
/
4
" chrome cap at front of case arm
support. The removal of this cap allows finger access
to hold nut plate while tightening hex screw.
8. Hold nut plate and tighten hex screw.
9. If there is still a problem with glass staying open over-
level by adding an addition shim under front of case.
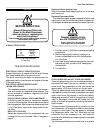
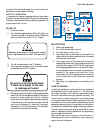
NOTE: BEFORE MAKING ANY OF THE
FOR PROMPT SERVICE
When Contacting the Factory
regarding problems, Be sure
to have the Case MODEL and
SERIAL NUMBER Handy.
This Information is on a plate
located on the case itself.
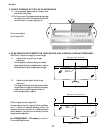
IF GLASS DOES NOT CLOSE/STAY OPEN PROPERLY-
LEVEL MINI TOP HARDWARE
During shipping, it is possible that the mini top hardware
housing the pistons and armature has been jostled out of
position. This affects the opening angle of the glass.
1. Be sure mini top hardware is level front to back by
placing a level along the top of the mini top housing
at each hinge location. If it is not, you will need
a shim kit before you can correct. Order from
Hussmann Chino.
2. Remove top glass and panel at top of hardware
housing.
3. Mark position of hardware (glass) in relation to case
before loosening hex screw using masking tape
applied on mini top hardware and case, and pen. Hex