


6 7
The LCD Screen shows firstly a setting (1-11) and crust colour (light, medium
or dark) selected, then automatically changes to show the total time for the
setting. When the START/STOP button is pressed to commence operation, the
time displayed (in hours and minutes) is the time remaining until the selected
setting is completed.
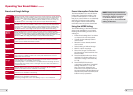
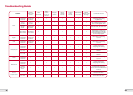
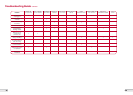
Press this button to select one of the 11 automatic settings available. These
settings are listed on page 8 under “Bread, Loaf and Dough Settings”. Each
time the menu button is pressed, the setting is changed and the number
of the Preset Setting will be displayed on the LCD screen along with the
corresponding time to complete the setting.
Press the CRUST button to select the 3 crust colours available for the bread
settings only. The colour selected is indicated on the LCD Screen with a ‘-‘ over
the crust colour.
LIGHT crust colour
MEDIUM crust colour
DARK crust colour
Rapid – This is not a colour setting but a rapid version of the Preset Setting. This is
only available for Preset Settings 1-3.
Please note the colon [ : ] will begin to flash to indicate that the Setting has
commenced.
The Bread Maker features a combined START/STOP button. To START: Press the
START/STOP button to commence the selected program. To STOP: To stop and
cancel the program in mid-cycle the START/STOP button must be pressed down
and held for approx. 2 seconds until the beep sounds and the LCD Screen
is reset. DO NOT PRESS THE START/STOP BUTTON when checking the bread as
this will cancel the program. The machine will not continue to operate in the
selected program.
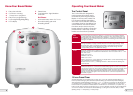
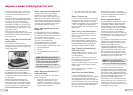
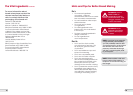
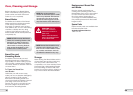
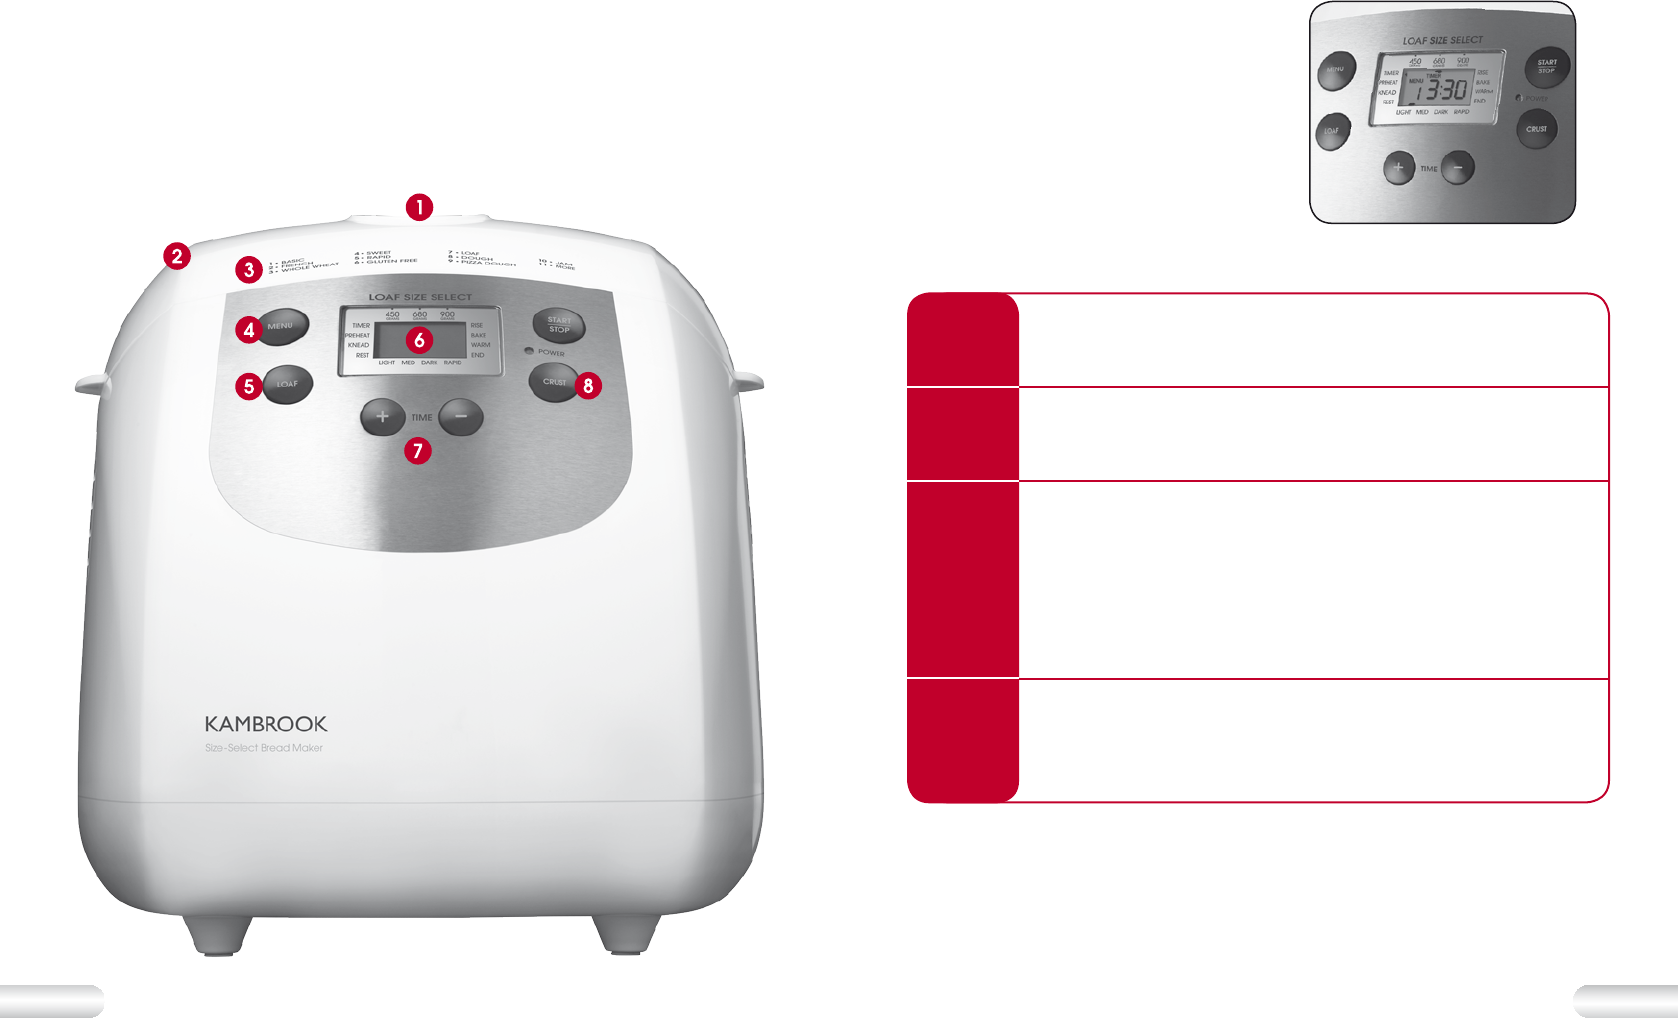
Know Your Bread Maker
1. Easy view window
2. Cool touch housing
3. 11 easy touch programs
4. Easy touch programming
5. Loaf weight 450g/680g/900g
6. LCD display
7. Preset timer
8. Crust selection: Light, Medium
and Dark
Not Shown
• Automatic keep warm for 1 hour
• Non-stick baking pan and
kneading blade
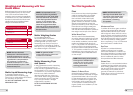
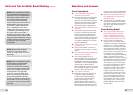
Operating Your Bread Maker
The Control Panel
The Control Panel is designed to
perform several functions and is
activated by switching the Bread
Maker on at the power outlet. The
LCD Screen indicates the setting
and crust colour selection then the
completion time for the setting. The
various buttons are used to set the
functions and to start or stop the
bread maker. The buttons should be
pressed firmly. A soft beep sound is
made as each button is pressed.
Fig. 1
LCD
Screen
Menu
Crust
Start/Stop
15 hour Preset Timer
The Bread Maker has a preset timer control up to 15 hours on Basic (Preset Setting 1),
French (Preset Setting 2), Whole Wheat (Preset Setting 3) and Sweet (Preset Setting 4).
After selecting a Preset Setting press the [ + ] or [ – ] buttons to increase or decrease the
countdown time. For example if you press the [ – ] button it will indicate 15 hours, each
time the button is pressed it will decrease in increments of 10 minutes. If you press the [ + ]
button it will add 10 minute increments up to 15 hours. Please not that the Time displayed
on the LCD screen will include the Preset Setting Cooking time and the delay i.e 4:00
(Setting Time) + 11:00 (Delay) = 15:00 (total).