


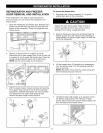
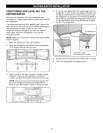
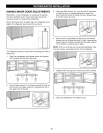
To remove the refrigerator door:
Support the door during upper hinge removal to
prevent possible personal injury and/or product
damage from a falling, unsupported door.
8. Remove the ground screw (12) and disconnect the
refrigerator ground wire (21). Remove the remaining 3
hinge screws (14) and the upper hinge (22) from the
top of the refrigerator.
J
9. Lift the refrigerator door (23) straight up to disengage
it from the bottom hinge (24) and carefully place the
door to one side.
NOTE: Keep track of all loose parts to prevent
misplacing or losing them during disassembly.
10. Lift bottom hinge (24) straight up to separate it from
the bottom hinge bracket (25).
J
11. Reattach the refrigerator and freezer doors by
reversing the order of the steps 10 to 3.
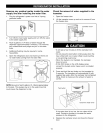
Reattaching the water supply lines:
.
The water supply line
must be fully inserted to
the marked line to
prevent water leakage
from the dispenser.
NOTE: The water supply
lines are color-coordinated,
so the line color should
always match. One
supplies the icemaker
and the other supplies the
water dispenser.
2. Insert the 2 clips and check that each clip holds the
line firmly.
3. Install the front leg cover (2) and secure with 3 screws.
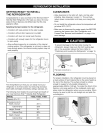
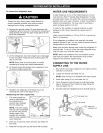
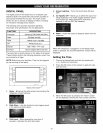
WATER LINE REQUIREMENTS
A water dispenser is one of the helpful features on your
new Kenmore Elite TM Side-By-Side Refrigerator. To help
promote better health, the water filter removes unwanted
particles from your water. However, it does not sterilize or
destroy microorganisms. You may need to purchase a
water purifying system to do that.
In order for the icemaker to operate properly, a water
pressure of 20~125 psi (pounds per square inch) is
required.
Under normal conditions, a 170-cc (5.75-oz.) cup can be
filled in 10 seconds.
If the refrigerator is installed in an area with low water
pressure (below 20 psi), you can install a booster pump to
compensate for the low pressure.
Make sure the water storage tank inside the refrigerator is
properly filled. To do this, press the water dispenser lever
until the water runs from the water outlet.
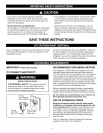
NOTE: Water line installation kits are available at extra
cost from your dealer. We recommend using a water
supply kit that contains copper tubing.
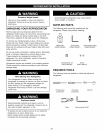
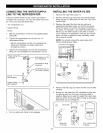
CONNECTING TO THE WATER
SUPPLY LINE
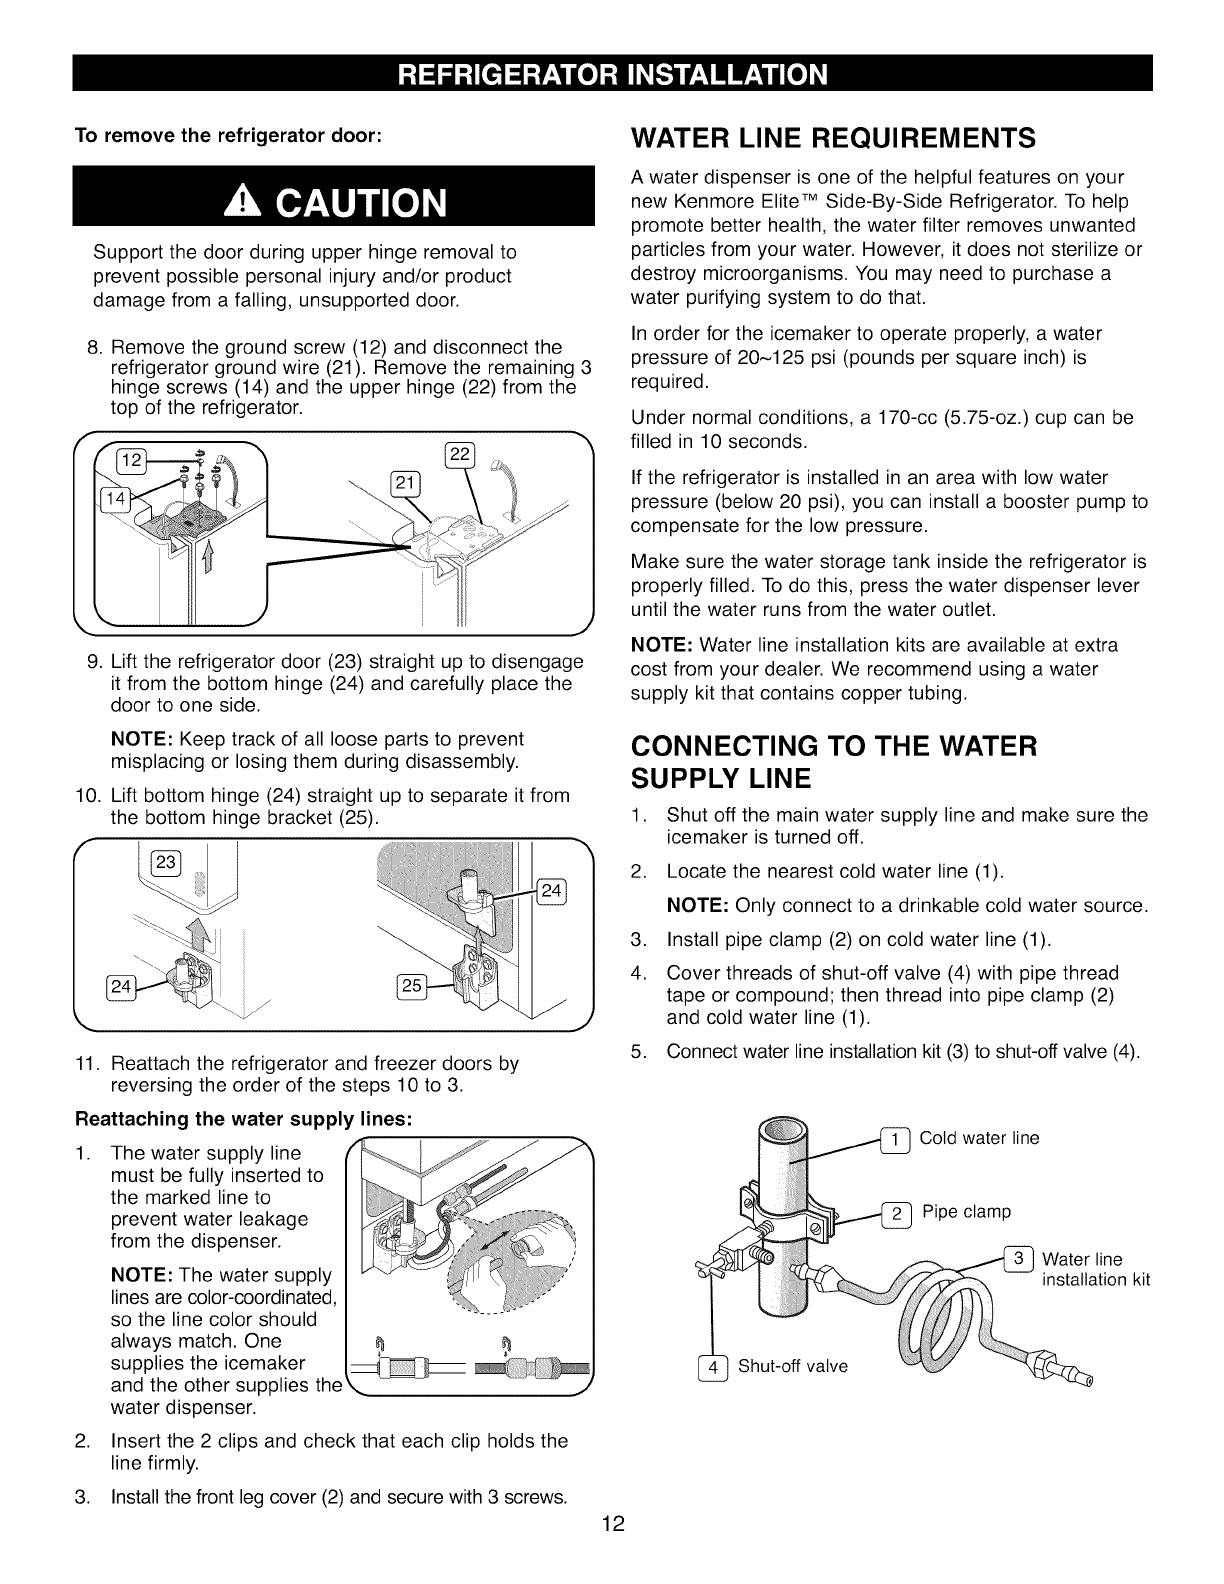
1. Shut off the main water supply line and make sure the
icemaker is turned off.
2. Locate the nearest cold water line (1).
NOTE: Only connect to a drinkable cold water source.
3. Install pipe clamp (2) on cold water line (1).
4. Cover threads of shut-off valve (4) with pipe thread
tape or compound; then thread into pipe clamp (2)
and cold water line (1).
5. Connect water line installation kit (3) to shut-off valve (4).
_Sh_ ut-off valve
Cold water line
Pipe clamp
_ Water line
tion kit
12