


Operating the SeffoC eanJng Oven coot nued
How to Denay Stari of Cleaning
Delay Start is setting the oven timer to start the clean
cycle automatically at a later time than the present time
of day NOTE: Before beginning, make sure the oven
clock shows the correct time of day (See page 19 )
Quick Reminde
1. Prepare oven for cleaning
2. Touch CLEAN pad
3, -{ouch INCREASE pad
4. Touch STOP TIME pad
Time that appears is 4 hours later than the time of
day Press increase pad until the Stop Time you
desire appears in the display The self-clean cycle
will automatically begin 4 hours before the Stop
Time you select°
Here's an example: Let's say it's 7:00 and you want
the oven to begin self-cleaning at 8:00 after you're fin-
ished in the kitchen The oven is heavily soiled so the
normal Clean Time of 4 hours is preferred
Step 1: Follow steps on page 29 ("Before a Clean
Cycle") to prepare the oven for cleaning.
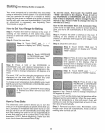
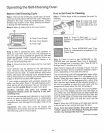
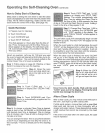
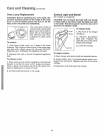
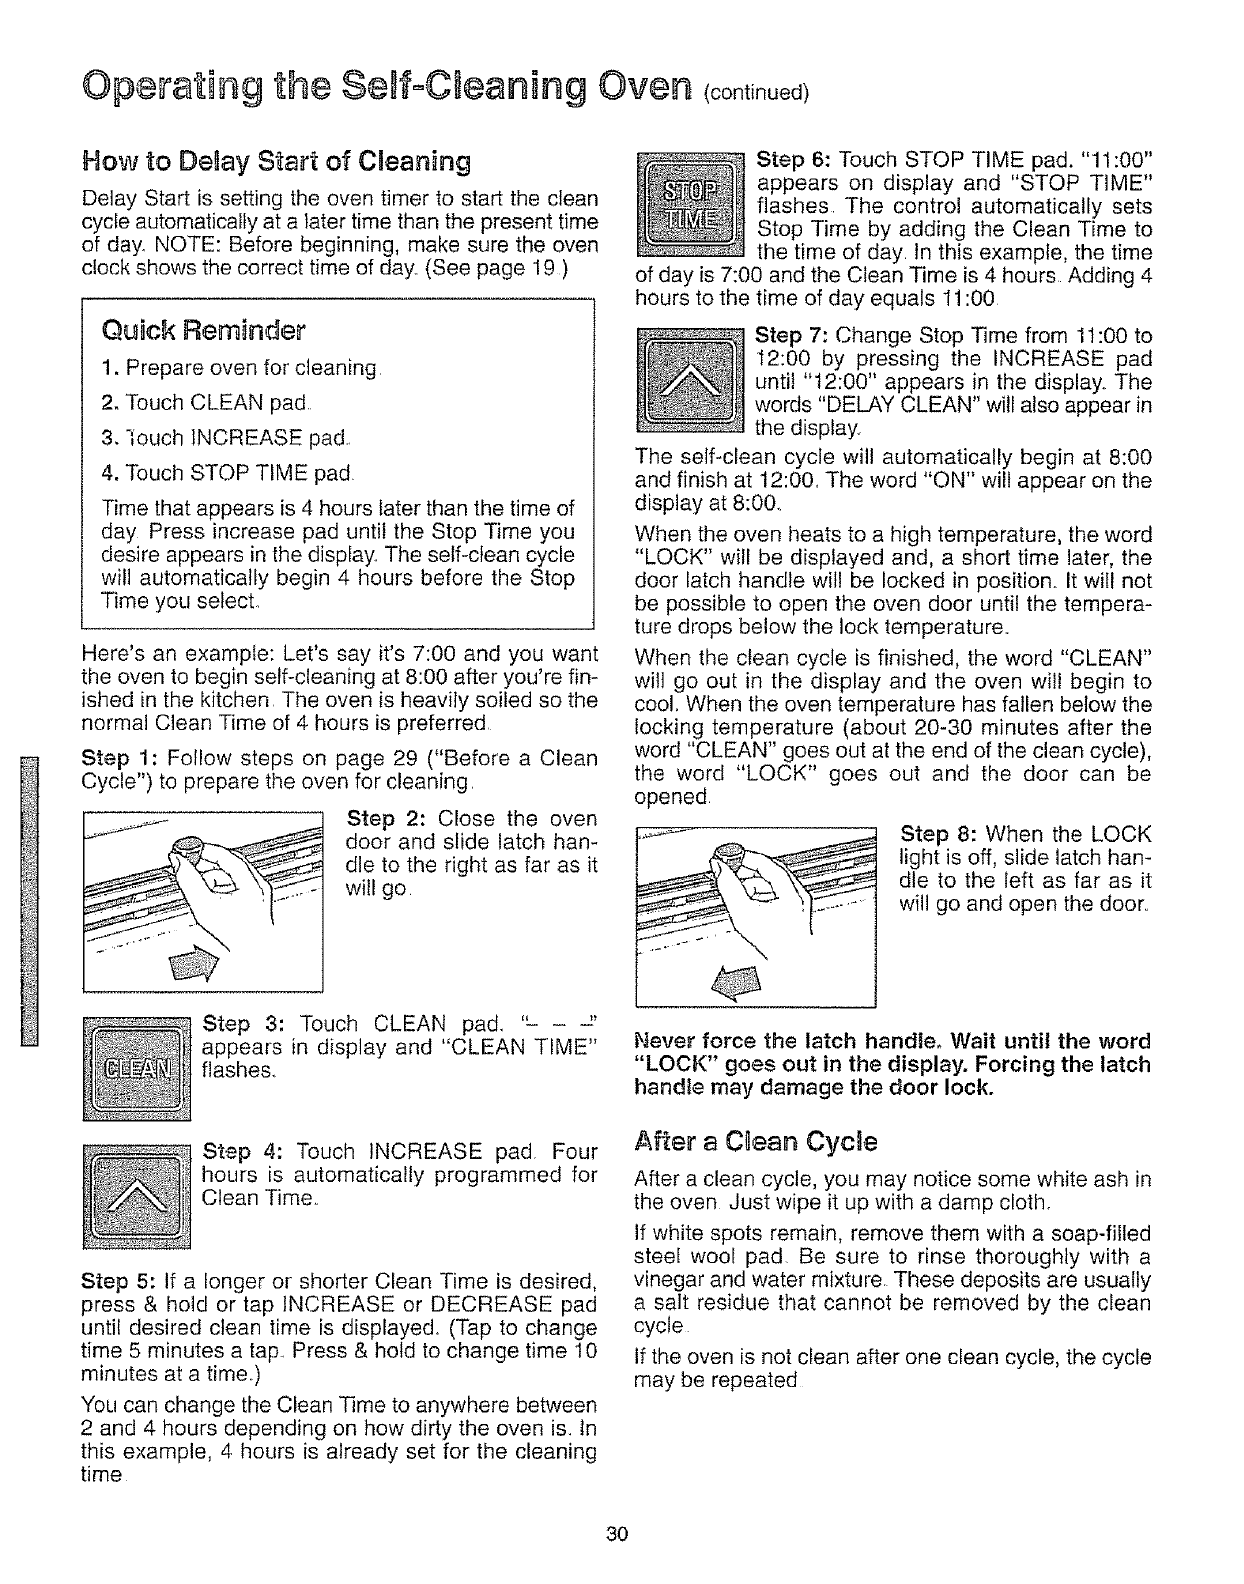
Step 2: Close the oven
door and slide latch han-
dle to the right as far as it
will go
Step 6: Touch STOP TIME pad. "11:00"
appears on display and "STOP TIME"
flashes The control automatically sets
Stop Time by adding the Clean Time to
the time of day In this example, the time
of day is 7:00 and the Clean Time is 4 hours Adding 4
hours to the time of day equals 1! :00
Step 7: Change Stop Time from 11:00 to
12:00 by pressing the INCREASE pad
until "t2:00" appears in the display.. The
words "DELAY CLEAN" will also appear in
the display..
The self-clean cycle will automatically begin at 8:00
and finish at 12:00. The word "ON" will appear on the
display at 8:00..
When the oven heats to a high temperature, the word
"LOCK" will be displayed and, a short time later, the
door latch handle will be locked in position.. It will not
be possible to open the oven door until the tempera-
ture drops below the lock temperature..
When the clean cycle is finished, the word "CLEAN"
wilt go out in the display and the oven wil! begin to
cool. When the oven temperature has fallen below the
locking temperature (about 20-30 minutes after the
word "CLEAN" goes out at the end of the clean cycle),
the word "LOCK" goes out and the door can be
opened
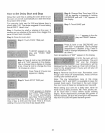
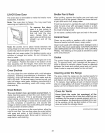
Step 8: When the LOCK
light is off, slide latch han-
dle to the left as far as it
will go and open the door..
Step 3: Touch CLEAN pad_ " "
appears in display and "CLEAN TIME"
flashes..
Step 4: Touch INCREASE pad Four
hours is automatically programmed for
Clean Time..
Step 5: If a longer or shorter Clean Time is desired,
press & hold or tap INCREASE or DECREASE pad
until desired clean time is displayed° (Tap to change
time 5 minutes a tap. Press & hold to change time 10
minutes at a time.)
You can change the Clean Time to anywhere between
2 and 4 hours depending on how dirty the oven is. In
this example, 4 hours is already set for the cleaning
time
Never force the latch handle° Wait until the word
"LOCK" goes out in the display. Forcing the latch
handle may damage the door lock.
Afte a CQean Cycae
After a clean cycle, you may notice some white ash in
the oven Just wipe it up with a damp cloth.
if white spots remain, remove them with a soap-filled
steel wool pad. Be sure to rinse thoroughly with a
vinegar and water mixture. These deposits are usually
a salt residue that cannot be removed by the clean
cycle
if the oven is not clean after one clean cycle, the cycle
may be repeated
3O