


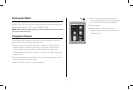
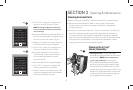
De-Scaling Instructions
A. PREPARE
Step 1: Make sure you have at least 90 oz. of undiluted white vinegar
on hand. You will also need an empty sink and a large ceramic mug
(do not use a paper cup).
Step 2: Empty the water in the Water Reservoir.
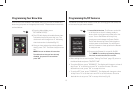
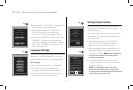
Step 3: Disable “Auto Off” and programmed “On Off” time (pages 13-14).
B. FILL AND CLEAN
Step 1: Pour the vinegar into the Water Reservoir to fill it.
Step 2: Place a large mug on the Drip Tray Plate and run a water brew cycle.
DO NOT USE A K-CUP, just select the Large Mug brew size. Pour the
contents of the large mug into the sink.
Step 3: Repeat the brew process 3 times.
Step 4: Let the Brewer stand for at least 4 hours while still on.
C. RINSE
Step 1: Ensure the Water Reservoir is filled with fresh water.
Step 2: Place a large mug on the Drip Tray Plate and run a water brew cycle.
Pour the contents of the large mug into the sink.
Step 3: Repeat brew process until the Water Reservoir is empty.
Step 4: You may need to perform additional water brew cycles if you notice
any residual taste or odor.
Service
Beyond these recommended cleaning and maintenance procedures this Brewer is
not user serviceable. For service, please refer to the Warranty section of this guide.
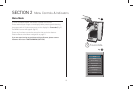
Storage
Draining the Brewer
1. Turn off the brewer, unplug it, and allow the brewer to cool approximately
30 minutes.
2. Empty the Water Reservoir by first removing the Lid from the Water
Reservoir then lifting the Water Reservoir straight up and toward the right
of the brewer (may be tight). Rinse and Empty the Water Reservoir.
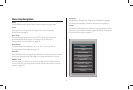
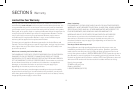
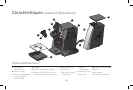
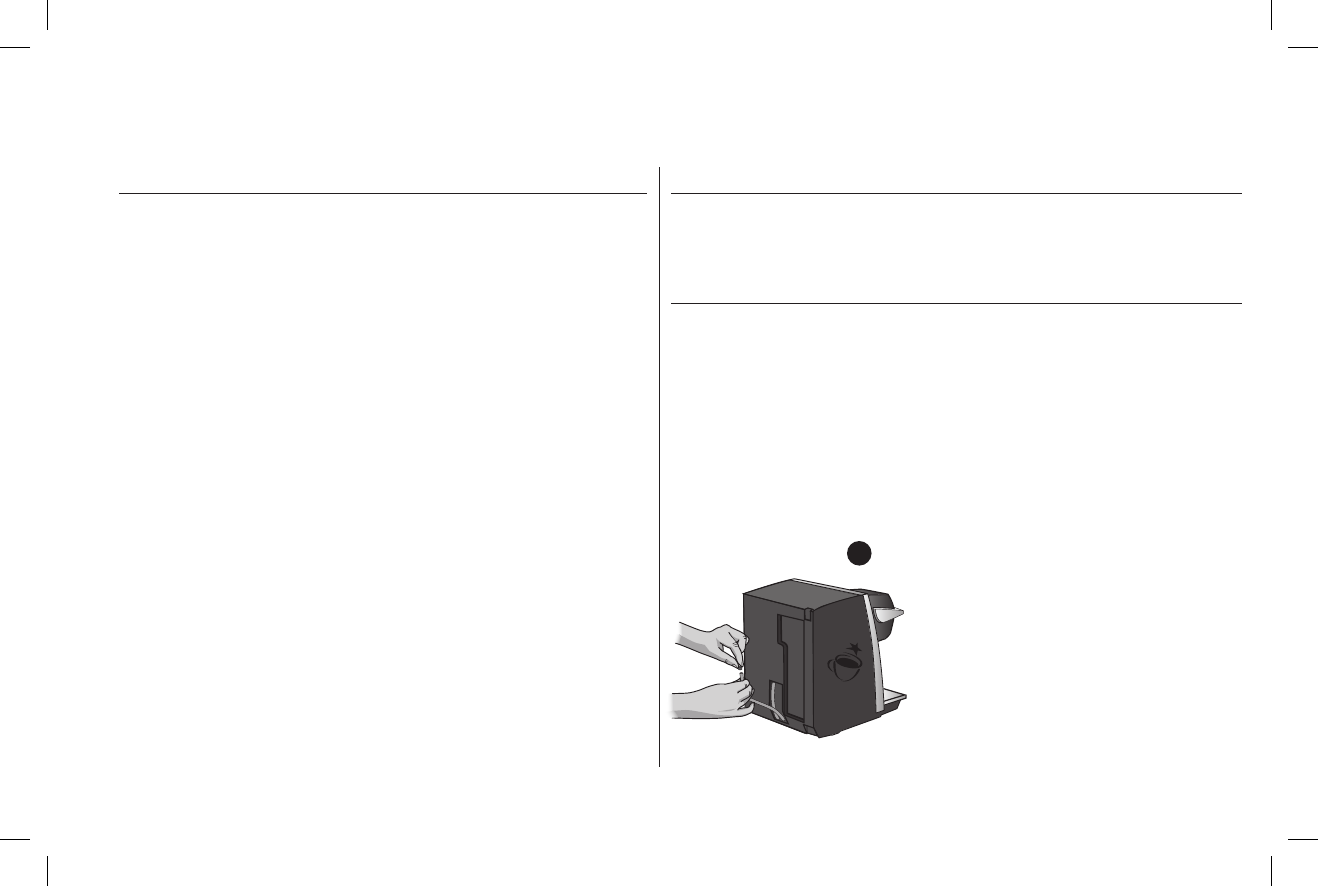
3 . Turn the brewer around so the back is facing
out. Unscrew the small knob to release the
back panel, remove the panel from the
brewer, and set it aside. If the screw is tight,
you may need to use a flathead screw driver.
Pull the tube downward until the end is free
(fig25). Over a large pitcher, remove the plug
and drain the water from the Internal Hot
Water Tank into the pitcher. CAUTION: If the
brewer was not allowed to cool sufficiently,
the water draining from the tube may be very
hot.
Re-cap the tube. NOTE: To avoid losing
parts, when finished, re-insert the tube and
screw the panel back onto the brewer
.
fig.
25
17