SECTION 1 Set-Up & First Brew
Setting Up Your Brewer
1. Remove all pieces of packing tape for the
brewer and Drip Tray. Remove the clear plastic
film from the LCD Display. Unwrap cord and
plug the Brewer into a grounded outlet.
2. Turn the Brewer on, the Power Switch is
located at the top left hand side of the Brewer
on the back. The Brewer’s LCD Display will
display the power up welcome screen (fig. 1).
3. Remove the Water Reservoir from Brewer
by first removing Lid from the Water Reservoir
then lifting the Water Reservoir straight up
and toward the right of the Brewer (may be
tight). Rinse the Water Reservoir thoroughly
with fresh, clean water.
IMPORTANT: You cannot use your Keurig
®
Brewer
until it has been set up for its fi rst use.
NOTE: If Brewer has been exposed to temperatures
below freezing, allow Brewer at least two hours to
reach room temperature before brewing. A frozen
or extremely cold Brewer will not operate.
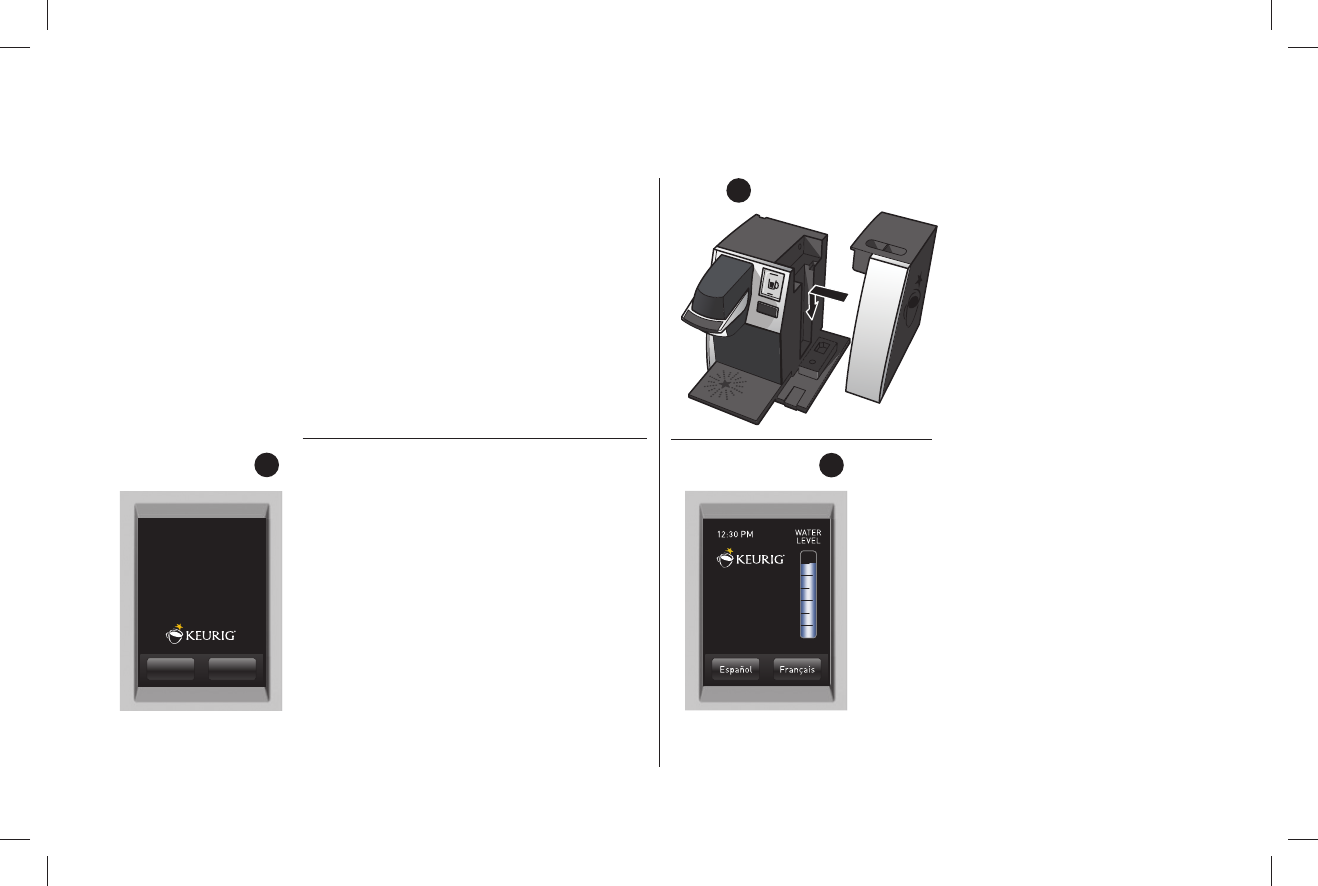
4. Fill the Water Reservoir up to the
fill mark with fresh, clean water.
Replace the Water Reservoir on
the Brewer making sure that
the locking tabs engage with the
Brewer (fig. 2). Replace Lid on
Water Reservoir.
5. The Brewer will automatically fill
the Internal Hot Water Tank with
water and then the water will
be heated. This will take about
3 minutes. During the heating
period, “HEATING PLEASE WAIT”
will be displayed on the LCD
Screen (fig. 3).
6. Place a 10 oz. mug on the Drip Tray Plate,
then fully raise and lower the Brewer Handle.
The Brew Button will now be illuminated.
Press the Brew Button to start a cleansing
brew.
NOTE: A K-Cup should not be used for
this sequence.
7.
When the cleansing brew is complete, the
Brewer will go into its idle state and will be
ready to brew your first K-Cup
®
portion pack.
fi g.
3
fi g.
1
6
fi g.
2
Welcome To The
Keurig B150 Brewing
System Designed
For The K-Cup
®
Portion Pack
Español Français
Heating...
Please Wait


