


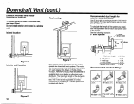

Sealed Gas Cooktop (cont.)
Electrical
requirements
Electrical Shock Hazard
Plug into a grounded 3-prong outlet.
Do not remove ground prong.
Do not use an adapter.
Failure to follow these instructions can
result in death, fire, or electrical shock.
If codes permit and a separate ground wire is
used, it is recommended that a qualified
electrician determine that the ground path is
adequate.
Do Not ground to a gas pipe.
Check with a qualified electrician if you are
not sure the appliance is properly grounded.
Do Not have a fuse in the neutral or ground
circuit.
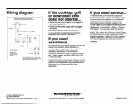
See back page for wiring diagram.
A 120-volt, 60-Hz, AC only, 15-ampere, fused
electrical supply is required. Time-delay fuse or
circuit breaker is recommended. It is
recommended that a separate circuit serving only
this appliance be provided.
Electronic ignition systems operate within wide
voltage limits, but proper grounding and polarity
is necessary. In addition to checking that the
outlet provides 120-volt power and is correctly
grounded, the outlet must be checked by a
qualified electrician to see if it is wired with
correct polarity.
A wiring diagram is provided on the bottom of the
cooktop box and in the literature package.
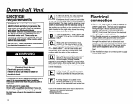
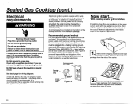
Recommended ground method
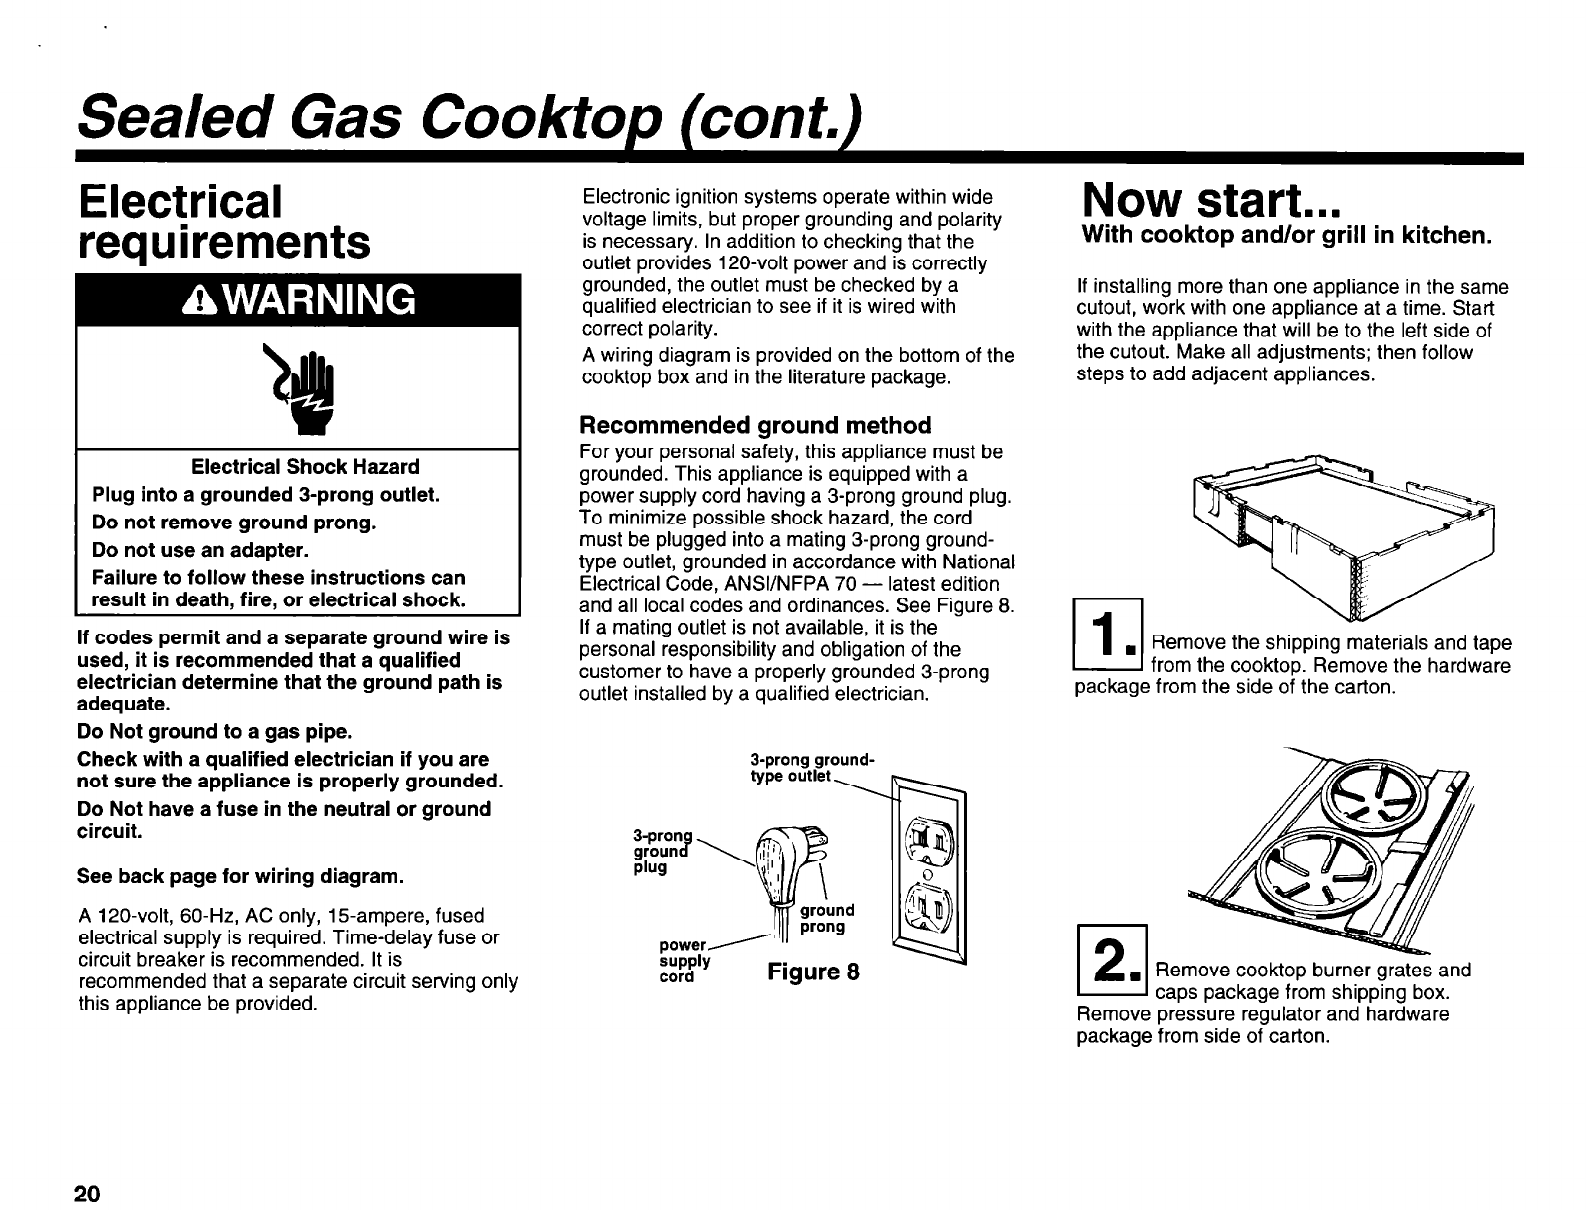
For your personal safety, this appliance must be
grounded. This appliance is equipped with a
power supply cord having a 3-prong ground plug.
To minimize possible shock hazard, the cord
must be plugged into a mating 3-prong ground-
type outlet, grounded in accordance with National
Electrical Code, ANSVNFPA 70 - latest edition
and all local codes and ordinances. See Figure 8.
If a mating outlet is not available, it is the
personal responsibility and obligation of the
customer to have a properly grounded 3-prong
outlet installed by a qualified electrician.
Sprang ground-
type outlet 7m-l
Now
start...
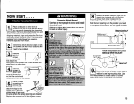
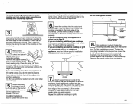
With cooktop and/or grill in kitchen.
If installing more than one appliance in the same
cutout, work with one appliance at a time. Start
with the appliance that will be to the left side of
the cutout. Make all adjustments; then follow
steps to add adjacent appliances.
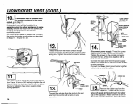
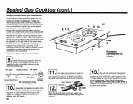
)1.
1
1
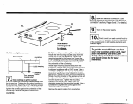
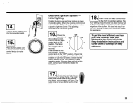
Remove the shipping materials and tape
from the cooktop. Remove the hardware
package from the side of the carton.
l-z-l
E-J
. Remove cooktop burner grates and
caps package from shipping box.
Remove pressure regulator and hardware
package from side of carton.
20