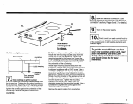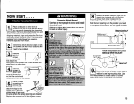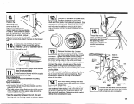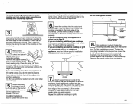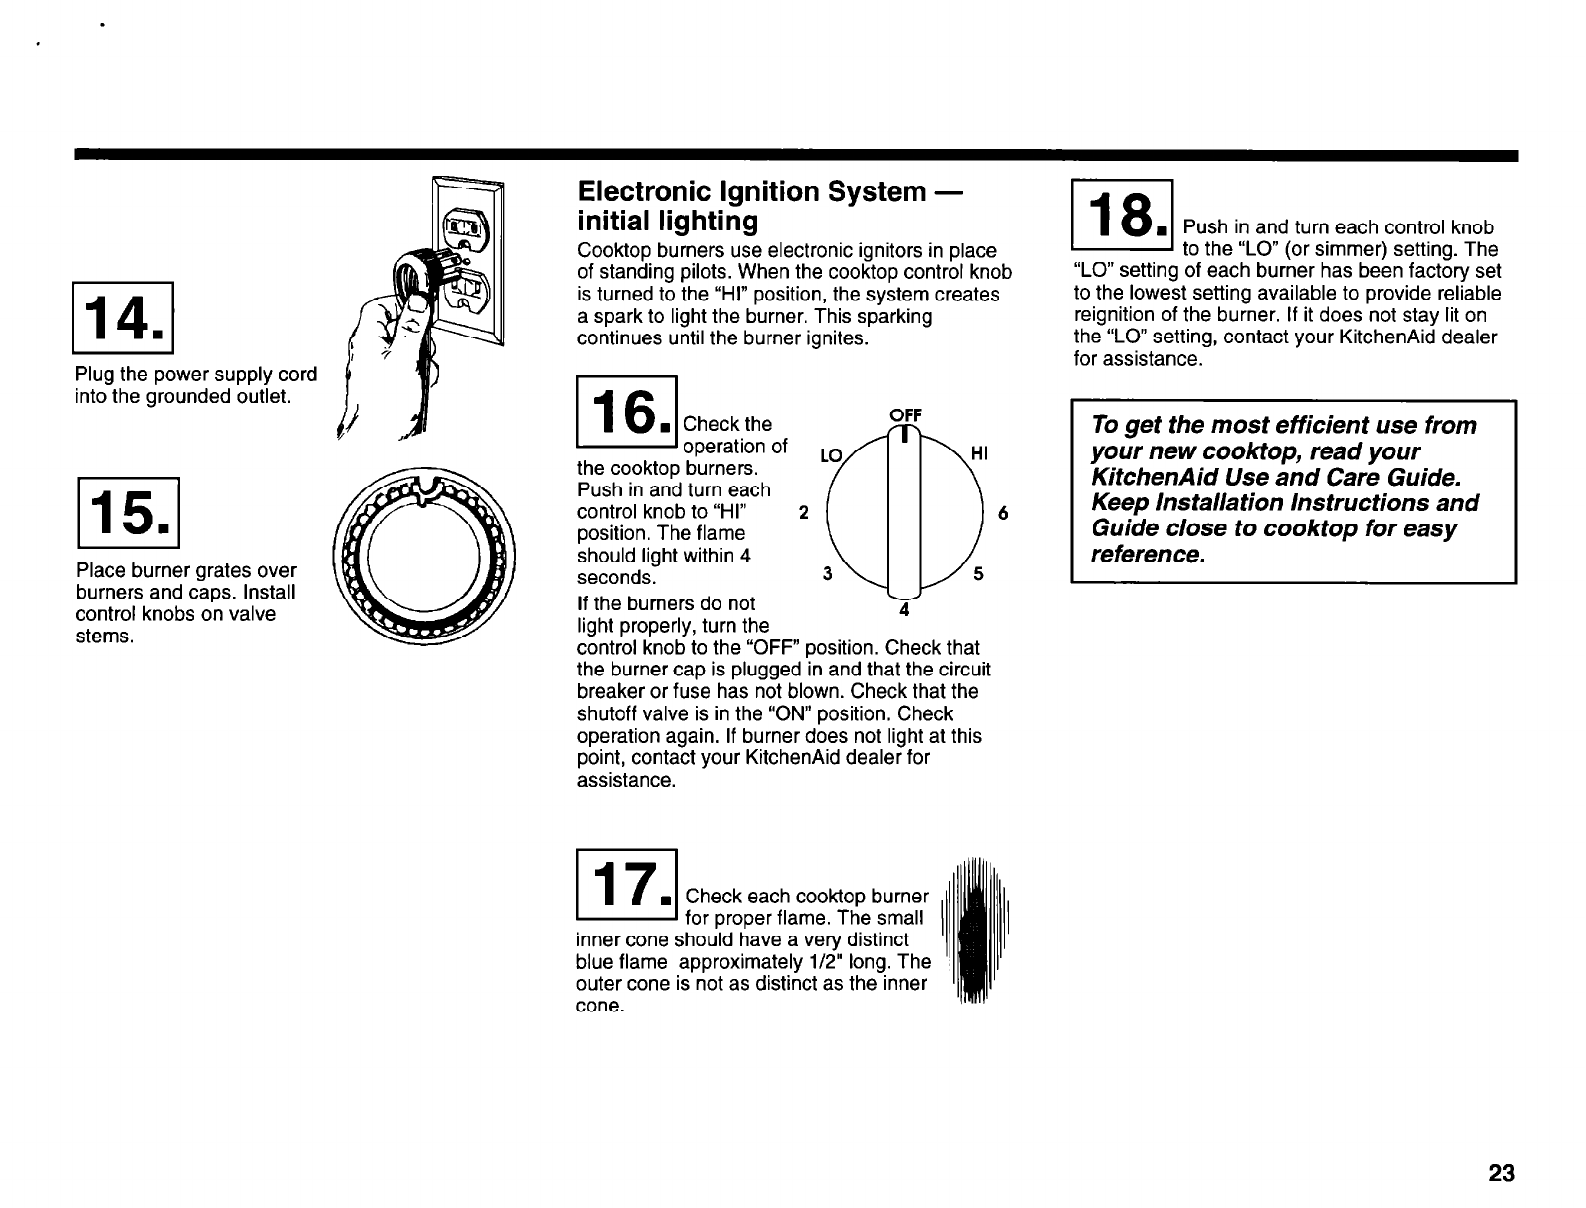
Plug the power supply cord
into the grounded outlet.
115.1
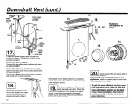
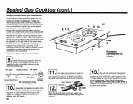
Place burner grates over
burners and caps. Install
control knobs on valve
stems.
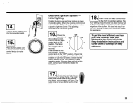
Electronic Ignition System -
initial lighting
b-l
n
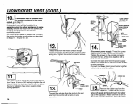
Push in and turn each control knob
Cooktop burners use electronic ignitors in place
of standing pilots. When the cooktop control knob
is turned to the “HI” position, the system creates
a spark to light the burner. This sparkina
continues until the burner ignites.
l ~ - -1 to the “LO” (or simmer) setting. The
“LO” setting of each burner has been factory set
to the lowest setting available to provide reliable
reignition of the burner. If it does not stav lit on
the”L0” setting, contact your KitchenAid dealer
for assistance.-
I
I
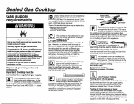
I I6.1Checkthe
- operation of
the cooktop burners.
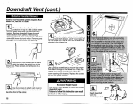
Push in and turn each
control knob to “HI”
2
position. The flame
should light within 4
seconds.
If the burners do not
light properly, turn the
control knob to the “OFF” position. Check that
the burner cap is plugged in and that the circuit
breaker or fuse has not blown. Check that the
shutoff valve is in the “ON” position. Check
operation again. If burner does not light at this
point, contact your KitchenAid dealer for
assistance.
1171
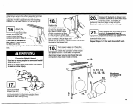
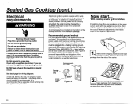
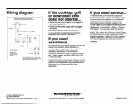
. Check each cooktop burner
for prooer flame. The small
inner cone should have a very distinct
blue flame approximately l/2” long. The
outer cone is not as distinct as the inner
cone.
6
To get the most efficient use from
your new cooktop, read your
KitchenAid Use and Care Guide.
Keep Installation Instructions and
Guide close to cooktop for easy
reference.
23


