-
The IceMaker is connected to the water supply.
-
All air was bled from the waterline before starting the
icemaker. The icemaker will only work if there is no air
in the waterline.
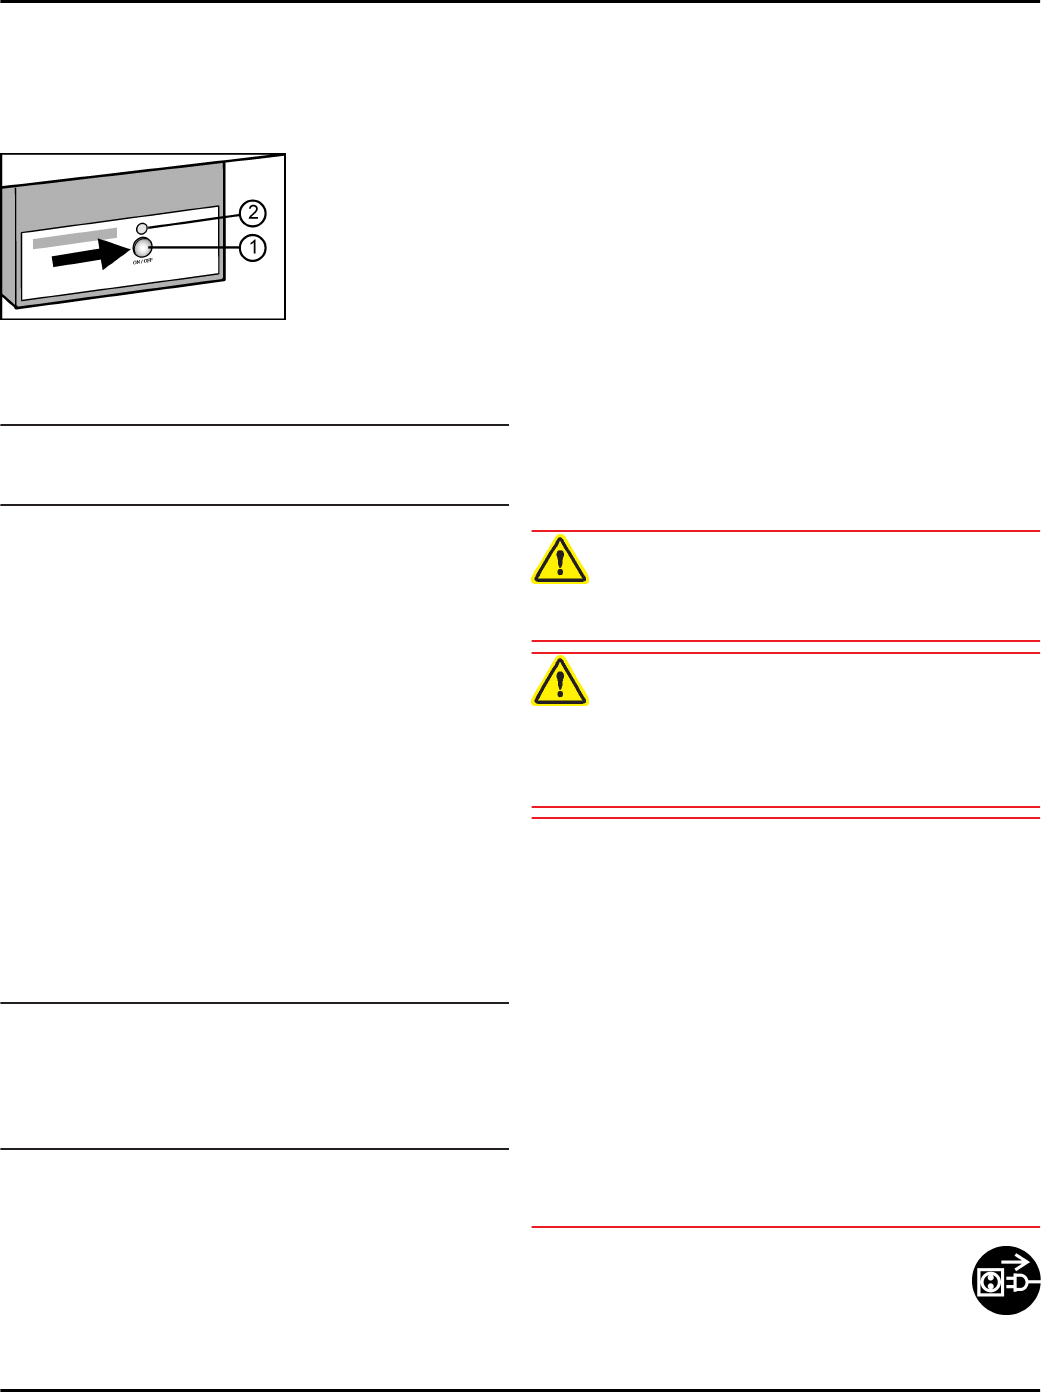
Switching on the IceMaker*
Fig. 6
u
Pull out the drawer.
u
Press On/Off button
Fig. 6 (1)
so that the LED
Fig. 6 (2)
lights up.
u
Push in the drawer.
Note
u
The IceMaker only produces ice cubes when the
drawer is completely closed.
Producing ice cubes*
The production capacity depends on the freezer tempera-
ture. The lower the temperature, the more ice cubes can
be produced in a certain period.
The production capacity is 90- 100 ice cubes in 24 hours
at a freezing temperature of 0 °F (-18 °C).
To have the maximum capacity of approx. 130 ice cubes
in 24 hours, activate the SuperFrost Function. Be aware
that this increases the energy consumption because the
compressor will run constantly.
The ice cubes fall out of the IceMaker into the drawer.
When the ice cubes reach a certain height in the drawer,
no more ice cubes can be produced. The IceMaker will
not fill the drawer to the top.
If large quantities of ice cubes are required, the complete
IceMaker drawer can be swapped with the neighboring
drawer. When you close the drawer, the IceMaker auto-
matically restarts production.
When the IceMaker is switched on for the first time, it may
take up to 24 hours for the first ice cubes to be produced.
Note
Particles may accumulate in the IceMaker or water line
the first time the appliance is used or after an extended
period out of service.
u
To achieve this, do not consume or use the ice cubes
that are produced within 24 hours.
Switching off the IceMaker*
If ice cubes are not required, the IceMaker can be
switched off independently of the freezer compartment.
When the IceMaker is switched off, the drawer of the
IceMaker can also be used for freezing and storing food.
u
Press the On/Off button for about 1 second until the
LED goes out.
u
Clean the IceMaker.
w
This ensures that no water or ice remains in the
IceMaker.
6 Maintenance
6.1 Defrosting with NoFrost
The NoFrost system defrosts the appliance automatically.
Fridge compartment:
The defrosted water is evaporated by the heat of the
compressor. Drops of water on the back wall are a func-
tional feature and completely normal.
u
Clean the drain opening regularly so that the defrosted
water can flow away (see 6.2) .
Freezer compartment:
The moisture condenses on the evaporator and is periodi-
cally defrosted and evaporated.
u
The appliance does not need to be defrosted manually.
6.2 Cleaning the appliance
WARNING
Danger of electric shock.
u
Unplug refrigerator or disconnect power.
WARNING
Risk of injury or damage due to hot steam.
Hot steam can cause scalding/burns and damage to
surfaces.
u
Do not use steam cleaners.
NOTICE
Incorrect cleaning damages the appliance.
u
Do not use concentrated cleaning agents.
u
Do not use steel wool or sponges that scour or scratch.
u
Do not use caustic or abrasive cleaning materials or
those containing sand, chloride, chemicals or acids.
u
Do not use chemical solvents.
u
Do not damage or remove the rating plate on the inside
of the appliance. It is vital for the customer service
department.
u
Do not pull off, kink or damage any cables or other
components.
u
Do not let cleaning water get into the drain gutter, the
ventilation grille and electrical parts.
u
Use soft cleaning cloths and a multi-purpose cleaning
agent with a neutral pH value.
u
Only use food-compatible cleaning and care agents
inside the appliance.
u
Empty the appliance.
u
Disconnect the power plug.
Maintenance
12 * Depending on model and options


