


NOTICE
Risk of damage caused by condensation
Installing the appliance next to any other refrigerator or
freezer can cause condensation or damage to the
Liebherr appliance.
u
Do not install this appliance next to any other refriger-
ator or freezer except another Liebherr model. Liebherr
models are designed to allow side-by-side installation.
They are equipped with a heating system to eliminate
condensation when refrigerators or freezers are
installed side-by-side.
NOTICE
Risk of damage for the finished floor surface!
u
Protect the finished floor surface before you uncrate the
unit.
Verify that:
q
The floor under the appliance is flat and level.
q
The floor can support the appliance's weight plus
approximately 1200 pounds (544 kg) of food weight.
q
The appliance is not placed in direct sunlight or near
the stove, range top, radiators and similar heat
sources.
q
The kitchen cabinet that the appliance is installed in is
shimmed to the floor level if the floor heights are not
equal.
q
Cutout dimensions are accurate.
q
Electrical outlet is in correct location.
q
The air flow is not restricted. Air flow must be provided
for the appliance to operate properly. The factory air
vents provide 31 square inches (200 cm
2
) of air flow
per appliance. If you are replacing the air vents with an
overlay, the air flow must be the same or greater than
the factory air vents.
u
Examine the unit and packaging for shipping damage.
Contact the carrier immediately if you suspect there is
any damage.
u
Note the type (model, number), index, appliance/serial
number, date of purchase and where purchased
(see 6.6) .
u
Remove anything attached to the rear or side walls of
appliance that would prevent proper installation or
impede proper ventilation.
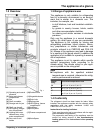
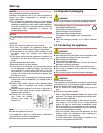
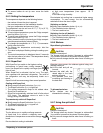
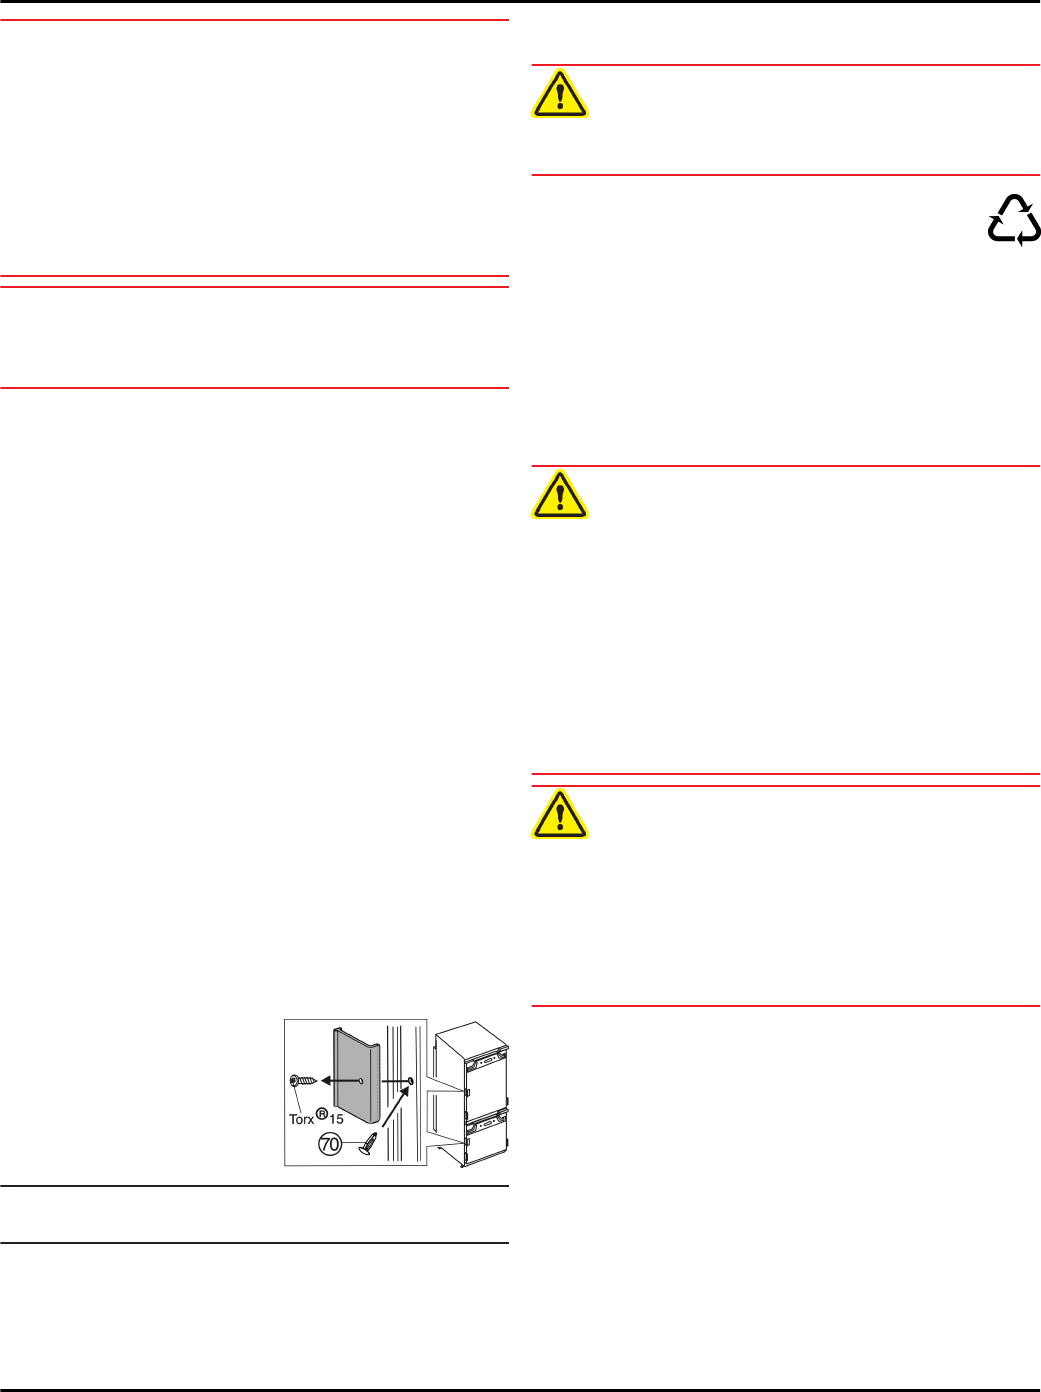
u
Unscrew the red transport
lock. Close the vacated
retaining hole using the
stopper (70).
Note
u
Clean the appliance (see 6.2) .
If the appliance is set up in humid areas, condensation
may build on the outside of the appliance.
u
Always ensure proper ventilation.
4.3 Disposal of packaging
WARNING
Danger of suffocation from packaging materials and films!
u
Do not allow children to play with packaging materials.
The packaging is made from recyclable materials:
-
Corrugated card/cardboard
-
Parts made of foamed polystyrene
-
Films and bags from polyethylene
-
Packing bands from polypropylene
-
Wood frame nailed together with a polyethylene
window*
u
Take the packaging material to an official collection
point.
4.4 Connecting the appliance
WARNING
Electrical shock hazard!
u
Start-up should only take place once the appliance has
been installed according to these instructions.
u
Electrically ground appliance.
u
Do not ground to a gas pipe.
u
Check with a qualified electrician if you are not sure the
appliance is properly grounded.
u
Do not have a fuse in the neutral or grounding circuit.
u
Do not use an extension cord, power bar or a multiple
socket adapter.
u
Do not use a power cord that is frayed or damaged.
WARNING
Electrical shock hazard!
This appliance is equipped with a three-prong (grounding)
polarized plug for your protection against possible shock
hazards. Electrical Grounding Required.
u
Do not remove the round grounding prong from the
plug.
u
Use only an grounded adapter.
-
Wait 1 hour after installation before you plug in the
appliance. This allows the refrigerant and system lubri-
cation to reach equilibrium.
-
Make sure incoming voltage is the same as the appli-
ance rating. A 110-120 Volt, 60 Hz, 15 Amp electrical
supply (20 Amp for side-by-side installations) circuit
that is controlled by a circuit breaker or fuse is required.
-
We recommend using a dedicated circuit for this appli-
ance to prevent electrical overload.
-
Follow all Federal, State and local electrical, fire and
building codes and ordinances when installing the
receptacle and / or the appliance.
-
In some communities, a wall switch is required to turn
power to the appliance ON and OFF.
Start-up
6 * Depending on model and options