47
SECTION 4
MAINTENANCE
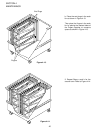
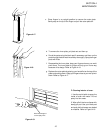
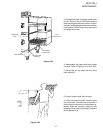
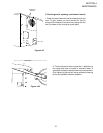
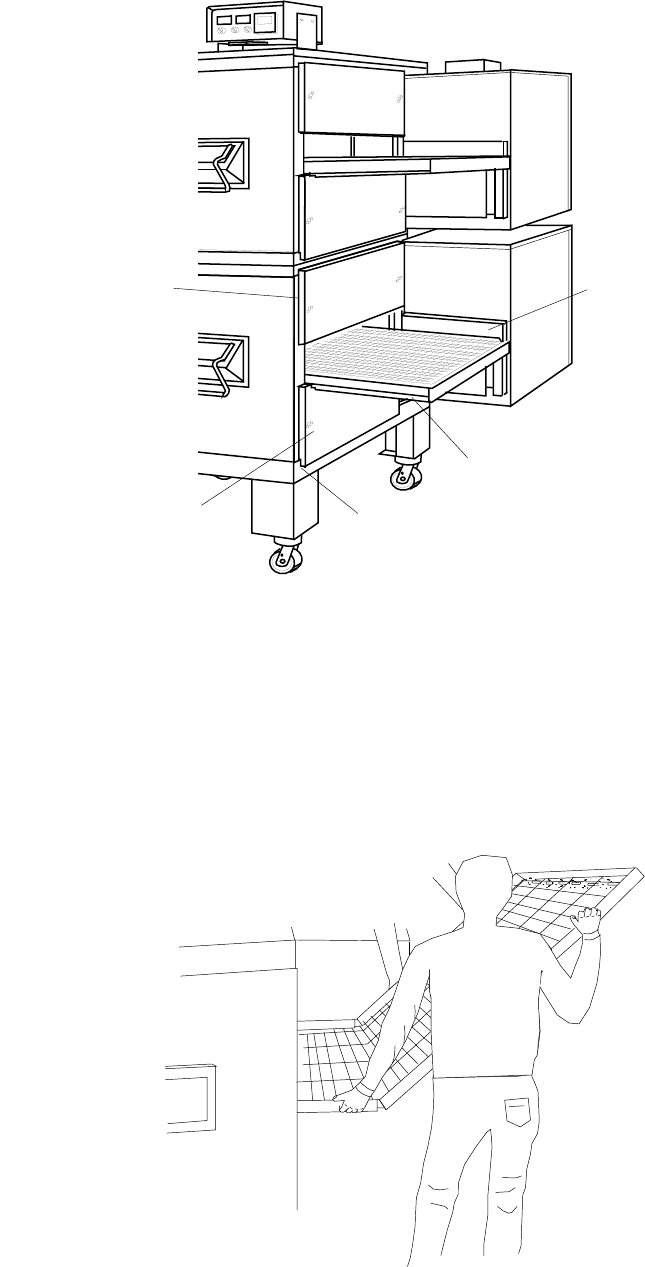
Figure 4-24.
3. Reassemble lower end plugs to both ends
of oven. Refer to Figure 4-24. Notice that the
lower end plugs have a notch in them. Position
the lower end plugs against the oven and then
up into place. Use the wing nuts to secure the
end plugs to the oven.
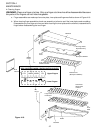
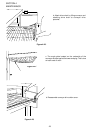
4. Reassemble top fingers and blank plates
into oven. Refer to Figure 4-16, 4-22 & 4-23.
5. Spray Kote on any areas that may have
been wiped off.
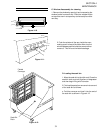
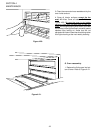
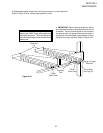
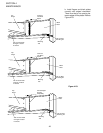
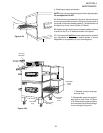
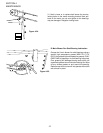
6. Using 2 people install the conveyor.
a. Lift the conveyor and start it into the drive
end of the oven. The drive end of the oven is
the end with the machinery compartment at-
tached. Slide the conveyor along the side
guides until the crumb tray slide falls into place
at the opposite end.
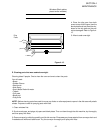
Figure 4-25.
Gear
Chain Cover
Removable
Crumb Pans
Notch in Lower
End Plug
Upper End
Plug
Lower End Plug


