


ENGLISH
10
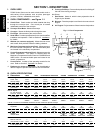
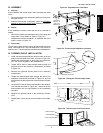
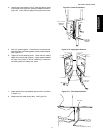
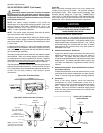
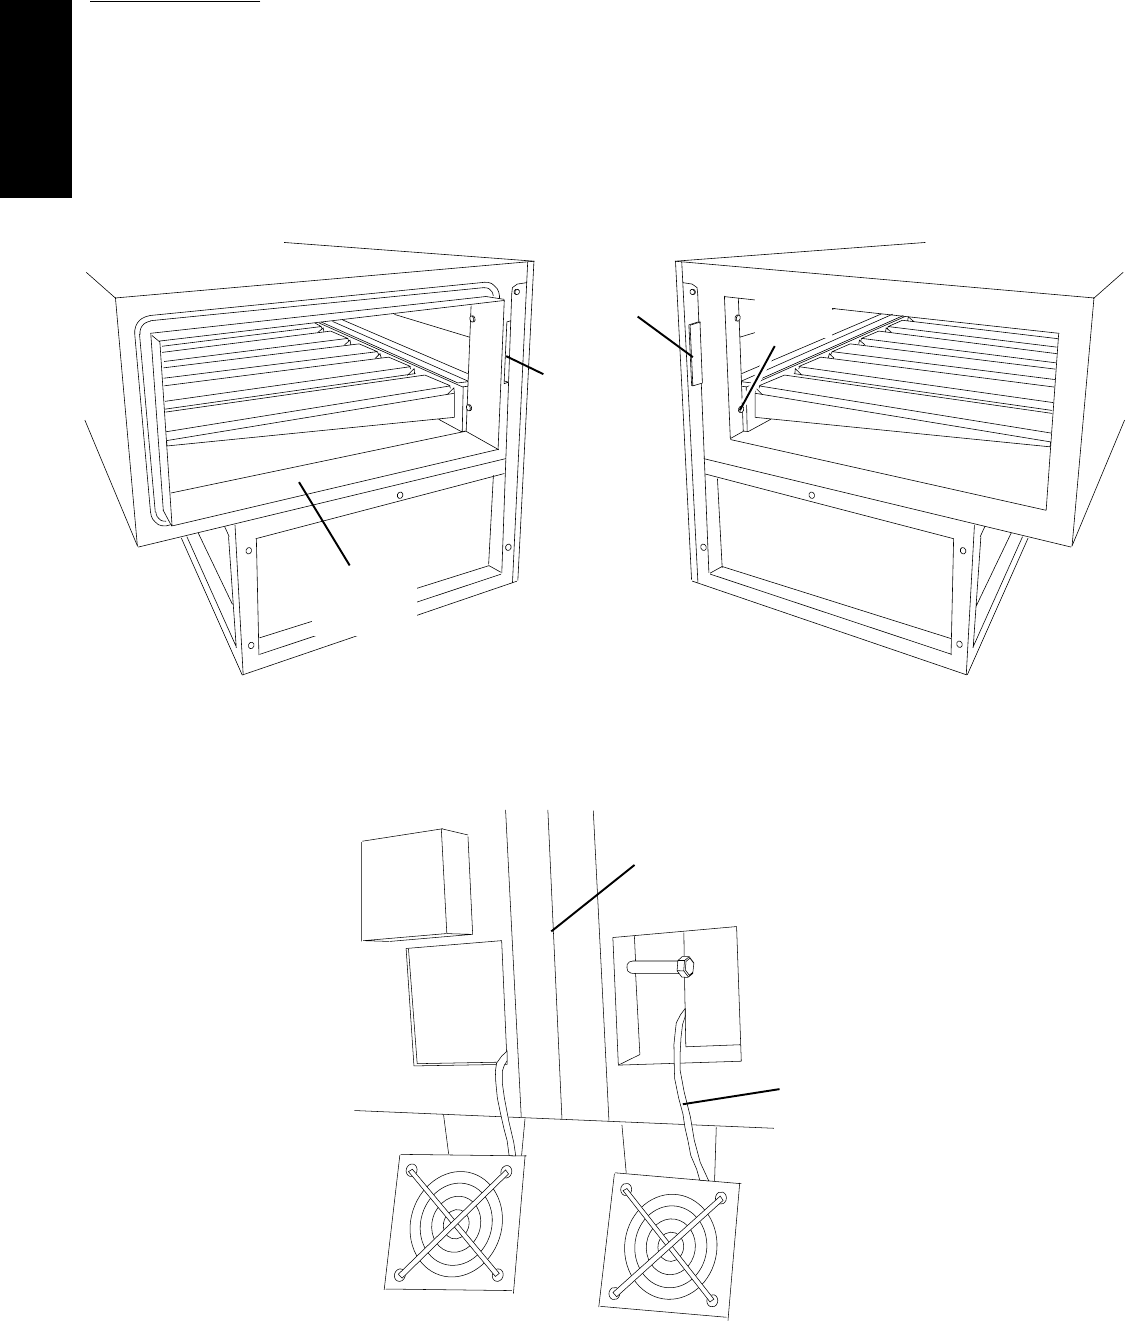
Figure 2-8 - Cooling Fan Removal
V. TANDEM OVEN ASSEMBLY
NOTE
For non-tandem oven installations, skip ahead to Section VI,
Conveyor Installation.
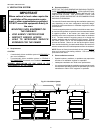
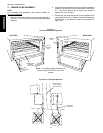
1. Determine the proper position of the ovens by referring to
Figure 2-7. Then, move the ovens to their approximate final
locations.
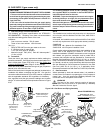
Figure 2-7
Oven Positioning and Alignment
Alignment
plate
Slot for
alignment
plate
LEFT OVEN
NOTE: The Sealing Gasket Assembly may
be pre-mounted to EITHER of the oven
cavities.
RIGHT OVEN
Air finger
retaining
screws
Sealing gasket
assembly
(pre-mounted)
2. Check that the top and bottom air finger retaining screws are
present on all mating ends of the oven sections. See Figure
2-7. The screws prevent the air fingers from sliding in
between the oven sections.
3. Remove the rear axial cooling fans that are adjacent to the
mating sides of the ovens. The fans may either be completely
disconnected, or left attached by their wiring as shown in
Figure 2-8.
Mating surface of
ovens (shown
from lower rear)
Wiring is still
connected
SECTION 2 - INSTALLATION