8. If any other ingredients need to be changed for the next recipe, simply drain the
larger hoppers with the drain tubes provided on the side of the hoppers. When the
material level is below the drain tube, open the slide gate manually to dump the rest
of the material. If you wish to speed the emptying process, material can be manually
drained out of the slide gate assembly into a dump chute or bucket, while draining
from the drain tube.
9. Using a vacuum cleaner or air hose, clean out all the hoppers that have been emptied.
Always start at the uppermost part of the blender and work downward to prevent dust
and pellets from falling into an already cleaned area.
WARNING! The auger metering assemblies on Auger blenders can be removed after the
hoppers above them have been drained.
10. Clean the weigh hopper and mixer assemblies on the blender using a vacuum cleaner.
The mixer agitator is removable for cleaning if desired.
11. Reinstall any metering units that were removed from the blender during clean out.
12. Reinstall the weigh hopper using care to center the hopper on the load cells on the
weigh hopper bracket.
13. Load the blender with new material.
14. Restart the unit with the new recipe.
WARNING! Always disconnect and lockout all electrical power and pneumatic (i.e.
compressed air) sources prior to servicing or cleaning any product,
including all Slide Gate/Auger blending systems. Failure to do so may
result in serious injury or death.
4-3 Shut-down
The Slide Gate Gravimetric Blender can be stopped in one of two ways:
1. To immediately stop the blender, the operator can touch “Abort Current Batch.” This
will cause the blender to stop making the current batch immediately. Obviously, if
the blender is stopped in this method then the current batch will not be completed
properly.
2. If the operator desires to complete the current batch of material, then he can wait
until the Inventory Shutdown value is reached. The blender will finish the current
batch of material to the specifications set in the Setup portion of this manual. It will
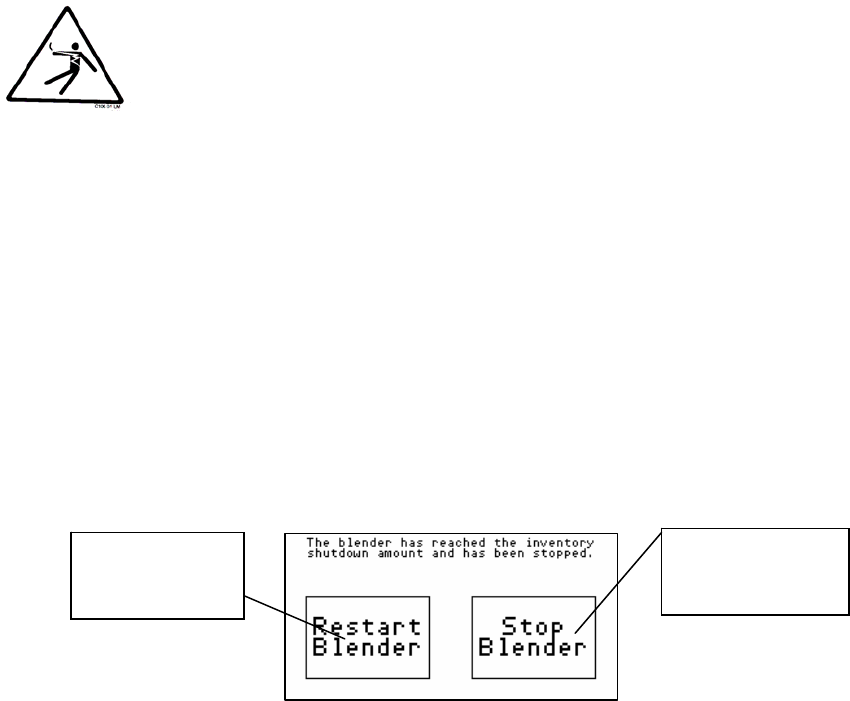
then stop and display to the operator that the inventory value has been reached.
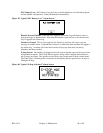
Additionally, it will flash an alarm and wait for operator attention. An example of
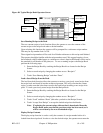
this screen is shown below:
Figure 49: Typical Inventory Shutdown Operator Screen
Touch if you don’t
want to make another
batch
Touch to make
another box of
material
BF1-615.3 Chapter 4: 3BOperation 63 of 101


