87
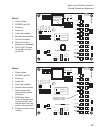
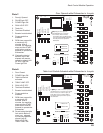
Plate 3:
1. Doors closed.
2. POWER light ON.
3. Floats up.
4. Tanks full.
5. Tank heat enabled.
6. Booster heat enabled.
7. Initial fill complete.
8. Start push button
pressed and released.
9. RUN LIGHT ON and
Green light on front
panel ON.
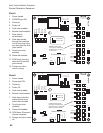
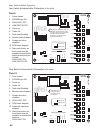
Plate 4:
1. Doors closed.
2. POWER light ON.
3. Floats up.
4. Tanks full.
5. Tank heat enabled.
6. Booster heat enabled.
7. Rack inserted into
machine/rack switch
activated.
8. RCM timer active.
Timer will begin count-
ing down the 90 sec.
interval when the rack
switch is de-activated
9. Pumps and drive motor
running.
Rack Control Module Operation
Rinse Flt L
Wash Flt L
Wash Flt U
Final Rinse
Rack Switch
Jam Switch
Table Limit
Stop
Start
Pause
Power
DR Level
Rinse Flt U
Prewash Flt L
Prewash Flt U
Run
H7
H5 H3
H1
H2
H4
H6
AA
Prewash
DR Tank
Rinse Tank
Digital Display
Rinse
Reset
DR Pump
Pumps
Rinse Aid
Prewash Fill
Wash Fill
Final Rinse
Run Light
DR/Rinse Heat
Wash Heat
Booster Heat
RCM Status/Jumpers
= Indicator ON
= Indicator OFF
NOT USED
NOT USED
NOT USED
NOT USED
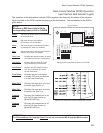
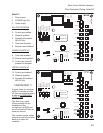
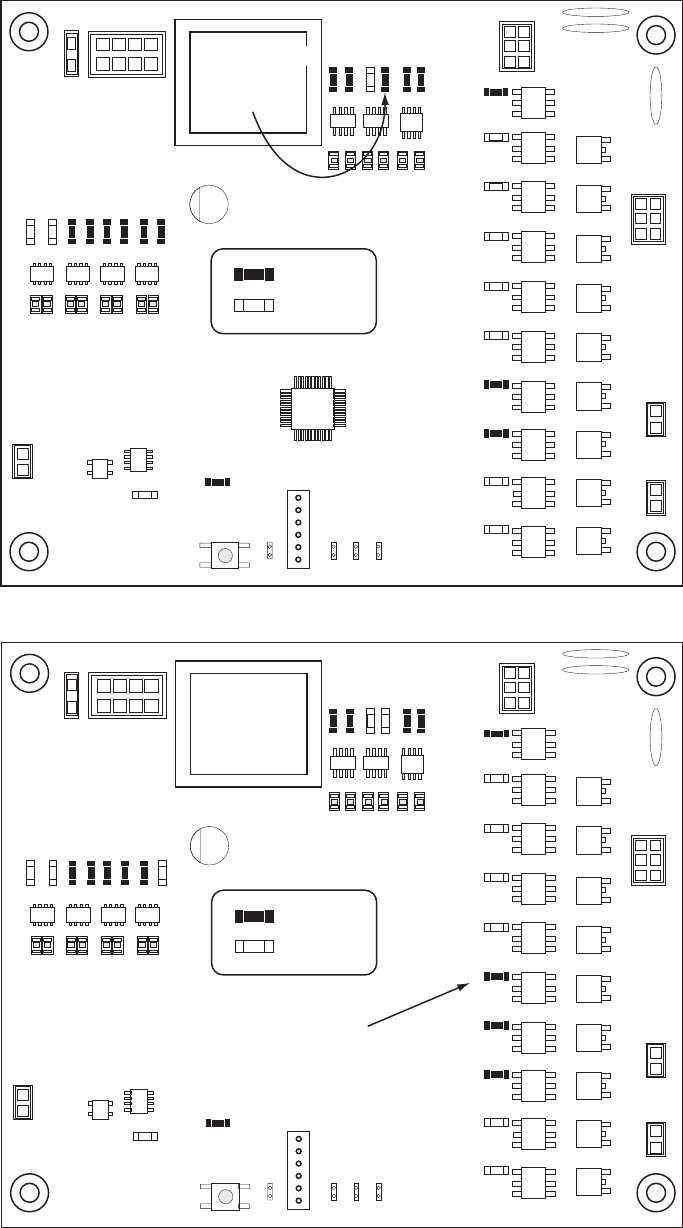
START light comes
on when pressed
and goes out when
it is released.
Rinse Flt L
Wash Flt L
Wash Flt U
Final Rinse
Rack Switch
Jam Switch
Table Limit
Stop
Start
Pause
Power
DR Level
Rinse Flt U
Prewash Flt L
Prewash Flt U
Run
H7
H5 H3
H1
H2
H4
H6
AA
Prewash
DR Tank
Rinse Tank
Digital Display
Rinse
Reset
DR Pump
Pumps
Rinse Aid
Prewash Fill
Wash Fill
Final Rinse
Run Light
DR/Rinse Heat
Wash Heat
Booster Heat
RCM Status/Jumpers
= Indicator ON
= Indicator OFF
NOT USED
NOT USED
NOT USED
NOT USED
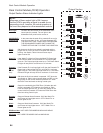
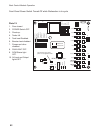
PUMPS light ON shows
the pumps are enabled and
the RCM Timer is active.
Normal Operation Sequence


