


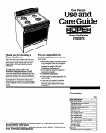
Using Your Range
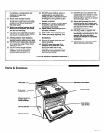
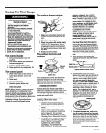
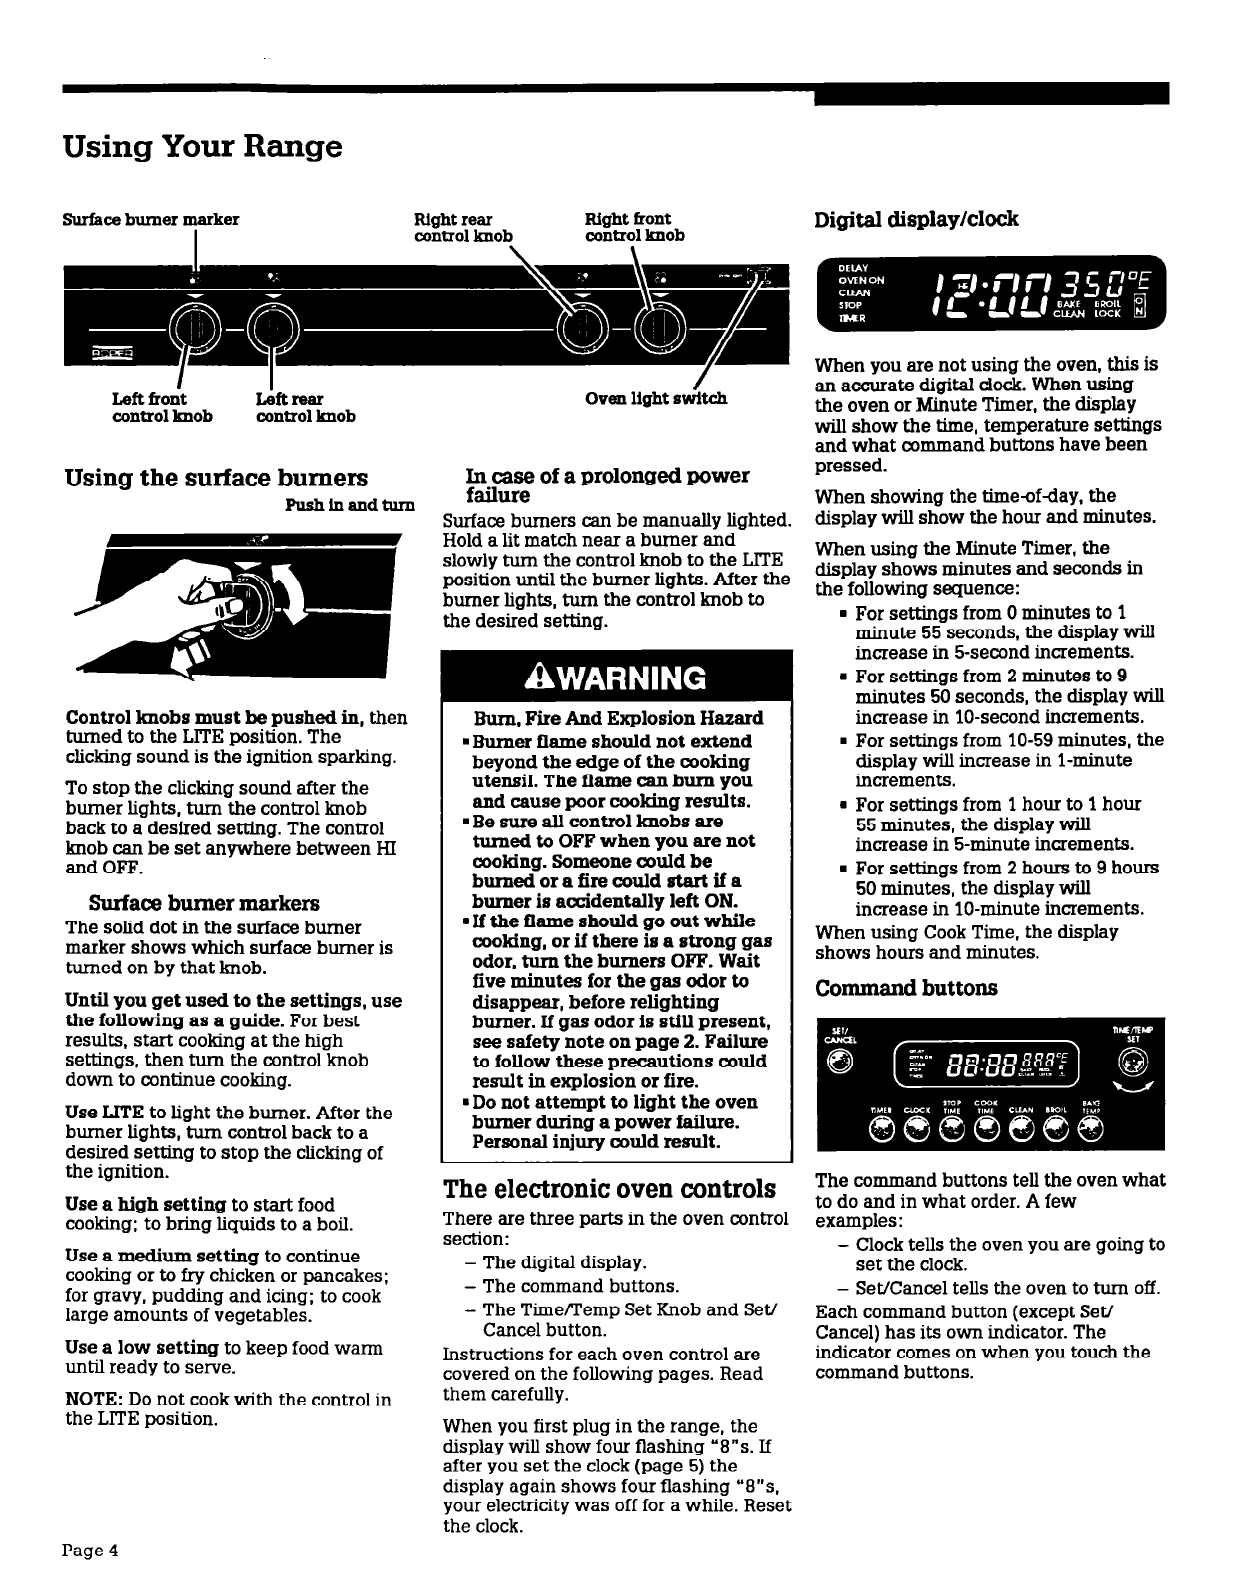
Surface burner marker Right rear
I
control knob
Right uont
control knob
Left koit
control knob
L&rear
control knob
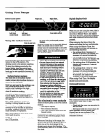
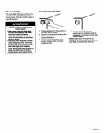
Using the surface burners
Pushfnandturn
Control knobs must be pushed in, then
turned to the LlTE position. The
clicking sound is the ignition sparking.
To stop the clicking sound after the
burner lights, turn the control knob
back to a desired setting. The control
knob can be set anywhere between HI
and OFF.
Surface burner markers
The solid dot in the surface burner
marker shows which surface burner is
turned on by that knob.
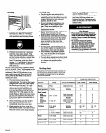
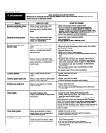
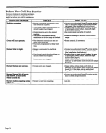
Until you get used to the settings, use
the following as a guide. For best
results, start cooking at the high
settings, then turn the control knob
down to continue cooking.
Use IJTE to light the burner. After the
burner lights, turn control back to a
desired setting to stop the clicking of
the ignition.
Use a high setting to start food
cooking: to bring liquids to a boil.
Use a medium setting to continue
cooking or to fry chicken or pancakes;
for gravy, pudding and icing; to cook
large amounts of vegetables.
Use a low setting to keep food warm
until ready to serve.
NOTE: Do not cook with the control in
the LlTE position.
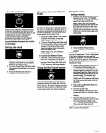
Oven light SW%&
any of a prolonged power
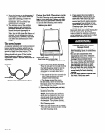
Surface burners can be manually lighted.
Hold a lit match near a burner and
slowly turn the control knob to the LlTE
position until the burner lights. After the
burner lights, turn the control knob to
the desired setting.
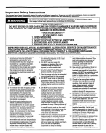
Burn, Fire And Explosion Hazard
. Burner flame should not extend
beyond the edge of the cooking
utensil. The flame can burn you
and cause poor cooking results.
. Be sure all control knobs are
turned to OFF when you are not
cooking. Someone o&d be
bumedorafirecouldstartifa
burner is accidentally left ON.
. If the flame should go out while
cooking, or if there is a strong gas
odor, turn the burners OFF. Wait
five minutes for the gas odor to
disappear, before relighting
burner. If gas odor is still present,
see safety note on page 2. Failure
to follow these precautions could
result in explosion or fire.
. Do not attempt to light the oven
burner during a power failure.
Personal injury could result.
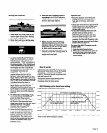
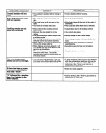
Digital
display/clock
When you are not using the oven, this is
an accurate digital clock. When using
the oven or Minute Timer, the display
will show the time, temperature settings
and what command buttons have been
pressed.
When showing the timeofday, the
display will show the hour and minutes.
When using the Minute Timer, the
display shows minutes and seconds in
the following sequence:
. For settings from 0 minutes to 1
minute 55 seconds, the display will
increase in 5-second increments.
n
For settings from 2 minutes to 9
minutes 50 seconds, the display will
increase in lo-second increments.
. For settings from lo-59 minutes, the
display will increase in l-minute
increments.
n
For settings from 1 hour to 1 hour
55 minutes, the display will
increase in 5minute increments.
n
For settings from 2 hours to 9 hours
50 minutes, the display will
increase in lo-minute increments.
When using Cook Time, the display
shows hours and minutes.
Command buttons
The electronic oven controls
There are three parts in the oven control
section:
- The digital display.
- The command buttons.
- The TimeRemp Set Knob and Set/
Cancel button.
Instructions for each oven control are
covered on the following pages. Read
them carefully.
When you first plug in the range, the
display will show four flashing “8”s. If
after you set the clock (page 5) the
display again shows four flashing “8”s
your electricity was off for a while. Reset
the clock.
The command buttons tell the oven what
to do and in what order. A few
examples:
- Clock tells the oven you are going to
set the clock.
- Set/Cancel tells the oven to turn off.
Each command button (except SeV
Cancel) has its own indicator. The
indicator comes on when you touch the
command buttons.
Page 4