


5 6
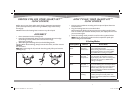
HOW TO USE YOUR SMART-SET™
SLOW COOKER
1. Prepare your ingredients according to the recipe and place them into
the stoneware.
2. Plug the heating base into a standard outlet.
Note: Display will blink until you program your cooking mode. If more
than 10 seconds pass between button presses, the display will clear and
you must start again.
3. Select the cooking mode you wish to use from the 4 options below.
Note:
Note: Plug the temperature probe into the temperature probe jack
ONLY if using Auto Cook Mode.
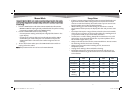
4 Cooking Modes
Cooking Mode Ideal For How it Works
AUTO COOK
MODE
Ultimate
taste and
convenience
•Automatically times and cooks your meal
using a temperature probe.
•After reaching ideal internal temperature,
automatically switches to simmer (SIMR),
then WARM when cooking is complete.
DIGITAL TIMER
MODE
One cooking
time and
temperature
•Select LOW or HIGH, and set a time for cooking
your meal, from 30 minutes to 20 hours.
Digital display counts down remaining time.
•Automatically switches to WARM when
cooking is complete.
DUAL CYCLE
MODE
Two cooking
time and
temperatures
•Same as Digital Timer Mode, but allows you
to set two cooking times and temperatures.
•Cooks for a specified time and temperature
(LOW or HIGH), then cycles to a second
time and temperature before automatically
switching to WARM.
MANUAL MODE Supervised
cooking
•Cooks at the temperature you set (LOW
or HIGH), until you manually switch it to
another temperature (LOW, HIGH or WARM)
or turn it off.
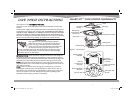
BEFORE YOU USE YOUR SMART-SET™
SLOW COOKER
Before you use your slow cooker, wash the lid, stoneware, temperature
probe, and temperature probe housing in WARM, soapy water and dry
thoroughly.
NEVER immerse the heating base in water or any other liquid.
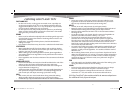
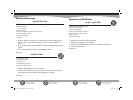
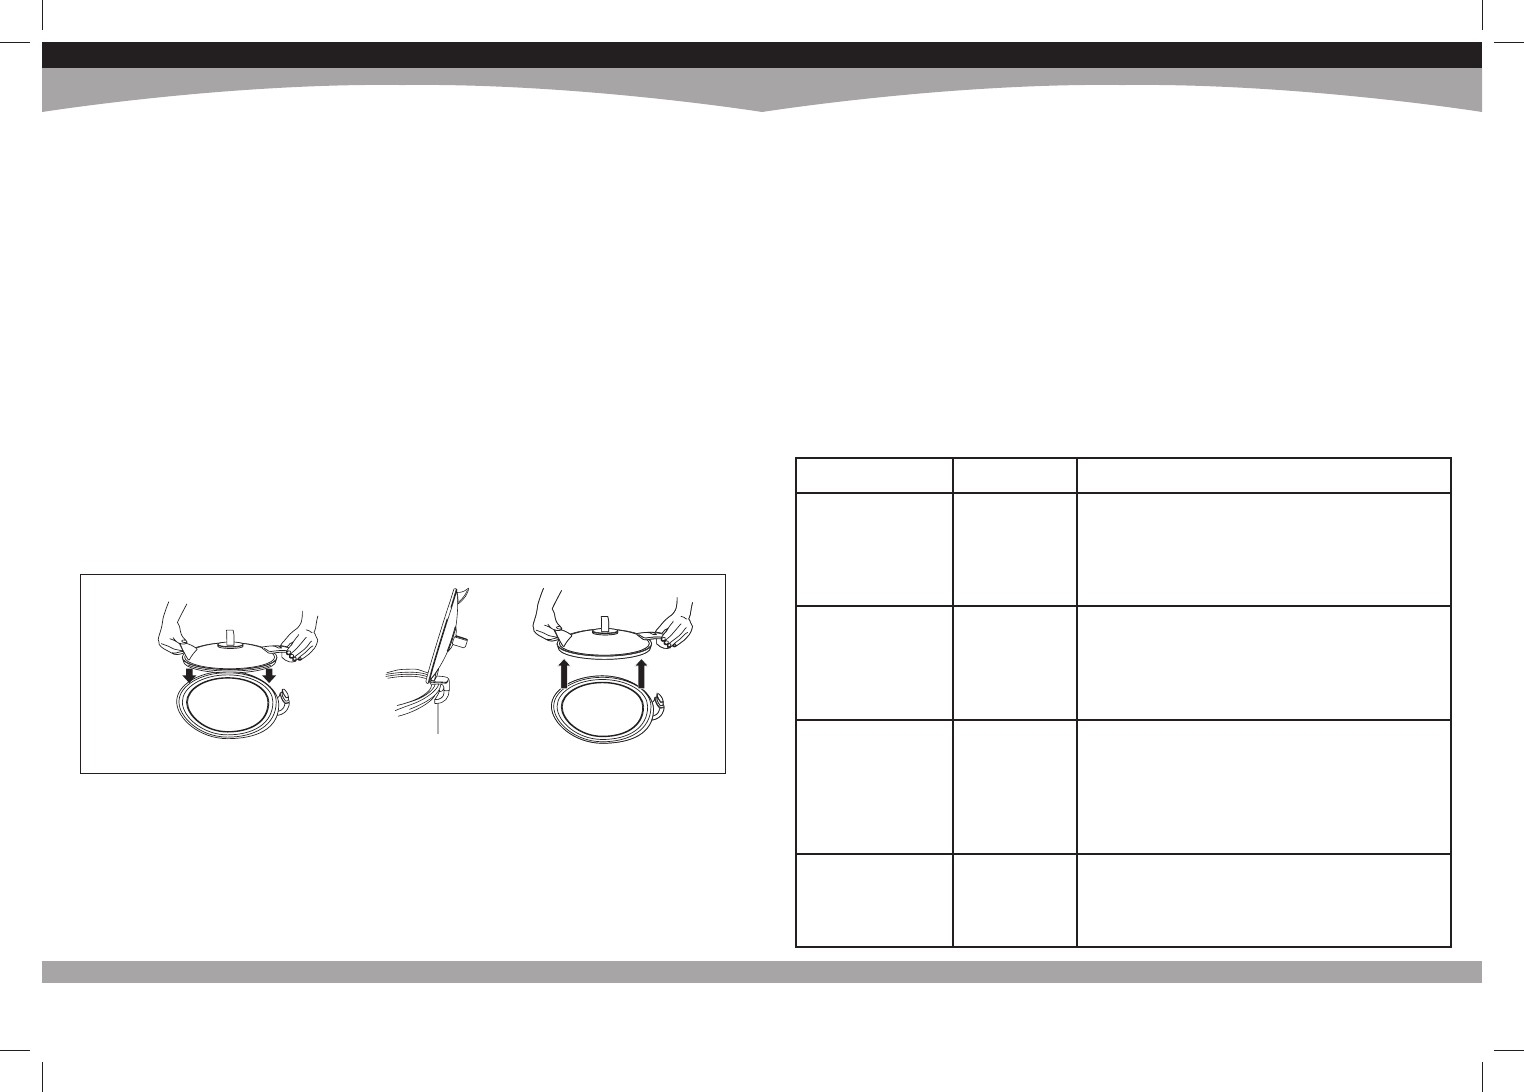
ASSEMBLY
1. Place stoneware into the heating base.
2. Lower the lid horizontally down onto the stoneware. Be sure to align
the lid hinge so that it slides down onto the base hinge.
(See Figure 3a and 3b)
3. When raising and lowering the lid, use the lid lifting handle.
Caution:
Caution: When disassembling, always remove the lid first, and then remove
the stoneware.
Note:
Note: When removing the lid, use both hands to gently lift up and remove.
( See Figure 3c)
Figure 3
3a 3c3b
6 QT Smart-Set 08EM1.indd Sec1:5-Sec1:66 QT Smart-Set 08EM1.indd Sec1:5-Sec1:6 4/17/08 6:21:20 PM4/17/08 6:21:20 PM