12
Model BC12Operating Procedures
100921
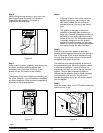
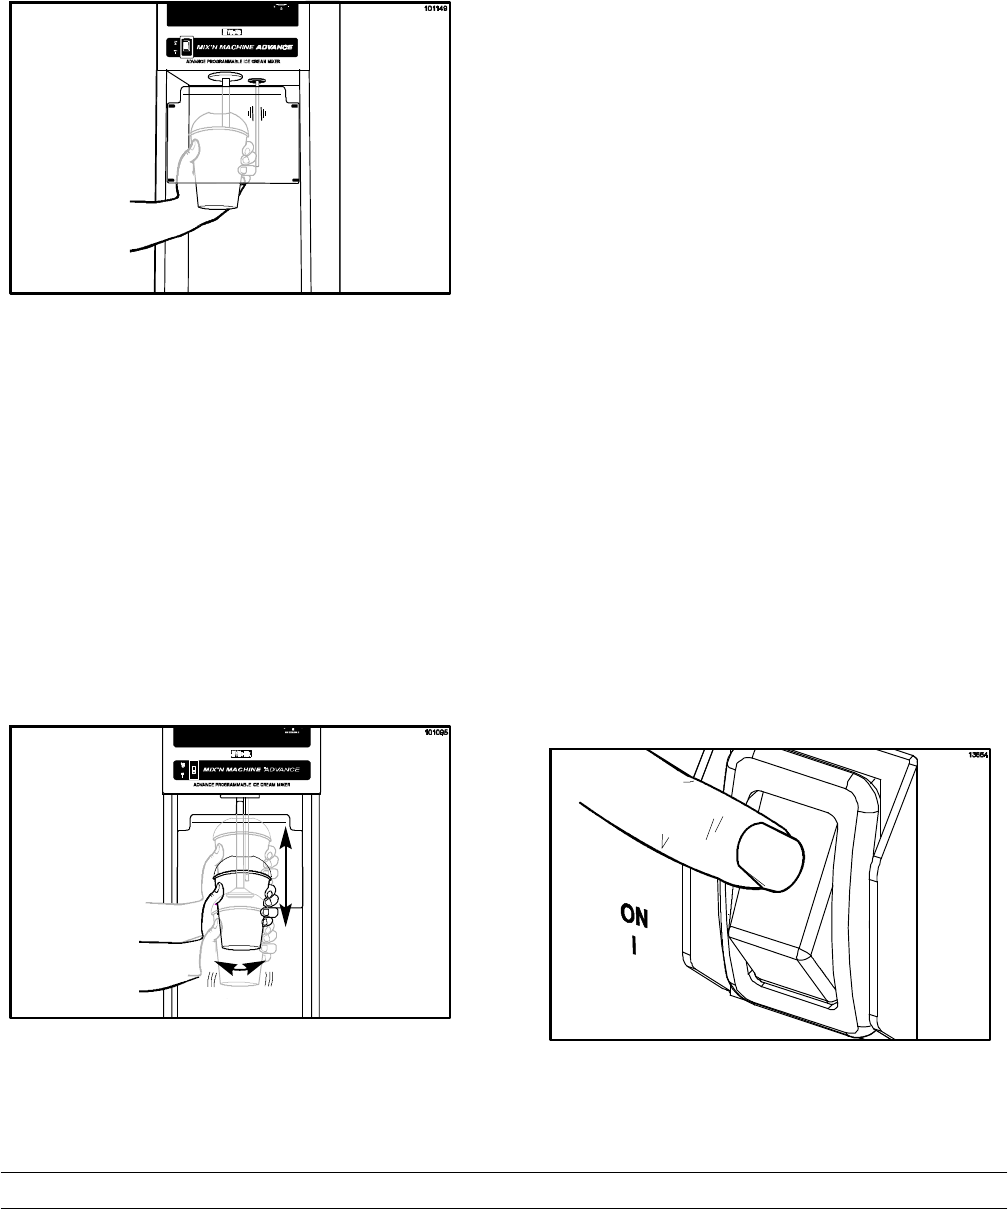
Step 6
While holding the cup s ecurely in your hand, us e
your fingers to push the switch rod (actuator),
located behind the agitator, to activate a
programmed blending cycle.
Figure 14
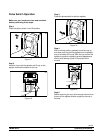
Step 7
Using a swirling motion, gradually move the c up up
and down around the s pinning agit ator and
completely around all sides of the cup. (If the
product is hard, this should be done slowly.)
The agitator will do some chipping and breaking of
the solids. However, it is not intended to completely
pulverize ingredients. Solid chunks are expected to
be evident in the finished product.
Figure 15
Notes:
S If the cup is har d to hold, either move the
agitator into the m ix m ore slowly or s tart
with softer product. Do not c ontinue to
operate the m ixer if the cup is too hard to
hold.
S The agitator is designed to reduce the
possibility of damage when contacting a
paper cup. However, the agitator should not
be forced or held solidly against the side or
bottom of the c up. The har d product agitator
is specially designed to mix the product
aggressively and t horoughly, so use a cup
holder or a sturdy cup to prevent the agitator
from going through the side of t he cup.
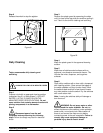
Step 8
Swirl the cup ar ound t he agitator to produce a
pleasing product appearance and t o avoid leaving a
hole in the center of the mixture. Before removing
the cup, allow the excess mixture to be thrown off
the agitator and caught by t he cup.
The machine shuts off automatically at the end of
the programmed cycle. When the program is within
4 seconds of c ompletion, a tone will sound, so
preparation can begin to remove the cup from the
agitator. The tone gets progressively faster to
indicate that the program cycle is almost complete
and the m achine will shut off. This allows the
operator the opportunity to spin off excess product
from the agitator.
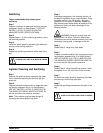
Step 9
Place the power switch in the OFF position when the
machine is not in use.
Figure 16


