5. If the M450H has been configured with the auto-zero valve option, connect the
oxygen or other zero gas source to the ¼” tube fitting labeled ‘Zero Gas Inlet.’ Do
not exceed 30 psig in the zero air delivery line.
NOTE
The zero gas used must be clean and free of particles. If the gas
contains particulate contamination, install a particulate filter in
the zero air line. You can purchase an appropriate filter from
Teledyne API.
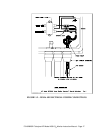
6. With the ozone delivery line pressurized, adjust the ozone flow rate using the needle
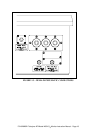
valve mounted inside the front panel of of the monitor. To access the needle valve,
pop out the two black plastic fasteners at the top of the front panel. The panel will
now hinge down, allowing access to the needle valve. The flow-rate should be set
from 0.5 to 2.0 liters/min. The flow-rate required will depend on your system. As a
general guideline, the flow should be set to the lowest value that will still achieve an
acceptable response time from the instrument. The lower the flow, the slower the
response will be. If a long length of tubing is used for the ozone delivery line then
the flow-rate may need to be increased so that the ozone concentration will not
degrade in the sample line.
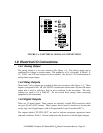
7. Turn on the M450H by switching the power switch on the front panel. The front
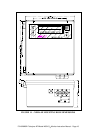
panel display should light with a sequence of messages, -API - M450H - software
version number, then a normal display as shown in Figure 2.2.
8. Allow about 10 minutes for the UV lamp temperature to come up to it’s set-point then
press the TST> button on the front keyboard to scroll through the TEST values.
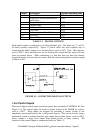
Compare these values to those noted during the final factory checkout listed in Table
1.3. The values observed should closely match the Table 1.3 values.
P/N 02826B1 Teledyne API Model 450H O
3
Monitor Instruction Manual - Page 13


