


Niagara 4100 User Guide
ViewCast 25
11.
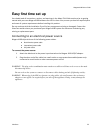
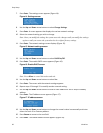
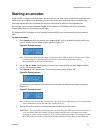
Press Enter to set the format. The screen appears (Figure 10) confirming you have successfully
set up your Niagara 4100.
Figure 10. Confirmation screen
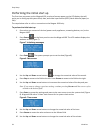
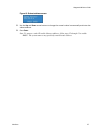
12.
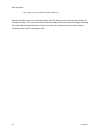
Press Enter to exit the setup menu and reboot the appliance. The following screen appears:
Figure 11. Booting screen
Connecting to an IP network
The Niagara 4100 network settings for its network interfaces default to dynamically obtain an IP address
from a DHCP server on the network. If a DHCP server is not available or is not found on the network,
then Niagara 4100 assigns its own IP address.
If you are not familiar with network protocols, contact your network administrator for assistance.
Changing the network settings
For most network environments, it will not be necessary to modify these default settings. However, if
you wish to assign a static IP address or Gateway address to the appliance’s Network Interface Cards
(NICs), then you can change the network setting using the EASE menu.
To change the network settings:
1.
Press Menu. The EASE menu appears.
2.
Use the Up and Down arrow buttons to select the Setup System option.
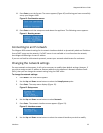
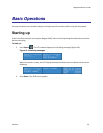
3.
Press Enter. The setup menu displays (Figure 12).
Figure 12. Setup menu
4.
Use the Up and Down arrow buttons to select Network.
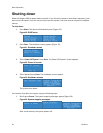
5.
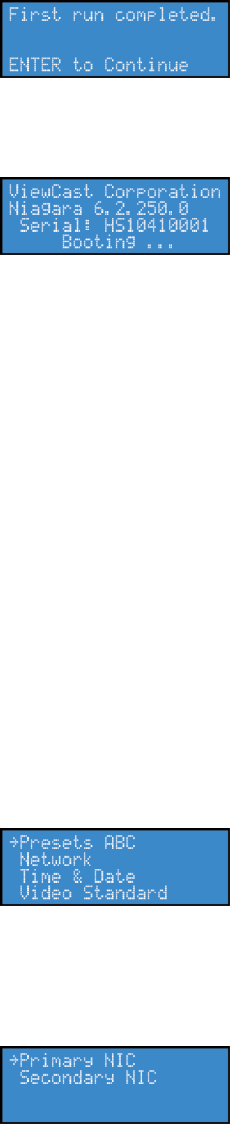
Press Enter. The network interface screen appears (Figure 13).
Figure 13. Interface screen
6.
Use the Up and Down arrow buttons to select the network interface you wish to modify.