


Easy Setup
26 ViewCast
7.
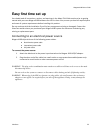
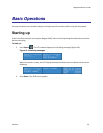
Press Enter. The settings screen appears (Figure 14).
Figure 14. Settings screen
8.
Use the Up and Down arrow buttons to select Change Settings.
9.
Press Enter. A screen appears that displays the various network settings.
10.
Select the network setting you wish to change.
Note: Once you modify the setting, the system saves the changes until you modify the settings
again or until you restore the system back to its original factory settings.
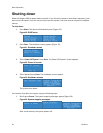
11.
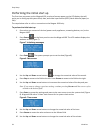
Press Enter. The network settings screen displays (Figure 15).
Figure 15. Network settings screen
12.
Use the Up and Down arrow buttons to select DHCP On/Off.
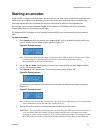
13.
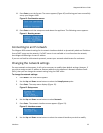
Press Enter. The enable DHCP screen appears (Figure 16).
Figure 16. Enable DHCP screen
Note: Press Menu to cancel this action and exit.
14.
Use the Up and Down arrow buttons to select Yes.
15.
Press Enter. The screen with the network settings appears.
16.
Repeat steps 12 through 15 to modify another network setting.
17.
Use the Up and Down arrow buttons to enter a static address for the IP and/or Gateway
address.
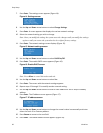
18.
Press Enter. The IP address screen appears (Figure 17).
Figure 17. IP address screen
19.
Use the Up and Down arrow buttons to change the numeric value incrementally and enter
either the static IP or Gateway address.
20.
Press Stream to move to the next field.
21.
Press Enter. The subnet address screen appears (Figure 18).