


19
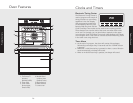
Clocks and Timers
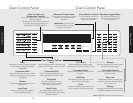
Product Controls
18
Cook Time and Stop Time
With the Viking oven, you can choose what times you need to start
and stop cooking your food. The cook time and stop time functions
allow you to program your preferences.
Here’s how it works:
It is 2:00 PM and you would like to have your dinner ready at 6:00 PM. By
programming your oven with a 2-hour cook time and a 6:00 PM stop
time, your oven will delay cooking until 3:50 PM. At 3:50, the oven will
begin preheating. At 4:00 PM, the oven will begin its 2-hour cook time.
Cook Time and Stop Time facts:
Both ovens can be set individually for cook time and stop time
functions.
To set Cook Time:
1. Select “UPPER OVEN” or “LOWER OVEN”.
2. Select an oven function and temperature before setting Cook
Time and Stop Time functions.
3. Press “COOK TIME” and the display will flash “0:00” and
“COOK TIME” will be lit below.
4. Use numeric keyboard to enter the amount of time needed for
cooking.
5. After the time is entered, the display will show “COOK TIME”
under the timer field. (To cancel the entry, press the “CLEAR”
button on the left side of the control panel.)
6. Press “SET” or “ENTER” if the cook time is correct. Cook time
is set.
Note: To cancel cook time during its cycle, press “COOK TIME” and
then press the “CLEAR” button on the left side of the oven control.
Cooking will continue if the oven is on.
Clocks and Timers
Product Controls
Setting the Timer
The timer is designed for accurate timing and is ideal for baking
delicate items such as biscuits, cookies, and popovers, and for precise
broiling. The timer can be used for timing up to 12 hours. When
setting the timer, the time displayed will decrease in 1 minute
increments. When the timer counts down to 1 minute, the timer alarm
will give one short beep and the display will change to seconds. When
the timer reaches 0:00, the alarm will give a long beep.
To set the Timer:
1. Press the “TIMER” button. The timer will display “0:00” and the
word “TIMER.”
2. Type in the desired duration time on the electronic number keypad.
3. The timer will start automatically. (To cancel the entry, press the
“CLEAR” button on the left side of the control panel before the
count down begins and the time is still flashing.)
4. The timer is now set.
Alternate method:
1. Press the “TIMER” button. The timer will display “0:00” and the
word “TIMER” will be lit on the display.
2. Use the up and down arrows to set the timer.
3. Press “SET” or “TIMER” to program the timer. (To cancel the entry,
press the “CLEAR” button on the left side of the control panel.)
4. The timer is now set.
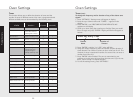
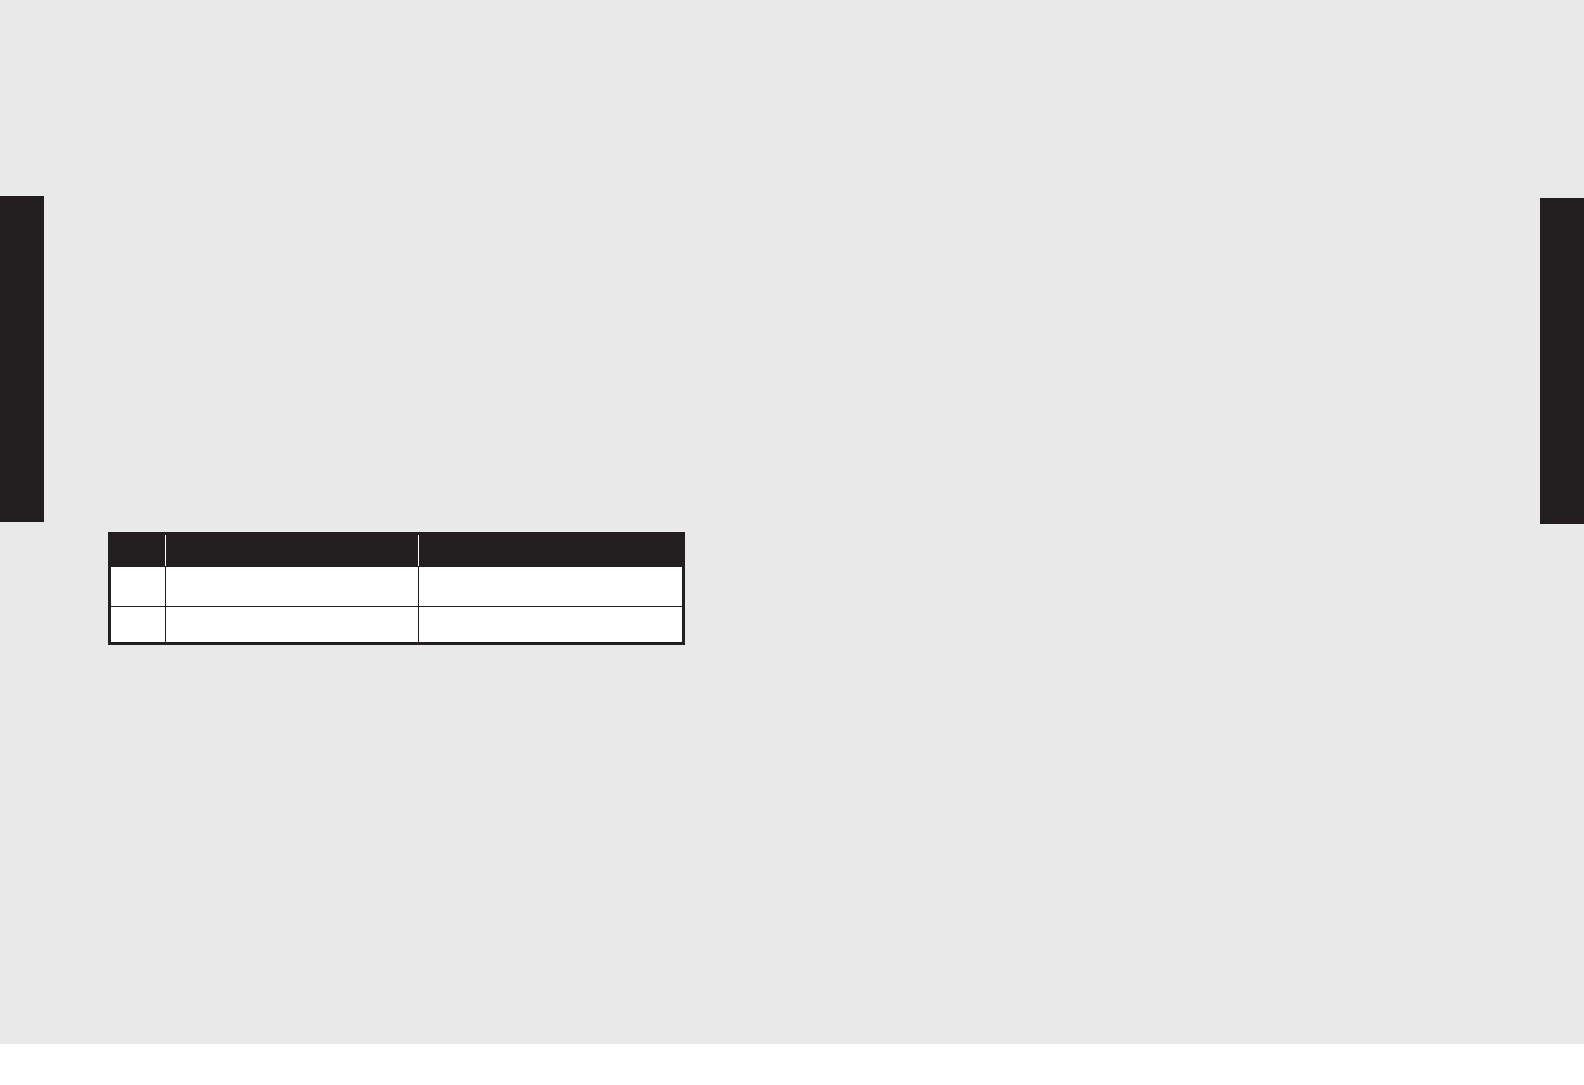
Press and Release Press and Hold
▲
Time increases by 1 minute Time increases by 10 minutes
▼
Time decreases by 1 minute Time decreases by 10 minutes