


25
Timeouts (cont.)
To change the duration of a Timeout:
1. Press “SETTINGS.” Settings menu will appear in display.
2. Press the up or down arrows until “TIMEOUTS…” appears in the
display.
3. Press “ENTER,” and “RESTORE FACTORY DEFAULTS: NO” will
appear on the display.
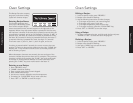
4. Scroll up or down using the arrow keys to find the timeout you
would like to change and press “ENTER.” Display will flash
and appear as follows:
5. Using the numeric keyboard, enter the number of seconds desired.
6. Press “ENTER” when finished. Timeout is customized to your
preference.
7. To exit the settings menu, press “SETTINGS.”
Clock Format
This feature allows users to choose a 12-hour or 24-hour format for the
clock display.
To program the Clock Format:
1. Press “SETTINGS.” Settings menu will appear in display.
2. Press up and down arrows until “12 or 24 HOURS: 12”
appears in the display.
3. Press “ENTER” and the current setting will flash in the
display.
4. Use arrow keys to choose “12” or “24.”
5. Press “ENTER” again to accept desired clock format.
6. To exit the settings menu, press “SETTINGS.”
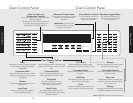
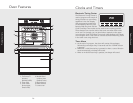
Oven Settings
Product Controls
24
Tone Volume
To change the Tone Volume setting:
1. Press "SETTINGS." Settings menu will appear on display.
2. Press the up or down arrows until "TONES ..." appears on
the display.
3. Press "ENTER," and "RESTORE FACTORY DEFAULTS:
NO" appears on the display.
4. Press the down arrow until "VOLUME: HIGH" appears on the
display.
5. Press "ENTER" to change volume level. The current value will flash.
6. Use up and down arrows to select the desired volume
level. Setting options are “HIGH”, “LOW” and “OFF.”
7. Press "ENTER" to confirm volume level setting.
8. To exit the settings menu, press "SETTINGS.”
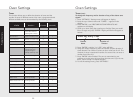
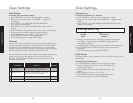
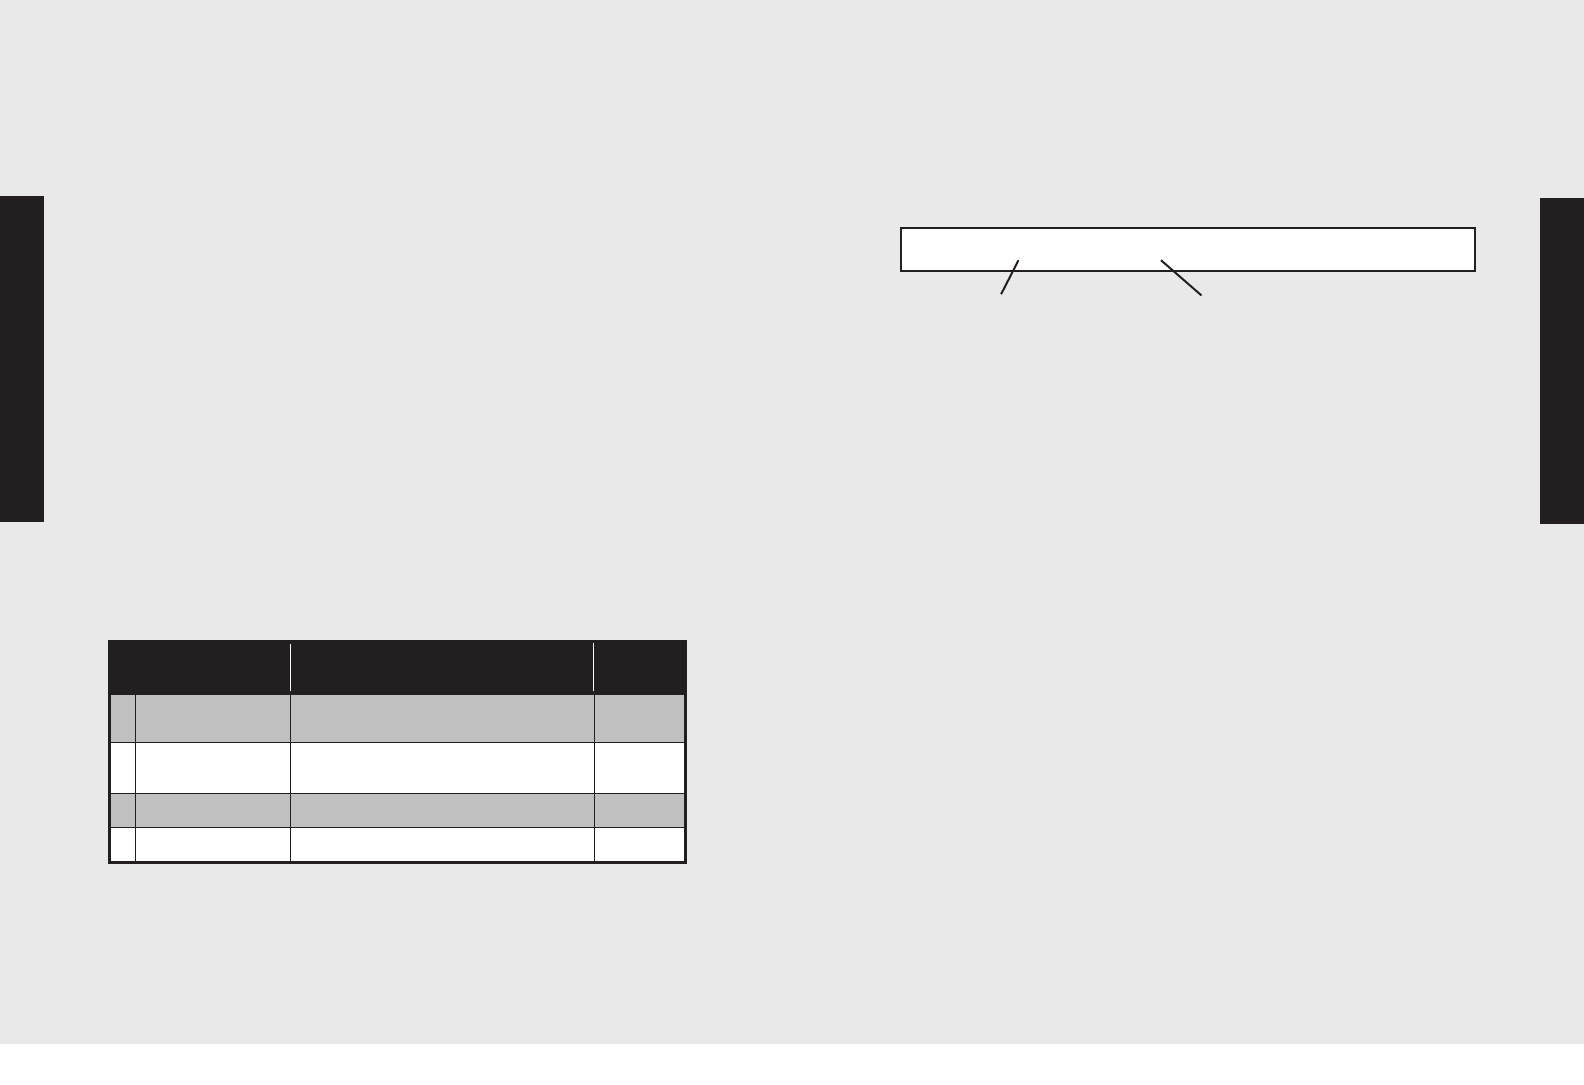
Timeouts
Your oven is programmed with four preset timeouts that allow the user
varying amounts of time to key in entries to the oven control display.
The amount of time allowed the user to respond to a programming
prompt is called a timeout. If the user fails to make an entry during the
timeout period, the oven will default to its previous mode.
If you find that the amount of time allowed for programming does not
meet your needs, you can redefine the limits of any of the four
timeouts. The chart below defines the four timeouts, their duration,
and when they’re used:
Oven Settings
Product Controls
Description
of timeout
Used in…
Duration
(seconds)
1 Short entry Cycle setpoint, meat probe setpoint,
and setting the minute/second timer
5
2 Medium entry Entering cook/stop times, setting time,
selecting functions and settings
10
3 Long entry Selecting, editing, and entering recipes 30
4 Lock key hold time Locking the Oven 3
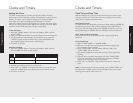
“Short Key Entry: 5 sec”
Timeout
Name
Duration of
Timeout