


Page 22 of 36
5. Test the oven to verify proper operation.
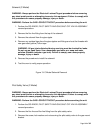
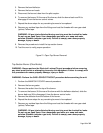
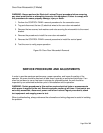
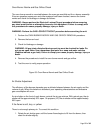
Figure 25: Convection Motor Fan Control Switch Removal
Convection Motor (C Model)
WARNING: Always perform the Electrical Lockout/Tagout procedure before removing
any sheet metal panels or attempting to service this equipment. Failure to comply with
this procedure can cause property damage, injury or death.
1. Perform the ELECTRICAL LOCKOUT/TAGOUT procedure.
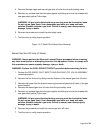
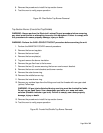
2. Remove the two (2) screws securing the junction box cover and remove the cover.
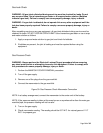
3. Tag and disconnect the convection motor electrical wires at the junction box.
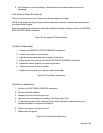
Figure 26: Convection Motor Electrical Junction Box
4. Remove the motor guard.
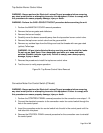
5. Inside the oven, remove the pans, oven racks and oven side racks to gain access.
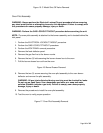
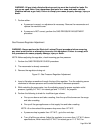
6. Remove the three (3) drive screws securing the flue intake assembly and remove the
flue intake assembly from the oven interior.
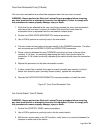
Figure 27: Convection Oven Flue Intake Assembly Removal
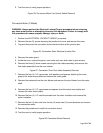
7. Remove the four (4) 1/4" cap screws, lock washers and spacers attaching the motor
grate to the motor mount plate and remove the motor grate.
8. Remove the setscrew from the rotor blower and remove the rotor blower from the motor
shaft.
9. Remove the four (4) 1/4" cap screws and spacers from the motor mount plate and
remove the motor mount plate.
10. Remove the four (4) 1/4" machine screws from the motor insulation and remove the
motor insulation.
11. Remove the four (4) hex nuts from the two (2) motor two (2) mount brackets and remove
the convection motor.
12. Reverse the procedure to install the convection motor.
13. Test the oven to verify proper operation.
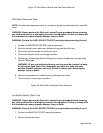
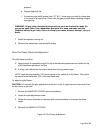
Figure 28: Convection Motor Removal