


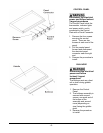
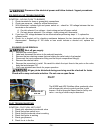
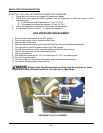
Disconnect the electrical power and follow lockout / tagout procedures
SOLENOID VALVE TROUBLESHOOTING
SYMPTOM – NO GAS FLOW TO BURNER
1. Check terminals for loose or greasy/dirty connections
2. Check gas pressure – check for orifice obstructions.
3. With thermostat, indicator light and power switch on – check for 120 voltage between the two
terminals on the solenoid.
A. On pilot solenoid if no voltage – check wiring and on/off power switch
B. On main burner solenoid if no voltage – check wiring and thermostat
4. If you have 120 voltage between the two terminals after performing steps 1- 3, replace the
solenoid valve.
5. Check for a shorted coil by checking resistance between the two terminals with the wires
disconnected. Readings of 100 ohms or less would indicate a shorted coil, replace the
solenoid.
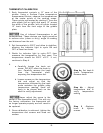
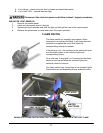
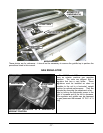
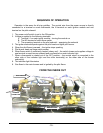
SOLENOID VALVE REMOVAL
Shut off gas supply
1. Remove the control panel.
2. Label and disconnect the wires to the solenoid terminals.
3. Remove the two retaining screws that are holding the valve body in the bracket.
4. Disconnect the input compression fitting and the output compression fitting(s).
5. Remove the solenoid valve
6. Reverse the procedure to install. Be careful to attach the input lines to the ports on the valve
body that are stamped “IN”
7. Verify gas
pressure and check for proper operation.
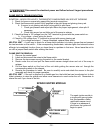
All gas joints disturbed during servicing must be checked for leaks.
Check with a soap and water solution. Do not use an open flame.
PILOT
-
14 -
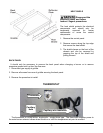
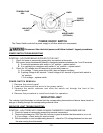
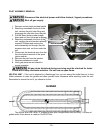
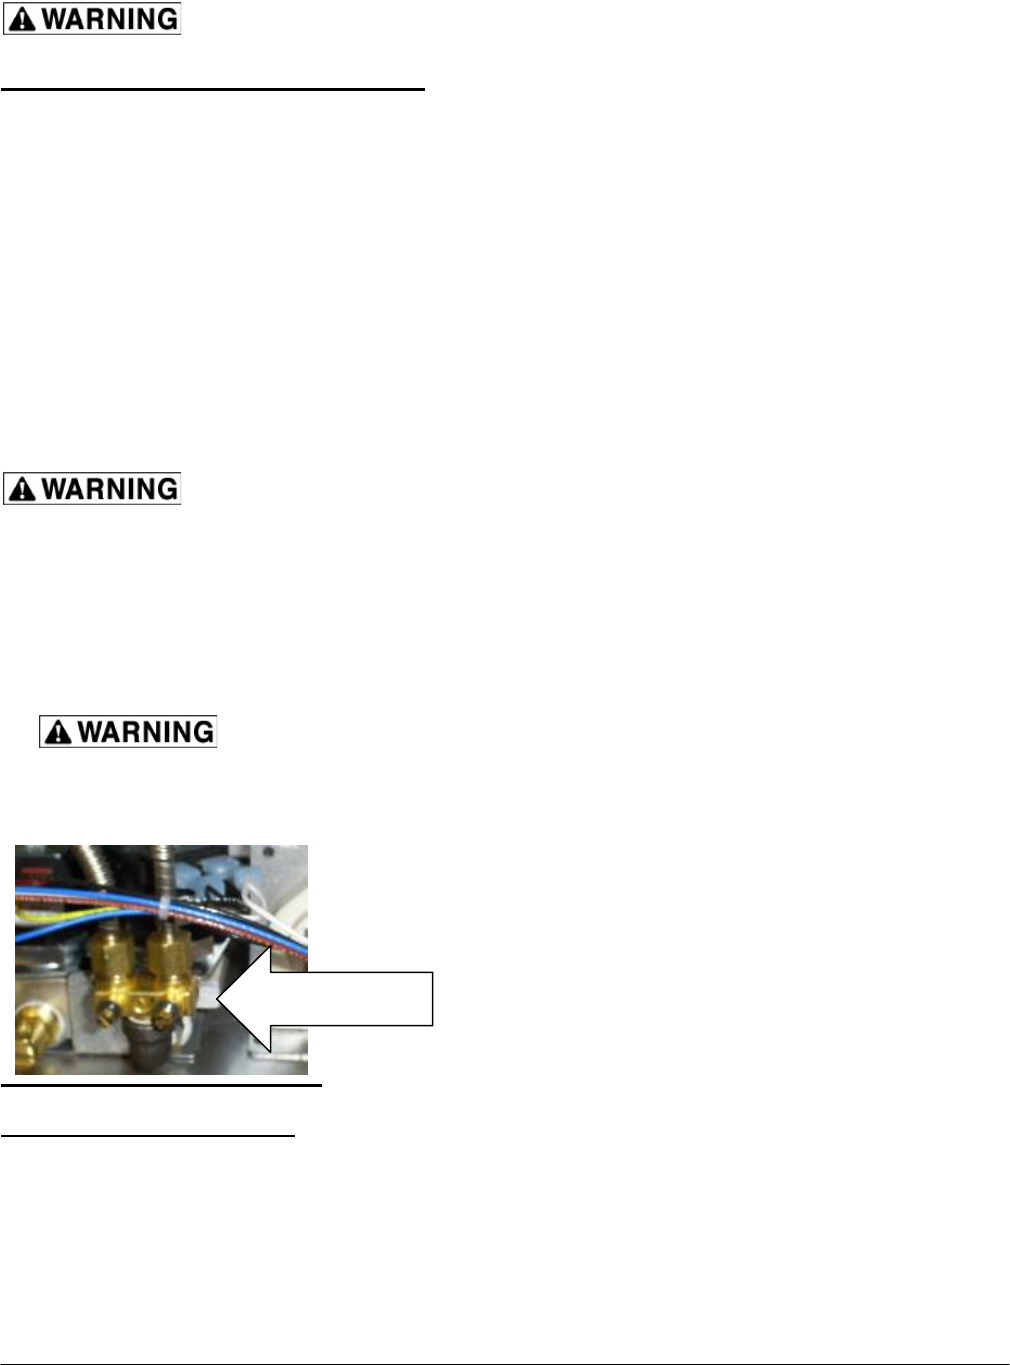
The 900RE and AGE Griddles utilize a solenoid valve
with a brass pilot valve to control gas flow to pilot
burners. One to three pilot flames can be fed by one
valve – one leg of which may be branched.
BRASS PILOT
VALVE
PILOT TROUBLESHOOTING
SYMPTOM – PILOT WILL NOT LIGHT
1. Check pilot adjustment at solenoid valve
2. Check that power switch is on
3. Check that pilot solenoid valve is working
4. Check that igniter is working
5. Check gas pressure
6. Check for air in the line