


— 25 —
REGULATOR CHECK, ADJUSTMENT, INSTALLATION (Cont.)
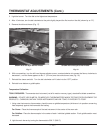
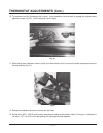
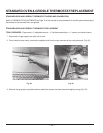
1. Connect the manometer to the pressure tap provided on the rear manifold pipe (see Fig. 23).
2. Check the reading. The reading should be 3.7" Water Column for natural gas and 10.0" Water Column for propane
gas.
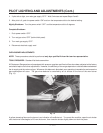
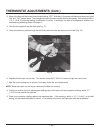
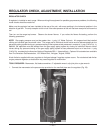
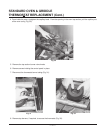
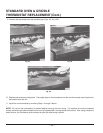
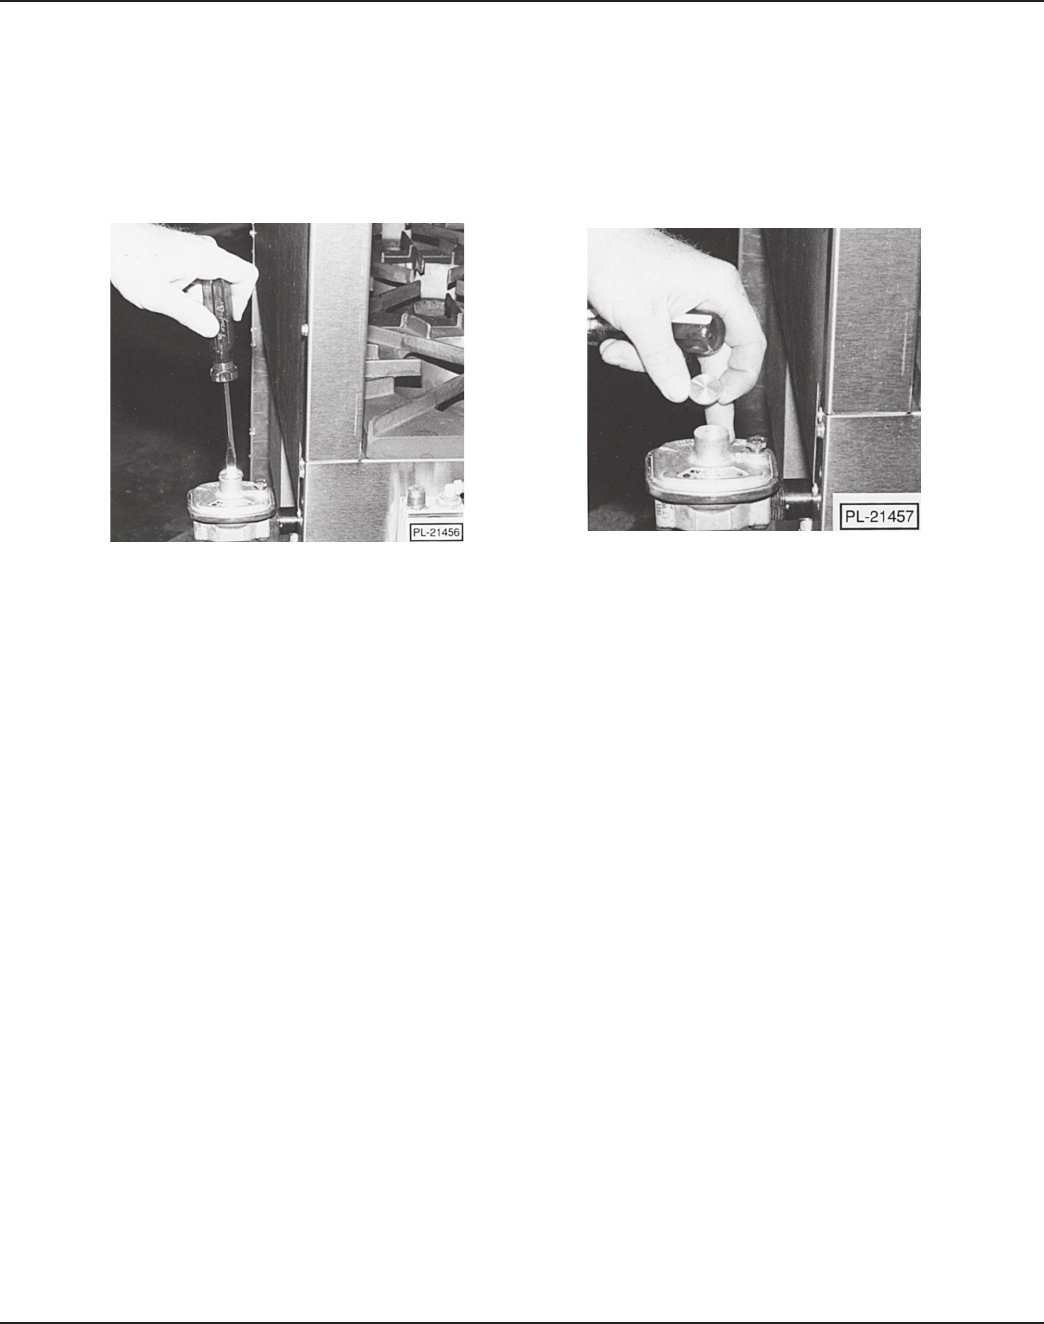
3. If reading is incorrect and the proper line pressure has been verified, then the regulator must be adjusted. Using a
standard flat blade screwdriver, remove the regulator adjustment cap (Figs. 26 & 27).
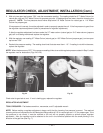
Insert the screwdriver into the adjustment shaft and turn the adjustment stop while watching the manometer until the
correct pressure reading is achieved. Clockwise rotation of the stop increases pressure; counterclockwise rotation
decreases pressure.
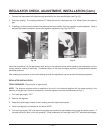
After resetting the pressure to the correct setting, reinstall the adjustment cap and remove the testing equipment.
REGULATOR INSTALLATION
TOOLS REQUIRED: Slip joint plier or pipe wrench.
NOTE: The pressure regulator must be attached to the unit in the horizontal position with the arrow pointing in the
direction of the gas flow, unless at some point in time the regulator has been recalibrated (see Fig. 7).
1. Turn main gas supply “OFF”.
2. Remove old regulator.
3. Wrap the manifold pipe threads of the insulating end with pipe thread sealant.
4. Install new regulator as indicated by the above NOTE.
5. Turn main gas supply “ON” and check the regulator connections for gas leakage using a soap and water solution. If
no leaks are found, return unit to full operation. If leak is detected, turn main gas valve “OFF” and eliminate leakage.
Fig. 26
Fig. 27