


— 34 —
THERMOCOUPLE CHECK
1. Fold lower kick panel down.
2. Perform pilot lighting procedures (see Page 13).
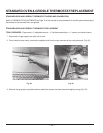
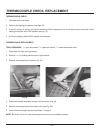
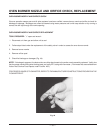
3. If unit will not stay lit, using a volt meter, check the millivolt reading from the valve thermocouple connection while
holding pilot button in the “ON” position (see Fig. 37).
4. If millivolt reading is below 5 MV, replace thermocouple.
THERMOCOUPLE REPLACEMENT
TOOLS REQUIRED:
7
/16" open end wrench,
3
/8" open end wrench,
1
/4" socket and socket driver.
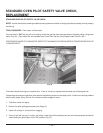
1. Disconnect unit from main gas supply.
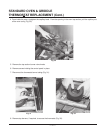
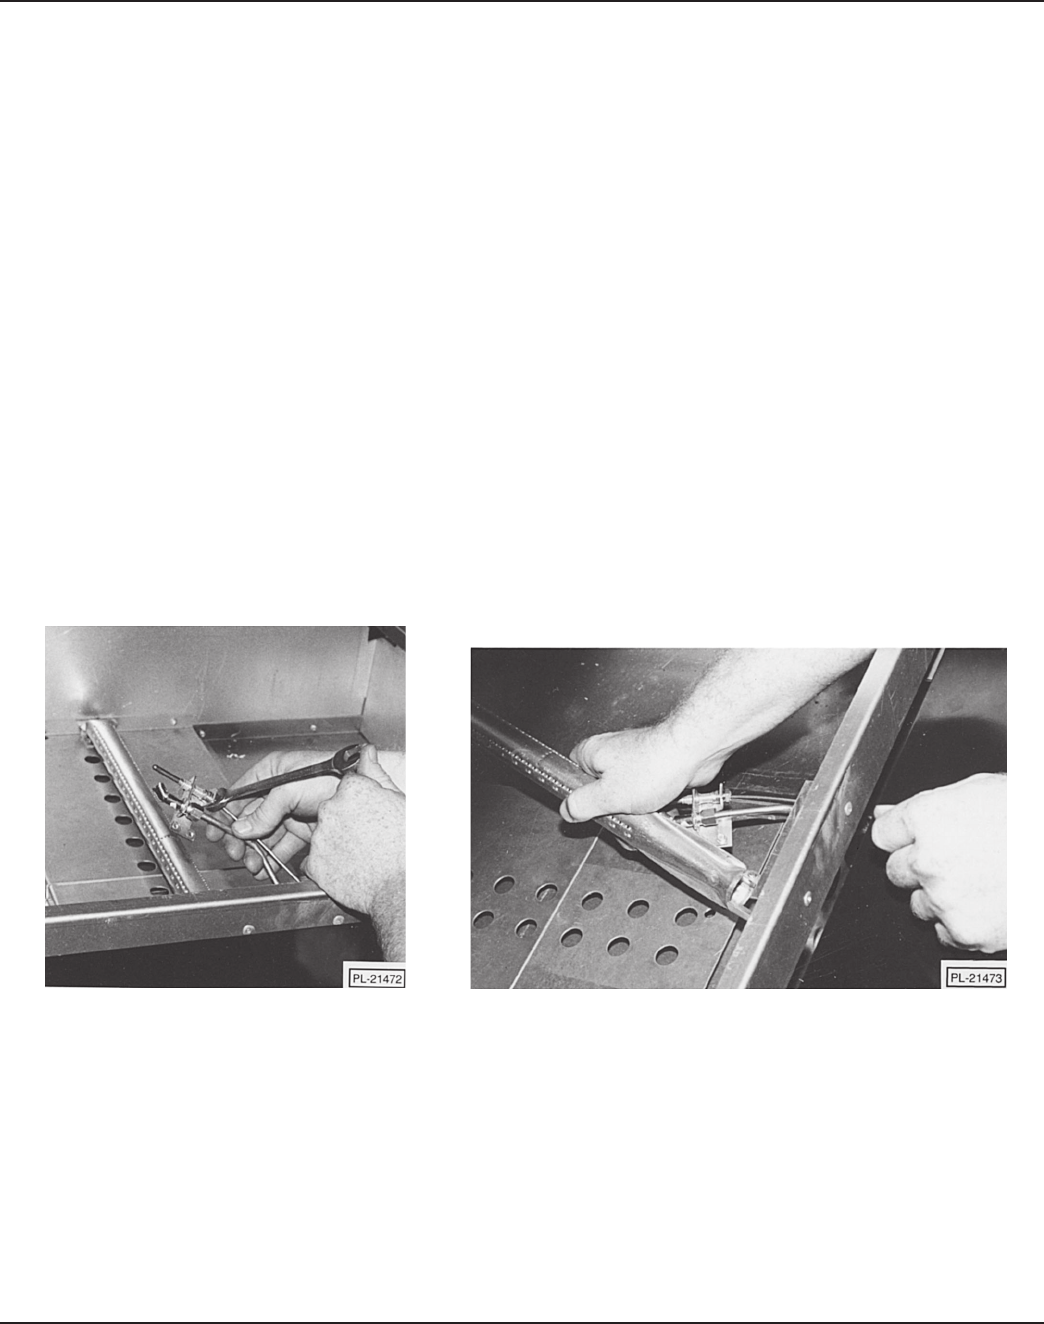
2. Remove
7
/16" nut holding thermocouple to pilot bracket.
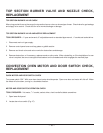
3. Remove thermocouple from bracket (Fig. 42).
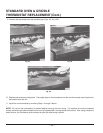
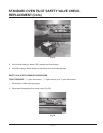
4. Feed thermocouple assembly through front burner box (Fig. 43).
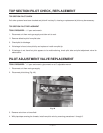
5. Remove thermocouple lead from safety valve (see Fig. 38).
6. Install new thermocouple by reversing Steps 1 through 5.
NOTE: Be careful not to kink new thermocouple wire during the installation process.
THERMOCOUPLE CHECK, REPLACEMENT
Fig. 42
Fig. 43