UNPACKING & INSPECTION
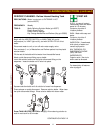
Carefully remove the appliance from the carton. Remove all protective
plastic film, packing materials and accessories from the appliance
before connecting electrical power or otherwise performing any
installation procedure.
Carefully read all instructions in this manual and the Installation
Instruction Sheet packed with the appliance before starting any
installation.
Read all instructions in this manual carefully before starting installation
of this dispenser. READ AND UNDERSTAND ALL LABELS AND
DIAGRAMS ATTACHED TO THE DISPENSER.
Carefully account for all components and accessories before discarding
packing materials.
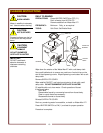
1 ea. WATER-MAX II™ HOT WATER DISPENSER
4 ea. ADJUSTABLE LEGS
1 ea. DRAIN ASSEMBLY w/ MOUNTING BRACKET
1 ea. SATELLITE TANK ASSEMBLY with LID
1 ea. PLASTIC SOLUTION BOTTLE with
QUICK DISCONNECT FITTING
1 ea. LITERATURE PACKAGE
Store these components in a convenient place for later use:
SETUP
Verify that this dispenser installation is in compliance with the
specifications listed in this manual and with local code requirements.
THIS IS THE RESPONSIBILITY OF THE INSTALLER.
Recommended height of the faucet is 38” to 42” from the floor.
However, the actual installed height may vary with the requirements of
the individual store.
The counter at the installation location must be level, provide a clear
space at least 17-1/2”” deep and must be structurally capable of safely
supporting the 150 pound weight of the Water-Max II™ and satellite
when filled with water.
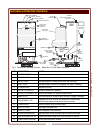
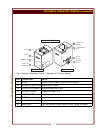
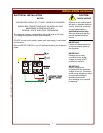
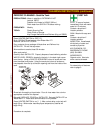
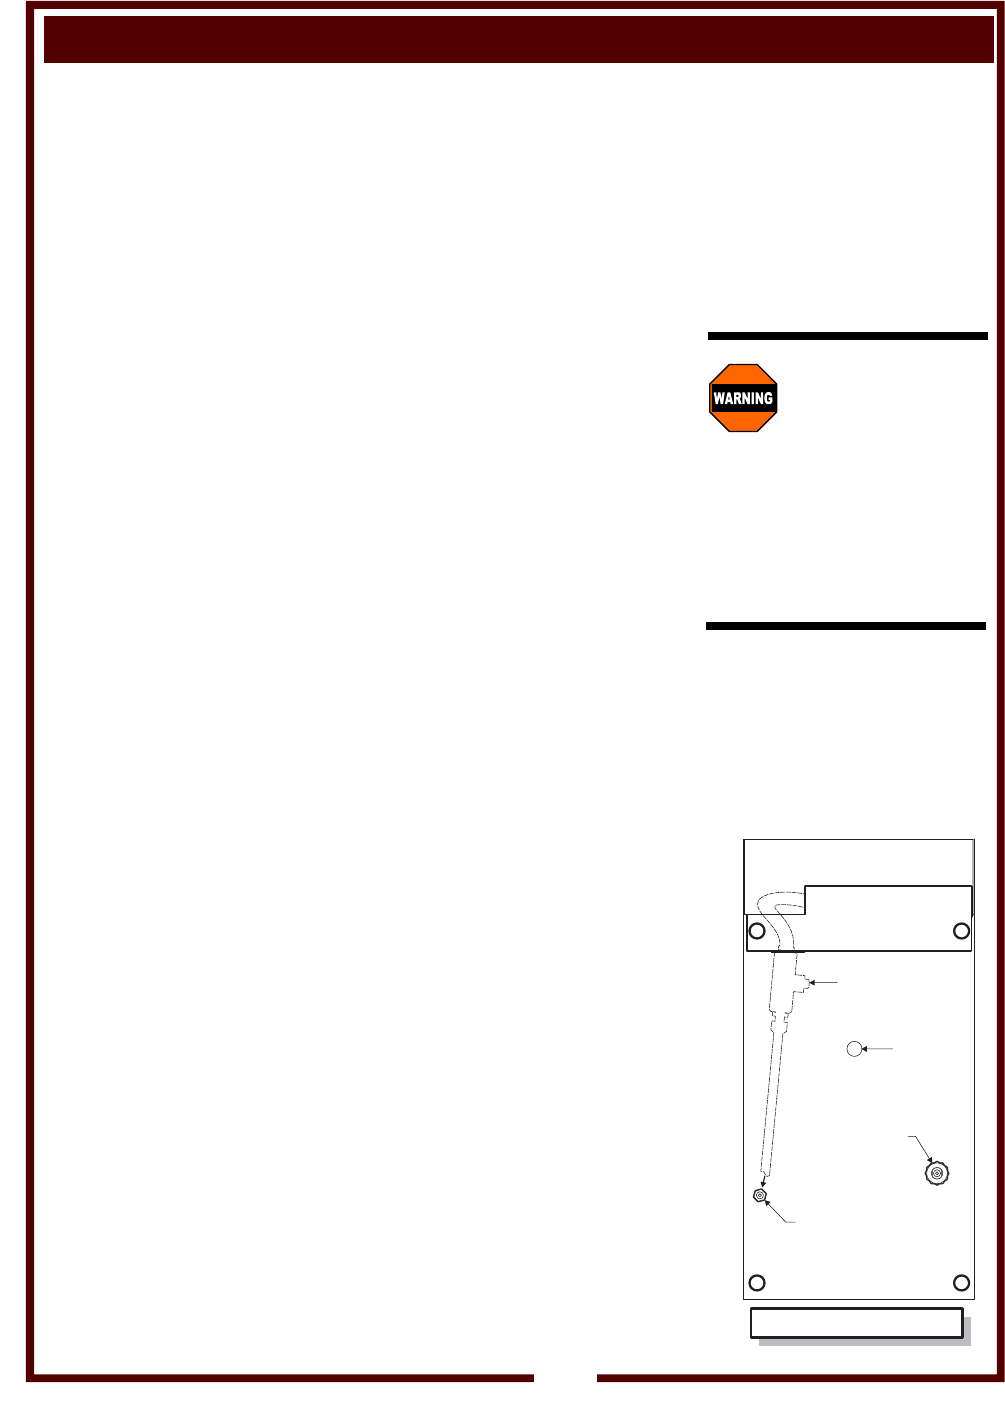
Position DRAIN VALVE MOUNTING BRACKET. Install LEGS, one on
each bottom corner. Front legs retain mounting bracket. Make certain
all four legs have the NON-SKID FEET installed.
Connect DRAIN HOSE and CLAMP to DRAIN ASSEMBLY. Feed hose
through MOUNTING BRACKET from the rear, then connect assembly
to DRAIN FITTING on bottom of unit, left side near the rear of the unit.
Set Water-Max II™ upright on the counter.
With the dispenser in its final installed location, adjust for level with the
adjustable legs. With a spirit level, check and adjust the dispenser for
level front-to-rear and side-to-side.
NOTE: DO NOT discard
the carton or other packing
materials until you have
inspected the appliance for
hidden damage and tested it
for proper operation.
Refer to SHIPPING DAMAGE
CLAIM PROCEDURE on the
inside front cover of this
manual.
WARNING:
Risk of
personal injury
Installation procedures must
be performed by a qualified
technician with full knowledge
of all applicable electrical and
plumbing codes. Failure can
result in personal injury and
property damage.
IMPORTANT: A one gallon
pitcher of water will weigh
about 8-1/2 pounds and will be
VERY HOT.
When connecting drain
assembly, be sure to connect
to the DRAIN FITTING.
INSTALLATION
5
L
L
LL
MOUNTING
BRACKET
ELECTRIC
SERVICE
INLET
WATER INLET
FITTING
DRAIN
FITTING
DRAIN
ASSEMBLY
(REAR)
(FRONT)
BOTTOM VIEW
M707 p/n 306692 OpManual WM-TR II


