INSTALLATION (continued)
PLUMBING LINE CONNECTION
If power has been run to the dispenser, verify that the circuit breaker is
turned
OFF, and that the POWER SWITCH is in the OFF [O] position.
Water-Max II™ must be connected to a potable water supply. Connect
to a cold water line only. Connecting to a hot water line will damage the
inlet water valve.
NOTICE:
WATER PIPE CONNECTIONS AND FIXTURES DIRECTLY
CONNECTED TO A POTABLE WATER SUPPLY SHALL BE SIZED,
INSTALLED AND MAINTAINED ACCORDING TO FEDERAL, STATE,
AND LOCAL ORDINANCES.
Minimum 1/4” copper or flex tubing supply line (3/8” minimum if run
from main supply exceeds 12 feet) with 1/4” female flare fitting.
Minimum 25 psi / maximum 75 psi water pressure at full flow.
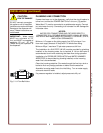
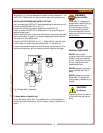
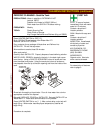
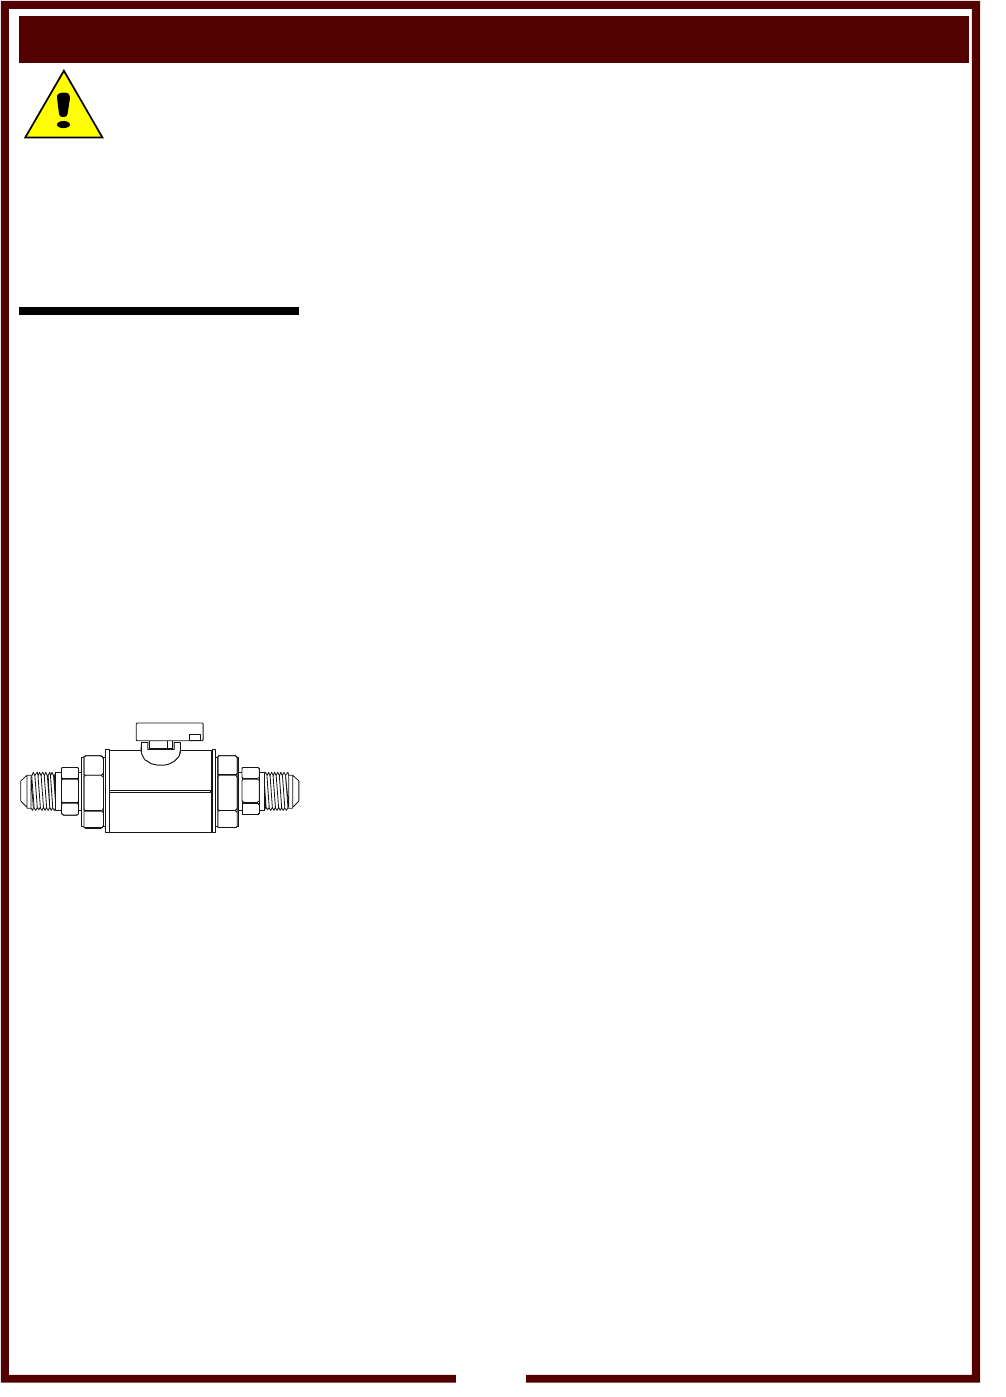
The installation of a SHUTOFF VALVE (must be provided by plumbing
installer) on the incoming water line is required. A 1/4 turn ball valve is
recommended to minimize restricting the water flow during operation.
Installation of a PRESSURE REGULATOR and WATER HAMMER
ARRESTOR (to be provided by plumbing installer) on the incoming
water line is recommended.
Clean the incoming waterline: Run water through the line into a sink or
bucket to flush any foreign particles or debris from the waterline.
Assemble incoming water line to the inlet fitting. Turn on water supply
valve and check for leaks.
If a pressure regulator is installed, adjust pressure to 40 p.s.i.
CAUTION:
RISK OF DAMAGE
DO NOT connect or energize
this appliance until all Installation
Instructions are read and followed.
Damage to the dispenser will
occur if these instructions are
not followed.
IMPORTANT: Water supply
MUST be a minimum of 1/4”
line, and MUST be capable of
supplying 25 p.s.i. AT ALL
TIMES during the operation of
the dispenser.
Fig. 3 1/4 Turn Ball Valve
6
M707 p/n 306692 OpManual WM-TR II


