


11
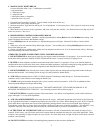
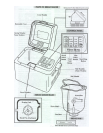
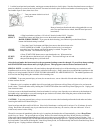
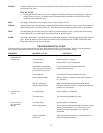
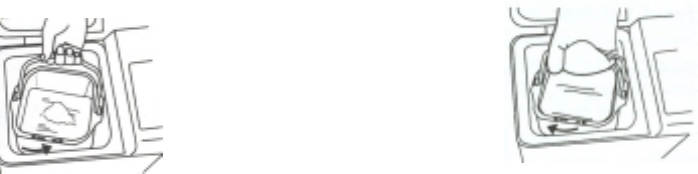
3. Lock the bread pan into bread maker, turning pan counterclockwise to lock in place. Note the directional arrows on edge of
pan as to which way to turn for the lock position. Pan must be locked in place for the bread maker to function properly. Make
sure handle of pan is down, then close cover.
Turn pan counter-clockwise to lock
pan in place.
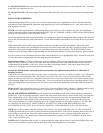
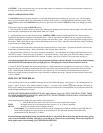
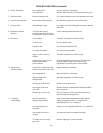
Remove bread pan from bread maker using potholder or oven
mitt. Turn pan clockwise to unlock, then lift bread pan out of
bread maker.
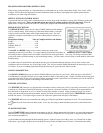
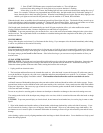
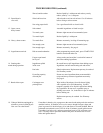
BREAD 4. Plug bread maker cord into a 120 volt AC electrical outlet ONLY. Press the
SELECT Bread Select button until light glows next to the desired bread setting: BASIC,
RAPID, WHOLE WHEAT. If you pass the desired setting, just continue to press the Bread Select
button until desired setting is reached.
5. Press the Crust Color button until light glows next to the desired crust color:
LIGHT, MEDIUM or DARK. If you pass the desired color, just continue to
CRUST press the Crust Color button until desired setting is reached. Program Time
COLOR Delay if desired. See instructions on page13.
6.Press START/STOP button once to turn bread maker on. When turned on,
START/ the red light next to the knead cycle will glow. The bread will begin to mix and
STOP then proceed through the cycles until done.
After the bread maker has been turned on, the programmed settings cannot be changed. If you wish to change settings,
hold START/STOP button down until cycle light goes out. Then program control as desired and turn back on.
SPECIAL NOTE: An audible alert will sound midway through the knead cycle at all bread settings as a reminder to add
ingredients such as raisins, fruit, nuts or cheese as directed in the recipe. Simply open the cover and add the ingredients to the
dough as it is being kneaded. DO NOT STOP THE BREAD MAKER TO ADD INGREDIENTS. The added ingredients will
be mixed into the dough during the remainder of the kneading time.
CAUTION: To prevent personal injury or burns, do not touch cover, vent or sidewalls of bread maker during the bake cycle
as these surfaces are hot.
7. When the cycle is complete an audible alert will sound and green light next to Keep Warm will glow to let you know the
bread is done. Turn bread maker off by holding the START/STOP button down until Keep Warm light goes out. Unplug cord
from electrical outlet.
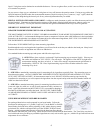
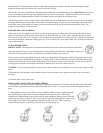
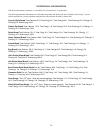
It is best to remove the bread immediately from bread maker for a crispy crust. Open the cover and remove the bread pan by
the handle using a pot holder or oven mitt, turning the pan
clockwise to unlock, then lifting the pan out of the bread maker.
Handle bread pan carefully as it is hot.
CAUTION: To prevent personal injury, always use oven mitt to remove the hot bread pan from the bread maker and when
removing the baked loaf of bread from pan.
Invert bread pan and shake until loaf falls out. Place loaf of bread onto a cooling rack for at least 15 to 30 minutes for easier
slicing. Knead bar will normally stay in pan when bread is removed, but may, on occasion, slide out with bread. If bar is
inside bread, remove before slicing.
If bread is not removed immediately after the cycle is complete, the bread maker will automatically go into a Keep Warm
mode for up to 3 hours. The green light next to Keep Warm will remain lit during this Keep Warm period as a reminder.
When removing the bread pan during the Keep Warm period, always use pot holders or oven mitt as pan will be hot. Turn
bread maker off by holding START/STOP button down until Keep Warm light goes out. Unplug cord from outlet after use. If
the bread maker is not turned off during this 3 hour Keep Warm period, it will automatically shut itself off and the Keep Warm
light will go out. Unplug cord from electrical outlet.