


6
liquid. Vital gluten can be obtained at most health food stores. Do not use gluten flour, as this is not as effective as vital gluten
as it contains less protein.
Or you can use a large egg as a substitute for vital gluten as it too will increase the protein content. If using an egg, add to the
liquid in bottom of pan and reduce the recommended amount of liquid in recipe by two (2) ounces (¼ cup). Again, check the
condition of the dough during the knead cycle for any minor adjustment that may be needed.
SPECIAL NOTE ON CINNAMON AND GARLIC: Adding too much cinnamon or garlic can affect the texture and size of
the loaf obtained. Cinnamon can break down the structure of the dough, affecting height and texture, whereas, garlic can
inhibit the yeast activity. Use only the amount of cinnamon and garlic recommended in the recipe: don’t be generous.
IMPORTANT IMPORTANT IMPORTANT
MEASURE INGREDIENTS PRECISELY AND ACCURATELY
.
THE MOST IMPORTANT STEP IN USING YIUR BREAD MAKER IS TO MEASURE THE INGREDIENTS PRECISELY
AND ACCURATELY. A mismeasured tablespoon of water or teaspoon of salt can make a BIG difference in the bread maker.
Remember, the bread maker is not human and cannot adjust for mismeasured ingredients, ONLY YOU CAN MAKE SURE
THE INGREDIENTS ARE MEASURED ACCURATELY.
Follow these VERY IMPORTANT tips when measuring ingredients:
Read through the recipe and organize the ingredients you will need in the order they are added to the bread pan. Many bread
disasters occur because an ingredient was left out or added twice.
Use standard kitchen measuring cups and spoons and follow the steps below.
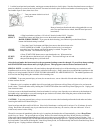
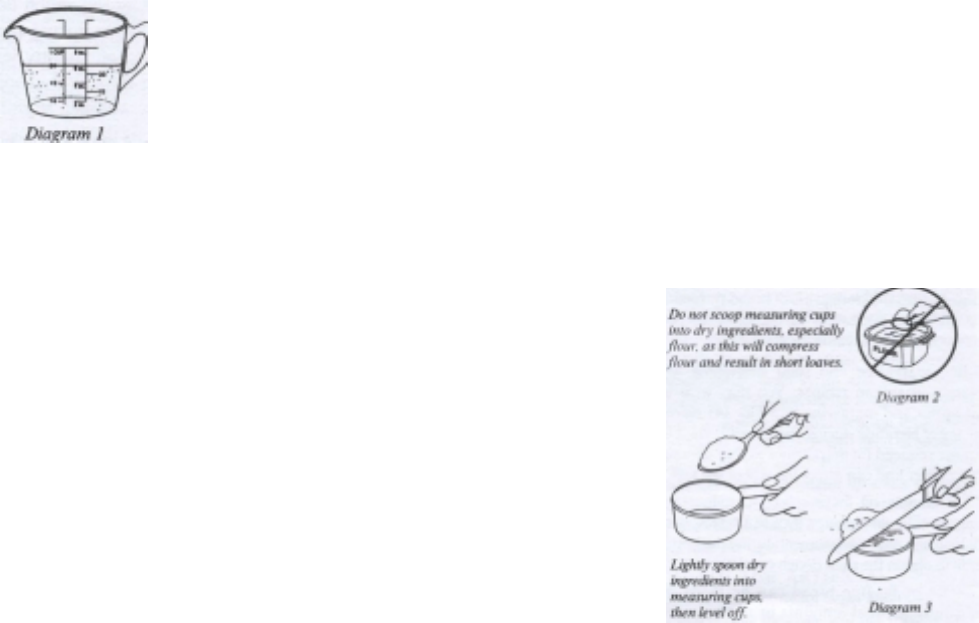
1. ALWAYS use glass or plastic “see through” liquid measuring cups to measure liquids. Place cup on
flat surface and measure at “EYE LEVEL,” not at an angle. The liquid level line MUST be right to the
measurement marking, not above or below. A “looks close enough” measurement can spell disaster in
bread making. SPECIAL TIP: Place liquid measuring cup on inside of kitchen cabinet for easier
measuring at eye level.
2. ALWAYS use standard dry measuring cups for measuring all dry ingredients especially flour. Dry measuring cups are
those that nest together. ALWAYS SPOON DRY INGREDIENTS INTO THE SPECIFIED MEASURING CUP, THEN
LEVEL OFF TOP WITH A KNIFE. All measurements must be level. DO NOT SCOOP measuring cups into the dry
ingredients for measuring as you will compress the ingredients into the cup and end up with more than intended which will
result in a short loaf of bread.
3. ALWAYS use standard measuring spoons for measuring ingredients such as
yeast, salt, sugar, dry milk, etc. as well as small amounts of honey, molasses or
water. Again, the measurements MUST BE LEVEL, not rounded or heaping as
this little bit of difference can affect the bread. DO NOT USE TABLEWARE
AS MEASURING SPOONS AS THESE VARY IN SIZE AND WILL NOT BE
ACCURATE.
USING BREAD MIXES IN YOUR BREAD MAKER
Pre-packaged bread mixes can be prepared in your bread maker. Follow the
directions for making up to a 1½ pound (3 cup) loaf. Use the BASIC or RAPID
Bread Setting for bread mixes unless preparing a 100% whole wheat or natural
grain bread mix, which would require the use of the WHOLE WHEAT Bread
Setting. Add the recommended amount of liquid to the bread pan first, then the
flour mixture and finally the yeast on top. Select desired Crust Color and start the bread maker. The Time Delay can also be
used with bread mixes providing no perishable ingredients are used, such as milk, eggs, etc., which will spoil when left at room
temperature for several hours.