


(Defrostlng and Cooklng...contlnued)
WHAT TO EXPECT.
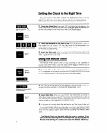
While in the Defrosting Cycle. the Defrost INDICATOR will
glow and the Defrost Time will count down on the DISPLAY. When this time IS
over, a buzzer will sound. The microwave will then go into HOLD for the same
length of time as it was in Defrost. The Hold INDICATOR will glow and the
DISPLAY will count down Hold time Hold time is usually necessary to help
complete thawing
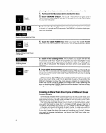
If you want your microwave oven to skip the ho/ding time, use Cycle 2
or Cycle 3 Instead of Cycle 1. When you do, the mlcrowave w/l/ go
directly from Defrost to the next cycle.
After the Hold time IS over, a buzzer sounds. The microwave oven then
starts Cycle 1
In this example, 1% minutes at 40% power. Cycle 1 and
Cook Power INDICATORS ~111 go on and the DISPLAY will count down the
time in the cycle.
When the last cycle is over a buzzer will sound four times unless you open
the door or touch CANCEL
Faster or Slower Detrosting
To defrost at power levels other than the automatic 30% of full power,
refer to the section, Cooking in One Cycle at a Selected Power. Start
with a 20% or 40% power level to defrost slower or faster. Remember
7/
that a higher level may cause some cooking on the outside of the
tood
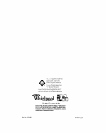
sensor\
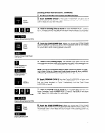
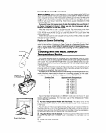
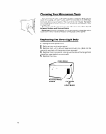
Cooking wilh the MEAL SENSOR’
Pl ’
Temperature Probe
;I’
/;:
bte r
;-Y
i
‘k/
InThIckest Part
You have learned how to program your microwave oven to cook
with time, to cook at various power levels and to cook using more than
one cycle. You can set the minute timer; you can defrost, and you can
defrost and cook with one set of instructions. The next step is cooking to
a temperature.
The MEAL SENSOR takes much of the guesswork and calculation out of
cooking roasts and larger casseroles. When the probe senses the tempera-
ture setting you selected, the oven turns off
NUMBER PADS are used to touch in the setting forthe temperature you
want (like they were used to touch in a cooking power). In this case,
the approximate temperature appears on the NUMBER PAD:
Number Pad
Approximate Temperature
1
90’ F. (32’ C.)
2 110 F. (43- C.)
3 120’ F. (49’ C.)
4
130 F. (54 C.)
5 145 F. (63 C)
6 150 F. (66- C.)
7 160 F.(71 C.)
8 165 F. (74’ C.)
9
185’ F. (85’ C.)
Recommended temperatures of different foods can be found in your
MICRO MENUS’Cookbook For the basic use of the Temperature Probe,
--~
follow these steps
1.
Put the Temperature Probe Into the Food.
The sensor end of the
probe should be In the center of the food Be sure at least 113 of the probe is
in the food
The tip should not be touching bone, fat or an air pocket. If the tip
touches a bone, is not in the thickest part of the food, is in fat or In an air
pocket, the oven may shut off too soon ortoo late. It may be necessary
to relocate the probe and restart the microwave oven.
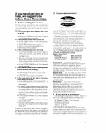
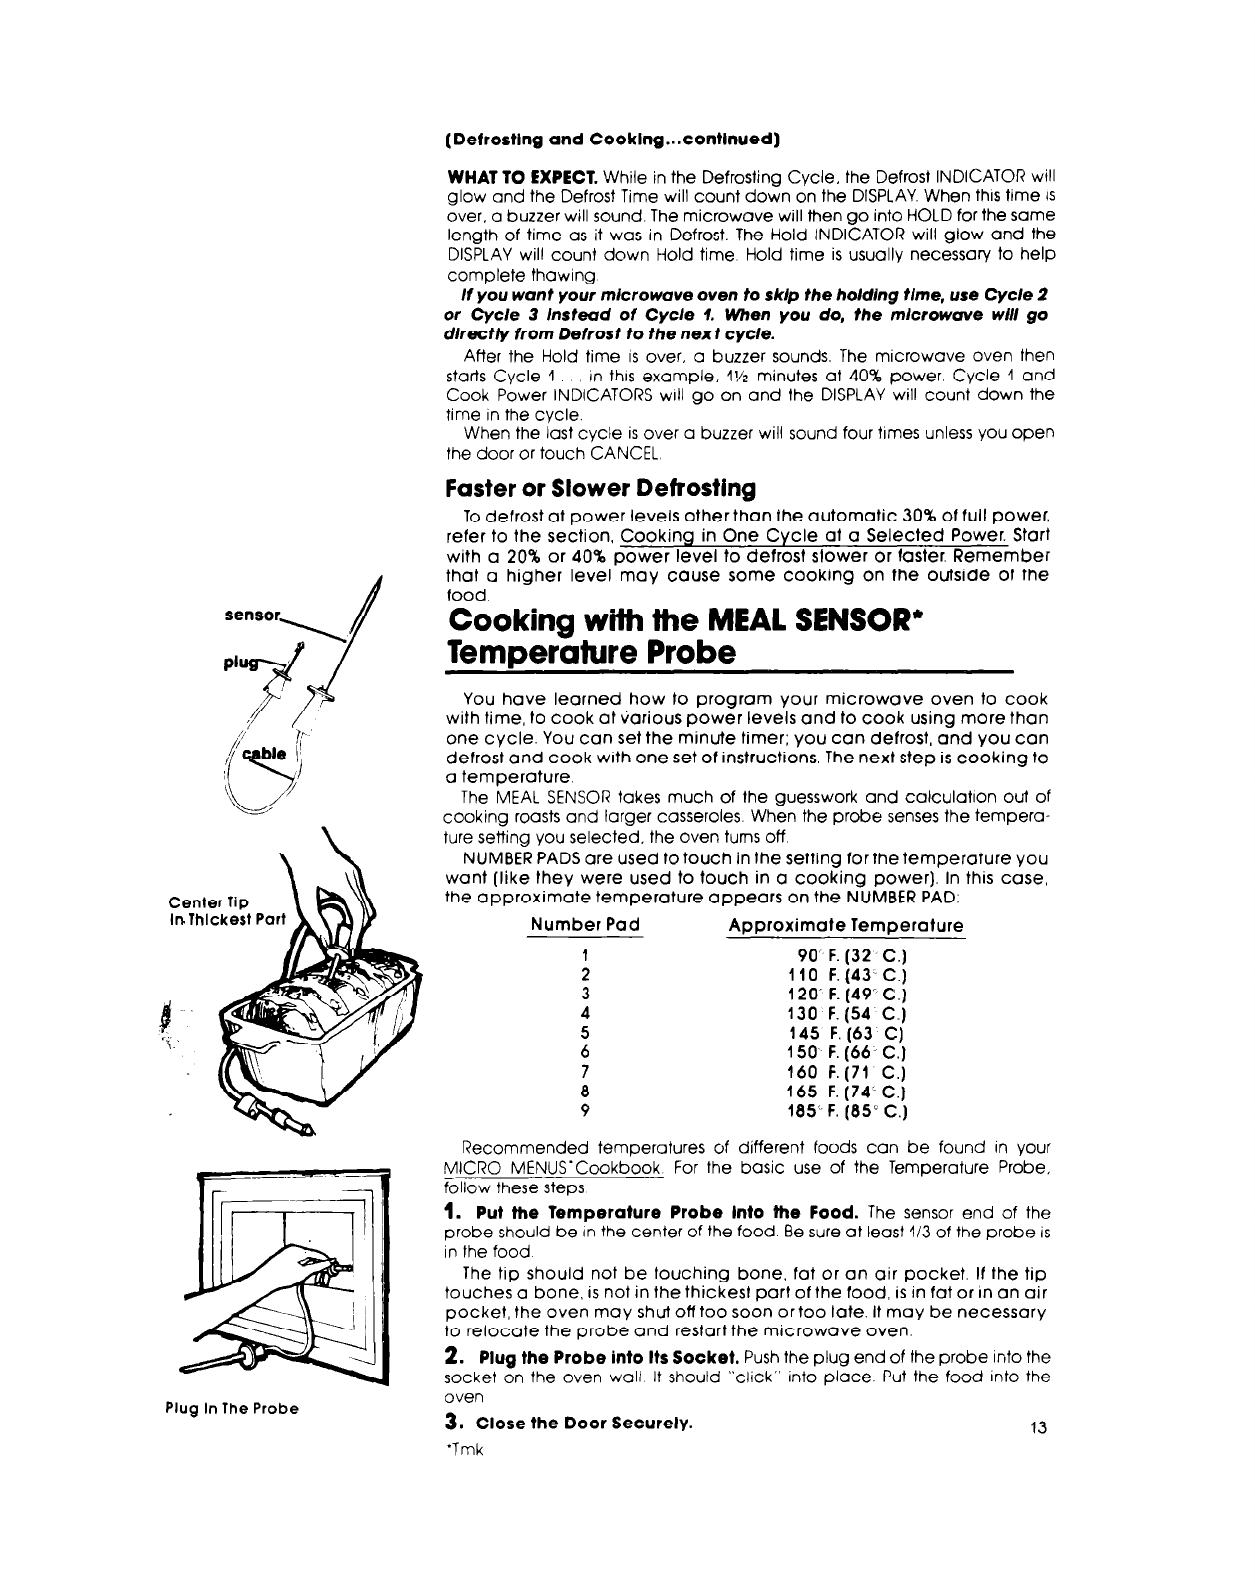
2. Plug the Probe into Its Socket.
Push the plug end of the probe into the
socket on the oven wall It should “click” into place. Put the food into the
Plug In The Probe
oven
3. Close the Door Securely.
‘Tmk
13