11
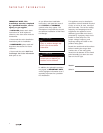
Leak testing of the appliance
shall be conducted according to
the following instructions:
Use a brush and liquid detergent to
test all gas connections for leaks.
Bubbles around connections will
indicate a leak. If a leak appears, shut
off gas valve controls and adjust con-
nections. Then check connections
again. Clean all the detergent solu-
tion from the range.
• Put the burner heads on each
burner base. Place the burner grates
over the burner bases and heads.
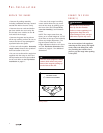
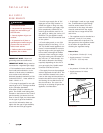
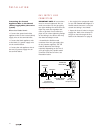
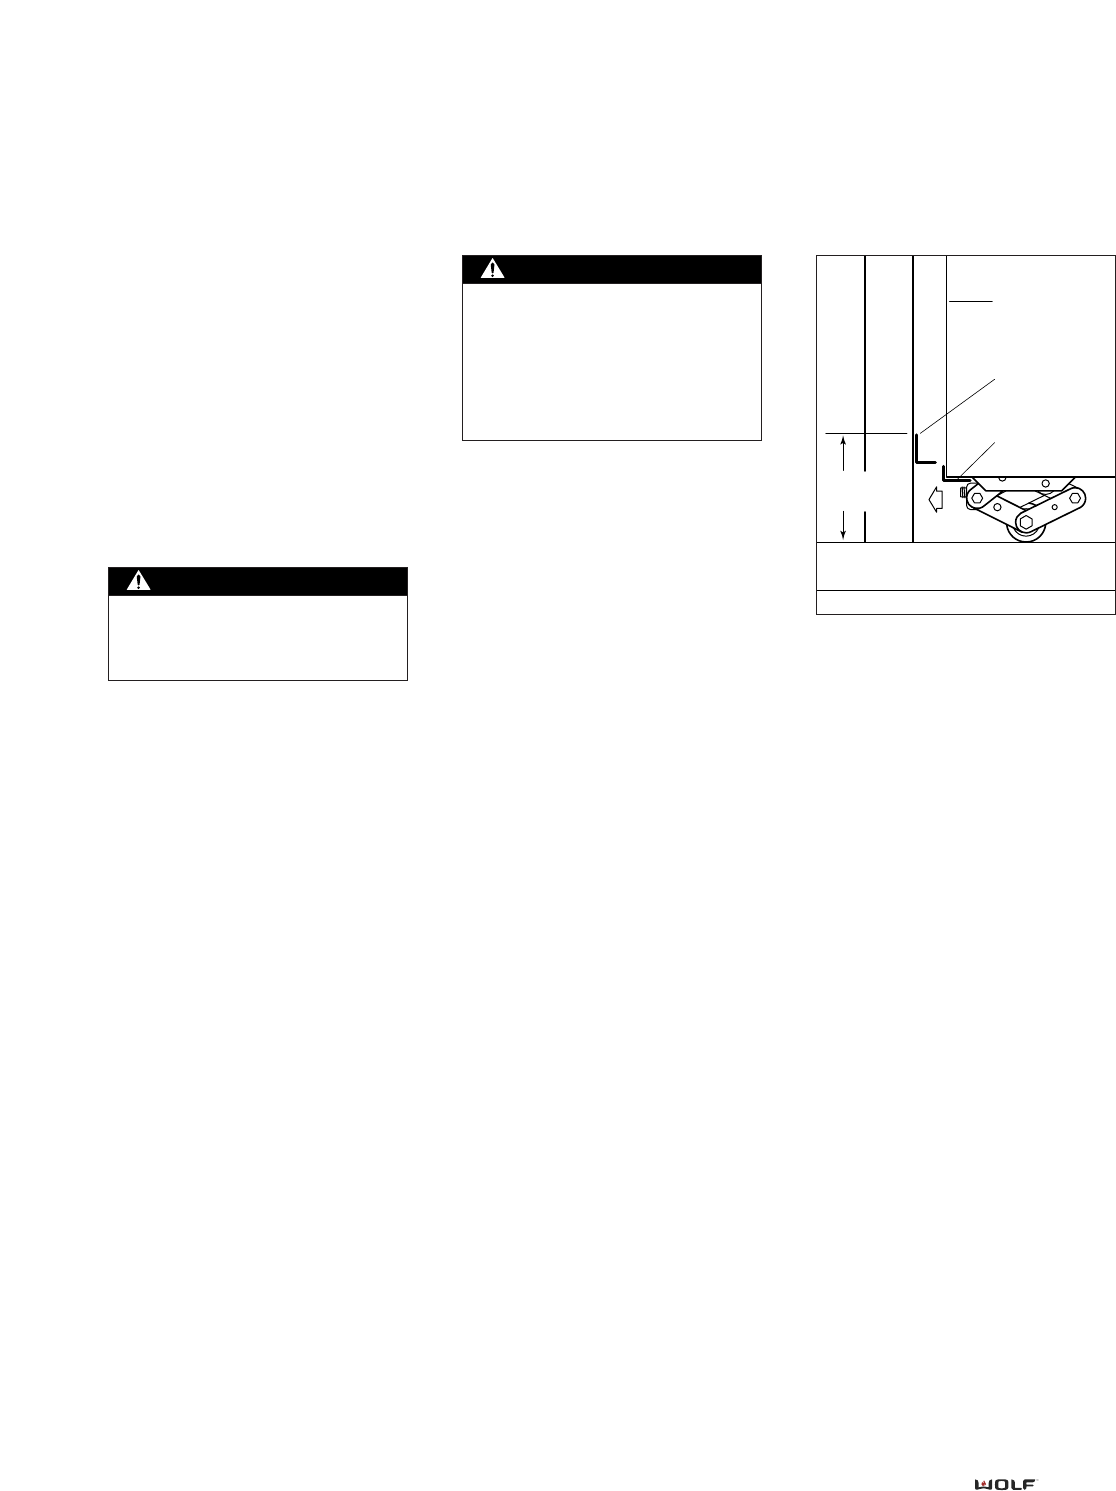
SIDE PANEL
ANTI-TIP
BRACKET
BASE FLANGE
5
3
/4" min
TO FLOOR
WALL
FLOOR
Anti-tip Bracket Installation
WARNING
This range can tip. Injury to
persons could result. Install the
anti-tip device packed with this
range. Follow these installation
instructions.
ANTI-TIP BRACKET
INSTALLATION
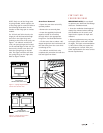
• Raise the unit to its desired height
using the rear leveling casters and
adjusting the front adjustable legs.
Try fitting the unit in place to verify
the correct height.
• Measure from the floor to the top
of the range base flange on the back
of the unit.
• Add 1/8" to this dimension, and
mark this height on the wall behind
the unit. This will be the location of
the bottom edge of the anti-tip
bracket. Try to center the mark
between the cabinets. For 48-inch
and 60-inch ranges, care must be
taken to verify that the anti-tip
bracket does not interfere with the
inner cavity supports.
• Locate a stud or other solid mount-
ing source, and install the anti-tip
bracket at the same level as this line.
• Push the unit back, and ensure the
rear base flange fits under the anti-tip
bracket.
WARNING
Never test for a gas leak with a
match or other flame.


