System Menu
3-11
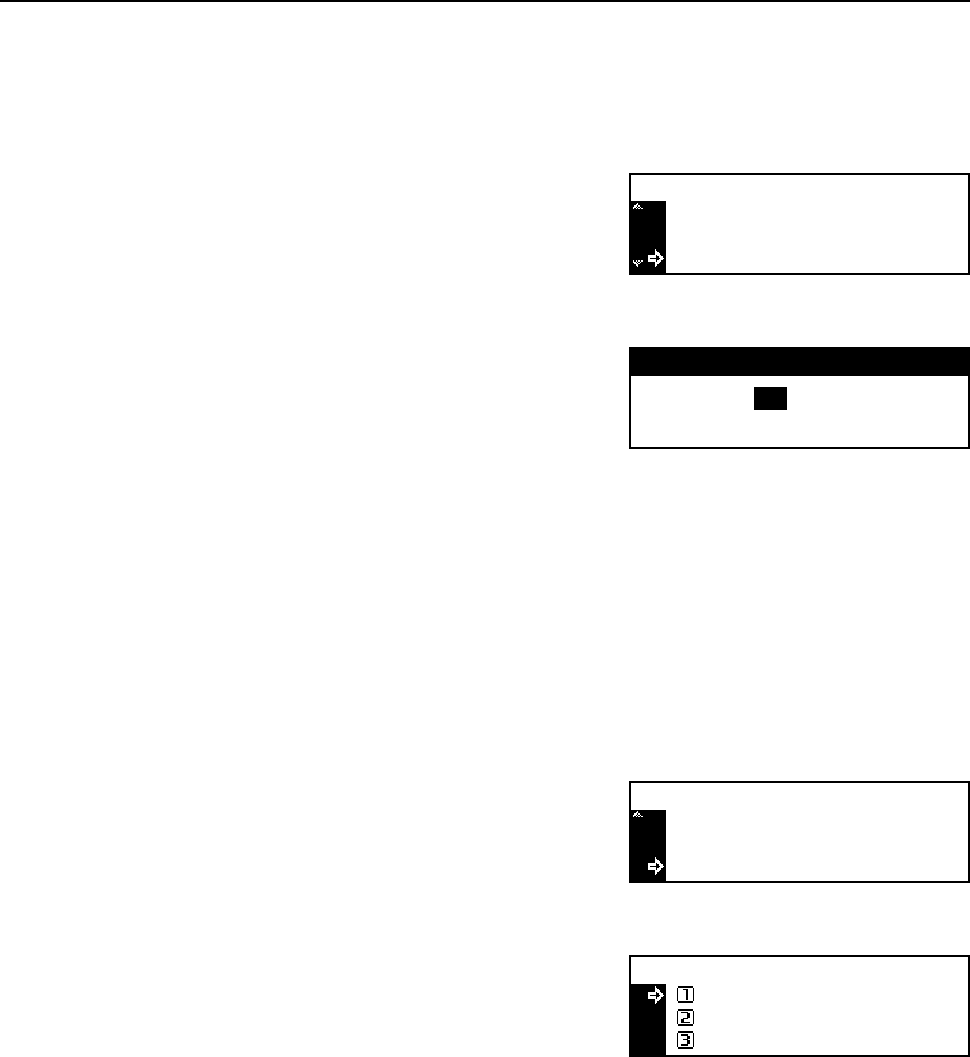
Limit of Number of Copies
Set the limit of the number of copies that can be set at a time.
1
Display the Copy Default screen. (See How to Display the Copy Default Screen on page 3-2.)
2
Press the S key or the T key to select Copy Limit.
3
Press the Enter key.
4
Use the numeric keys to set the maximum number of
copies (1 to 999).
5
Press the Enter key.
6
Press the Reset key. The message display returns to the copier basic screen.
Black Streaking Reduction Processing
If black streaks (streaks that are not contained in the original image) appear on copies from the
optional document processor, you can make black streaking less noticeable. Since the black
streaking reduction processing reduces the reproducibility of fine characters, it is normally
recommended to use the factory default setting.
1
Display the Copy Default screen. (See How to Display the Copy Default Screen on page 3-2.)
2
Press the S key or the T key to select Corr. Black
line.
3
Press the Enter key.
4
Press the S key or the T key to select None, Weak or
Strong.
Note To use the black streaking reduction processing, first select Weak. If black streaking is not reduced,
select Strong.
5
Press the Enter key.
6
Press the Reset key. The message display returns to the copier basic screen.
Copy Default :
: 1/4"Margin Width
: 1/4"BorderEraseWidth
: 999SetCopy Limit
sets
Copy limit:
999
# ke
s
Copy Default :
: 1/4"BorderEraseWidth
: 999SetCopy Limit
: NoneCorr. Black line
Correct. fine black line:
None
Weak
*
Strong
