GFI FAXmaker for Exchange/SMTP Manual Configuring Fax routing • 87
Configuring Line routing
Line routing allows you to route faxes based on which fax line they
were received on.
Adding a line route
To add a line route:
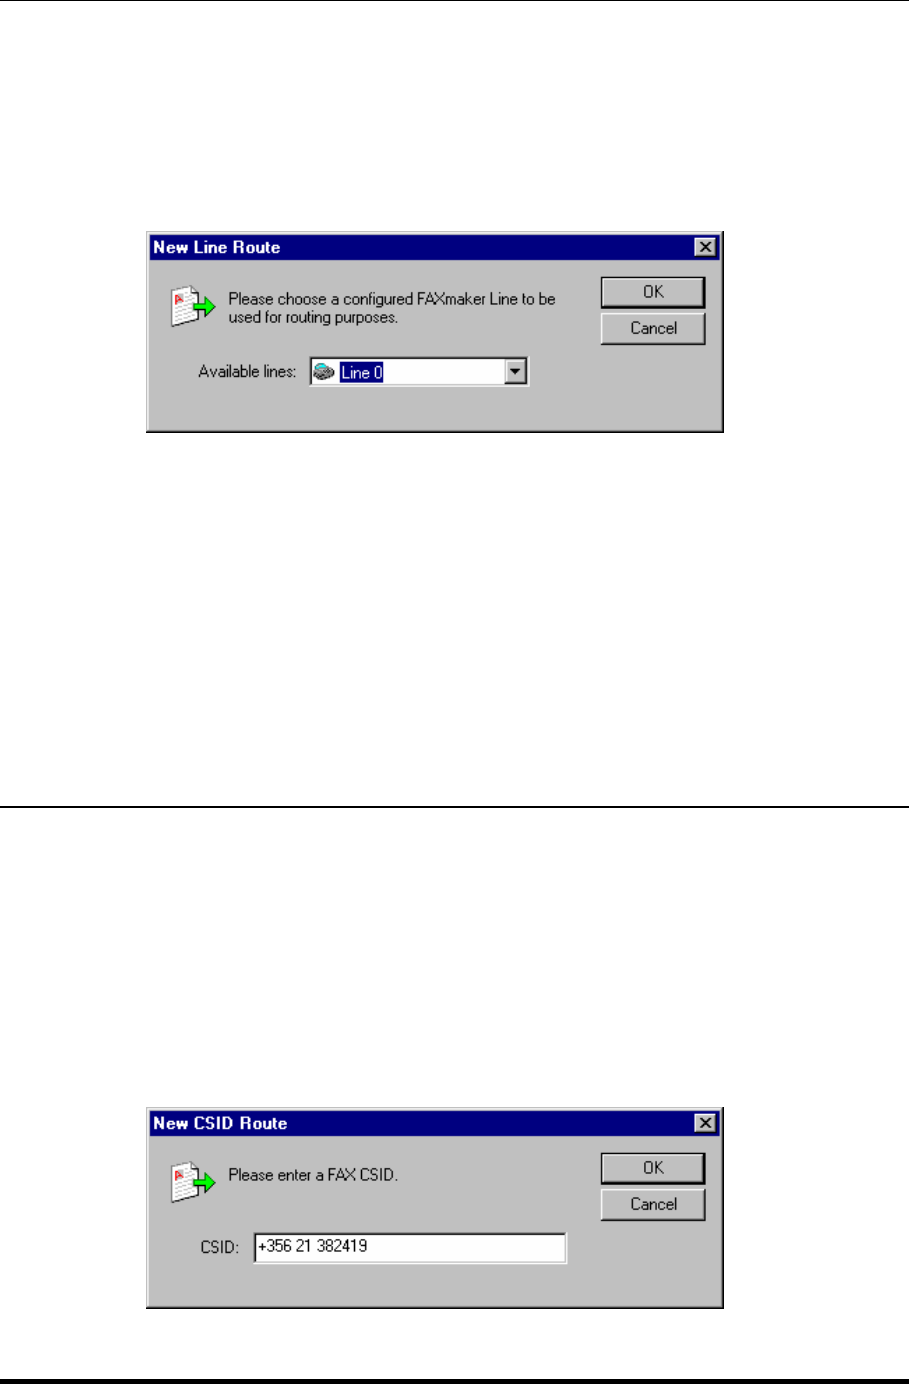
1. Right click on the Routing > Line node, and select 'New Line route'
Screenshot 89 - Creating a new Line route
2. You can now select from the lists of available PHYSICAL fax lines.
Select a line and click OK. The new line route will appear in the right
pane of the GFI FAXmaker configuration.
3. Now double-click on the line route in the right pane. This will bring
up the Line route options. Click on the users tab. In the users tab,
select to which user(s) the fax must be routed if the fax is received on
this physical line.
4. Optionally configure a printer on which the fax must be auto printed
if received on this route. To do this, select the appropriate printer in
the printers tab. (Note that you must have configured the printer first in
the printers node)
Configuring CSID routing
You can set up CSID routing by adding CSID’s (FAX IDs) and
associating one or more users to that CSID. GFI FAXmaker will then
route incoming faxes with that particular CSID to that user. Add FAX
IDs to the user's CSID list by clicking Add and entering the fax
numbers.
Adding CSID routes
1. Right click on the Routing > CSID node, and select 'New CSID
route'
Screenshot 90 - Creating a new CSID route


