


40
Read all instructions before installing or using this appliance.
Installation Instructions
Save these instructions for future reference.
Assemble the range
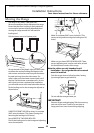
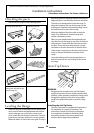
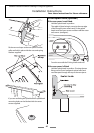
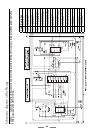
Fit the Door Handles
Remove the 4mm Hex headed screws from the
doors with the hexagon key tool. Use the screws to
fi t the door handles.
The handles should be above the fi xings.
Fit the plastic blanking plugs to the fi xing holes.
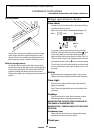
Fit the Handrail
Remove the 4mm Hex headed screws from the top
corners of the fascia.
Fix the front handrail in position. Fit the plastic
blanking plugs to the fi xing holes.
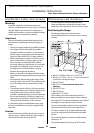
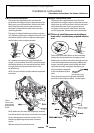
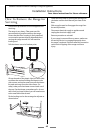
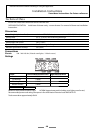
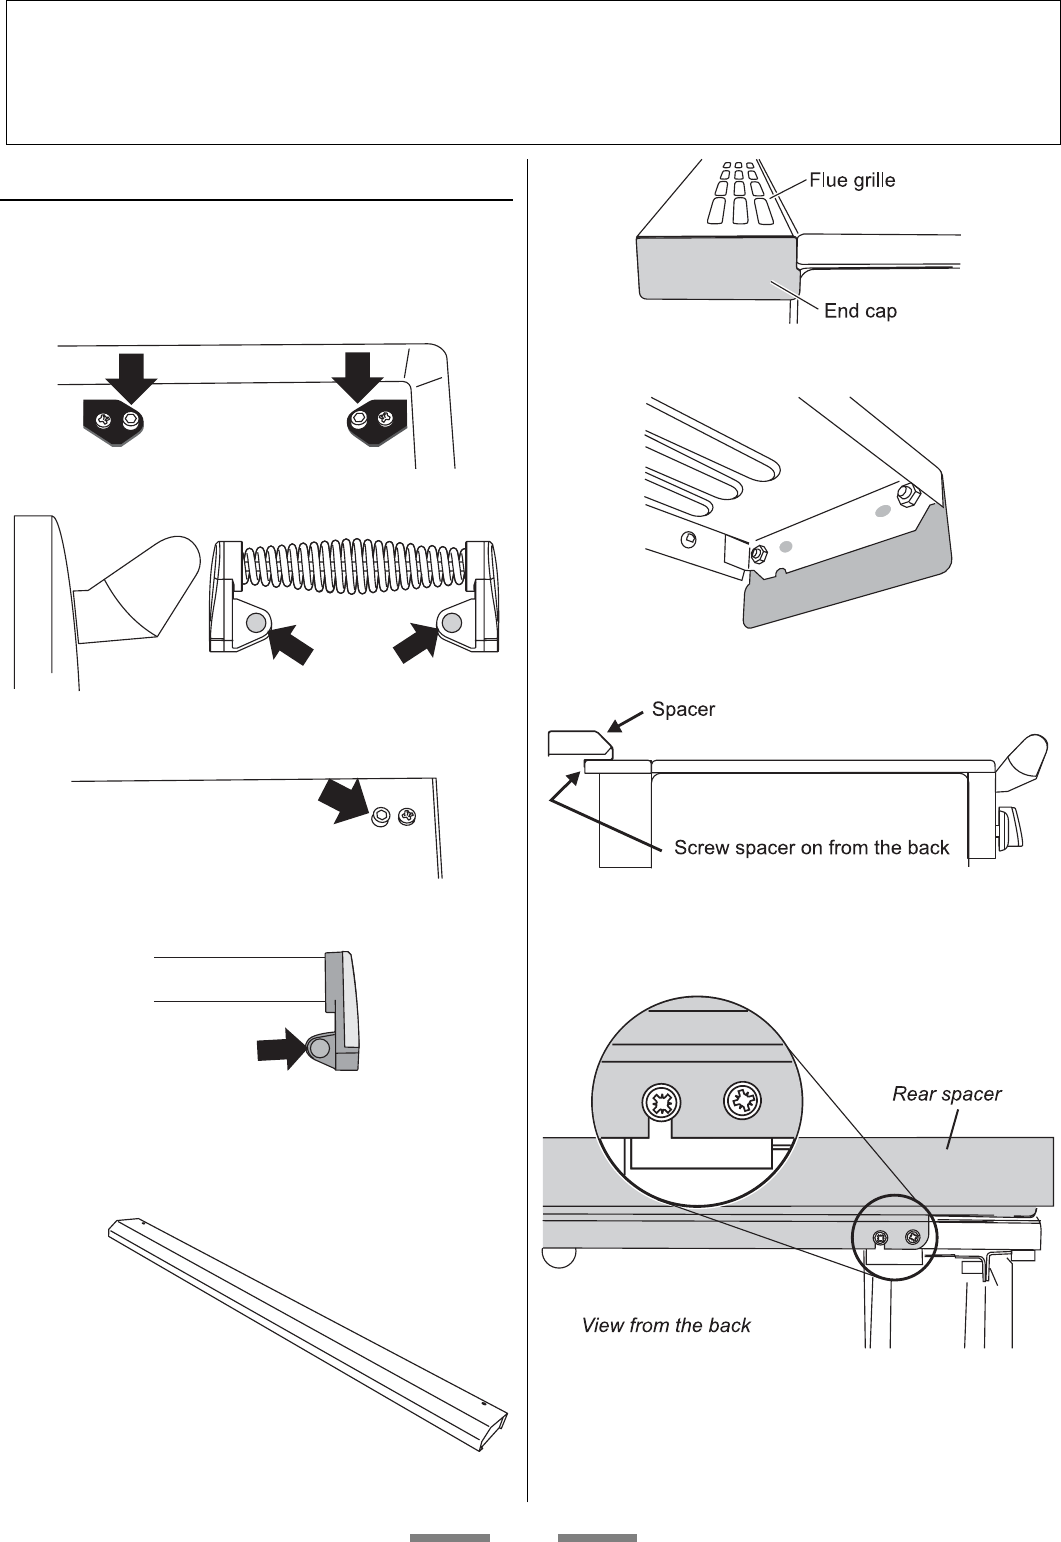
Fitting the rear spacer (optional - but
required for 24’’ deep cabinets)
Rear spacer.
The two end caps (one each end) of the standard
rear fl ue grille must fi rst be removed.
They are held in place by two fi xing nuts on the
inside face.
The rear spacer is fi tted using 4 screws in the rear
edge of the fl ue grille, two at each end. Fit the
spacer over the inner screws and then fi t the outer
two screws. (see fi gure).