11
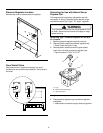
Converting Surface Burners for Use with
Natural Gas
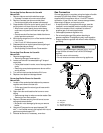
1. Remove 4 burner control knobs from range.
• Exposes 2 screws on burner control panel.
2. Remove 2 screws from burner control panel.
• Panel drops slightly after screws are removed.
3. Grasp bottom of burner control panel, gently lift and
pull out panel until clear of burner valve stems.
• After burner control panel clears valve stems,
continue to roll panel until free from range. Set
aside.
• Gas valve and orifice hood are visible after burner
control panel are removed.
4. While facing range front, turn orifice hoods clockwise
1½ to 2 turns.
• Use ½ inch, 90° offset crescent wrench.
5. Reassemble burner control panel after adjusting air
flow to surface burner flame.
• See
Adjusting Surface Burner Flame
section.
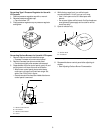
Converting Oven Burner for Use with
Natural Gas
1. Remove storage drawer.
•
Removing Storage Drawer
section.
2. Locate and remove 2 screws attaching Z-shaped
cover plate.
• Cover plate located in center, rear of storage drawer
cavity.
• Removing cover plate exposes oven burner orifice
and air shutter.
3. Turn orifice hood counterclockwise 2 full turns.
4. Replace cover plate and storage drawer.
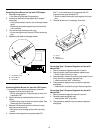
Converting Broiler Burner for Use with
Natural Gas
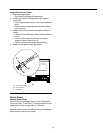
1. Locate orifice spud attached adjacent to pressure
regulator and remove for later use.
• Orifice spud used for natural gas is brass and is
stamped “52”.
2. Open oven door and locate broiler burner on oven
ceiling.
• Remove oven door to make conversion easier. See
Removing Oven Door
section.
3. Remove 2 screws securing front of burner to oven
ceiling and remove broiler.
• Be careful not to damage ignitor as you remove
broiler.
4. Unscrew LP/propane burner spud stamped “58”
with
5
/16 inch socket wrench and replace with natural
gas burner spud stamped “52”.
5. Reinstall broiler and, if necessary, oven door.
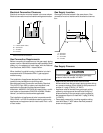
Gas Connection
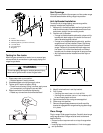
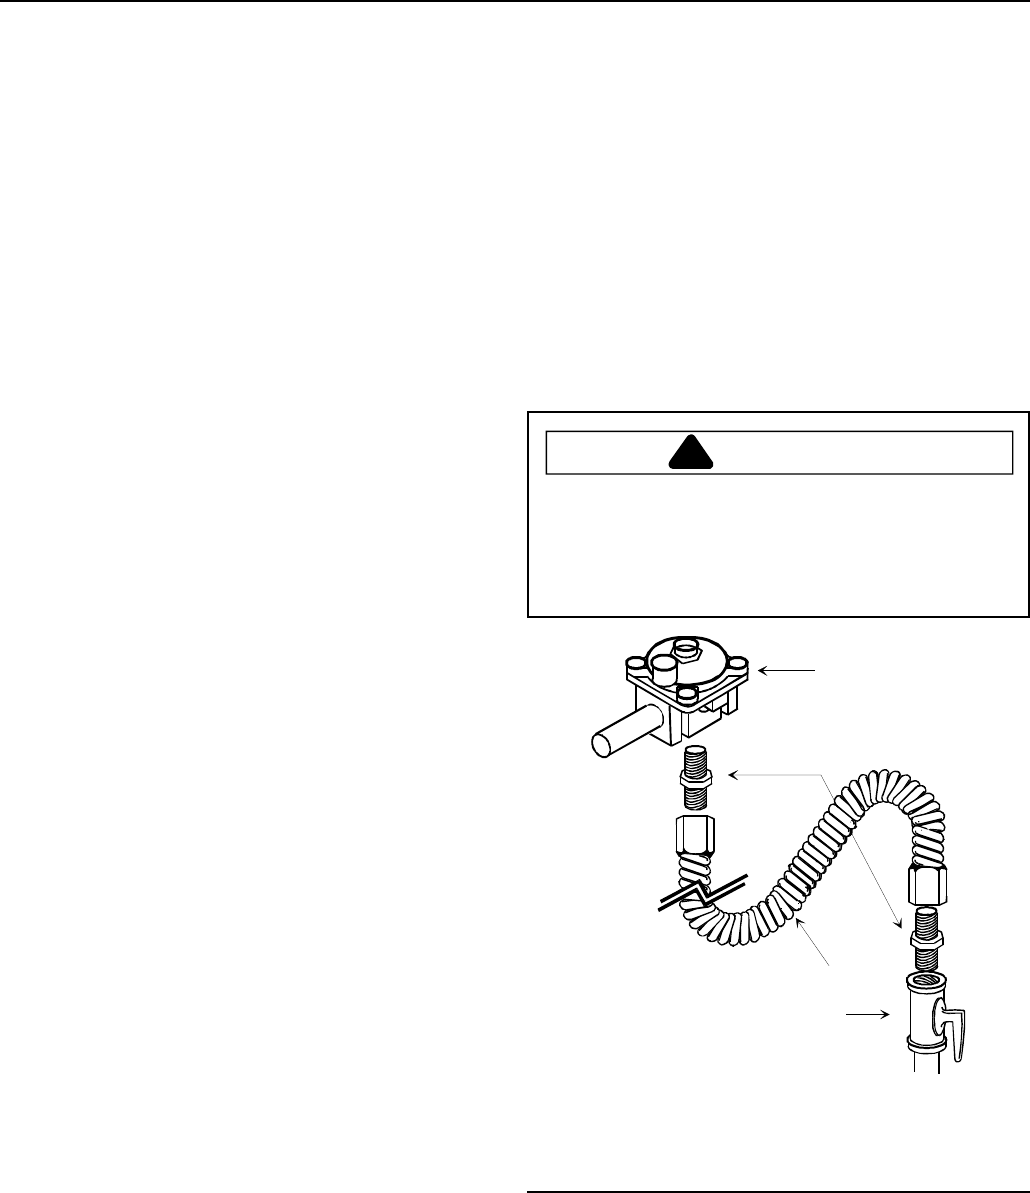
Connect gas supply to regulator using hard pipe or flexible
connector (Check local codes). Pressure regulator
supplied with this appliance has a ½ inch NPT female
connection. If gas union is used, remove storage drawer,
slide range into place, and connect union.
• A manual shutoff, not supplied with range, must be
installed in an accessible location outside of range.
• Use joint compound that is resistant to action of
propane gas on all male pipe threads.
• Use supplied pressure regulator only.
• Do not overtighten gas fitting when attaching to
pressure regulator. Overtightening may crack regulator.
• Support pressure regulator with wrench when installing
gas fitting.
WARNING
!
To avoid property damage or personal injury, only use
a new flexible connector that is AGA/CGA design
certified.
• Do not use an old connector.
• Do not reuse a connector after moving appliance.
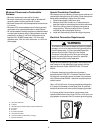
A
B
C
D
A—Regulator
B—Adaptor
C—Flexible Connector
D—Manual Shut Off Valve
Flexible Connection


