13
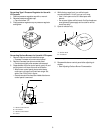
Removal and Reinstallation of Range
1. Unplug range cord.
2. Turn off gas valve and disconnect gas supply.
3. Remove range and place aside.
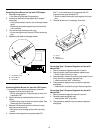
4. Remove anti-tip bracket and reinstall anti-tip bracket
into new location using instructions provided with
bracket.
5. To reinstall range, follow instructions in
Installation
section of this manual.
• Do not reuse a flexible connector after moving
appliance.
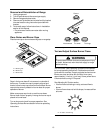
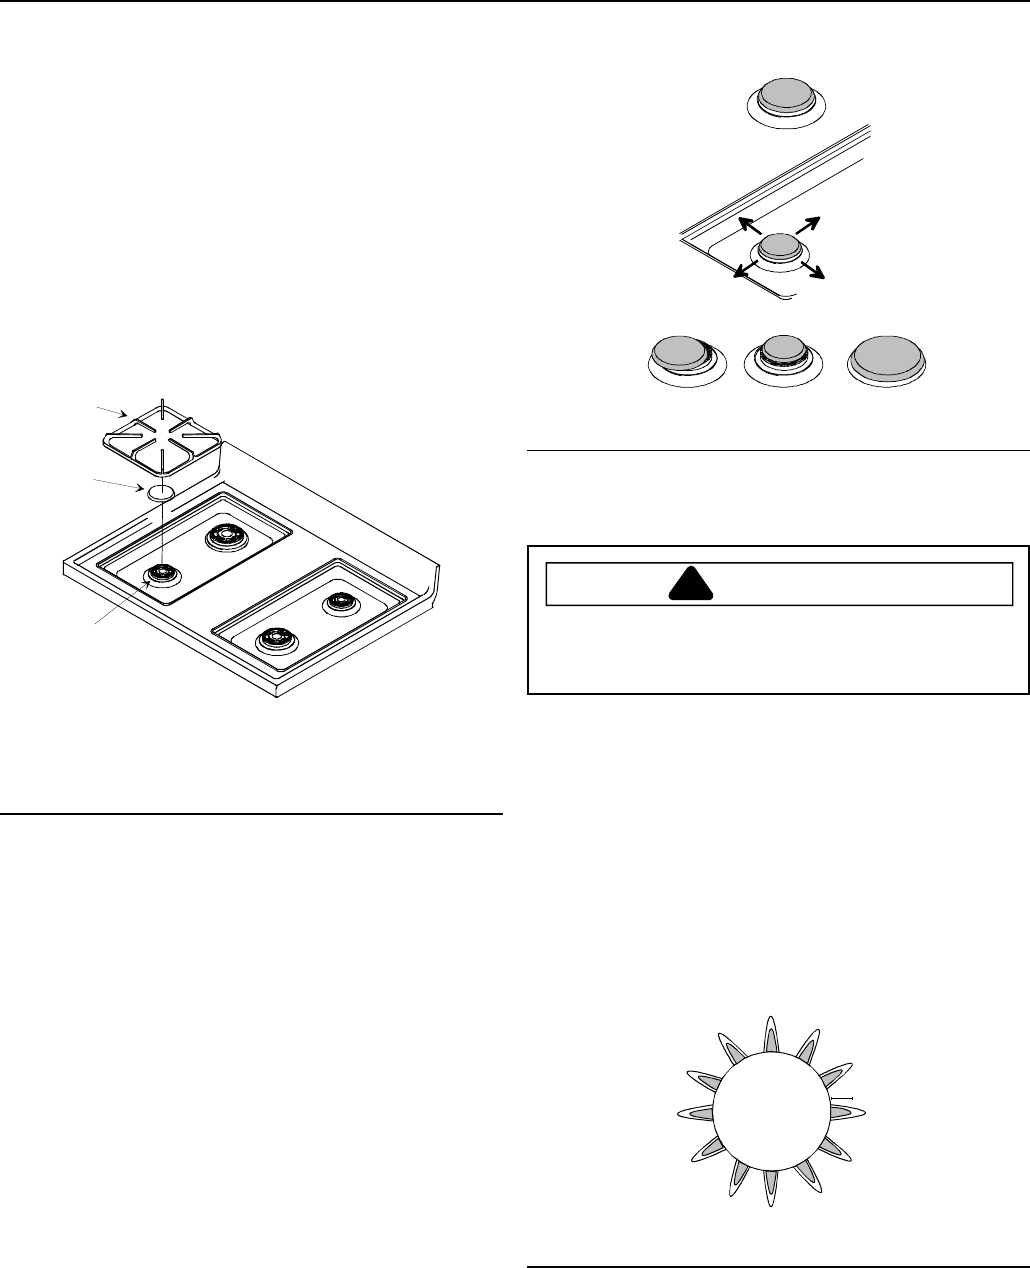
Place Grates and Burner Caps
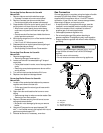
Place burner cap on burner base and grate on rangetop.
A
B
C
A—Burner grate
B—Burner cap
C—Burner base
Place Grates and Burner Caps
Pegs in the burner base fit into recess in underside of
burner cap. To make sure cap is properly aligned and
leveled, move burner cap around on burner base. Burner
cap must be correctly seated on burner base for proper
operation of burner.
Make sure proper cap size is on each burner base.
Burner does not burn properly if wrong size burner cap is
placed on burner base.
Turn on burners to check for proper operation. See
Operating Surface Burners
section for burner operating
instructions.
Correct
Not centered
Too small
Too large
Burner Caps
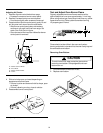
Test and Adjust Surface Burner Flame
WARNING
!
To avoid electric shock that can cause personal injury
or death, disconnect main electrical supply to range
before servicing.
Turn on burner. See
Operating Surface Burners
section
for burner operating instructions. Surface burner should
ignite within 4 seconds. Properly adjusted surface burner
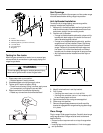
flames are clean and blue with a distinct inner cone
approximately ¼ inch to ½ inch long. Some yellow flame
is normal when burning LP/Propane.
See Adjusting Air Shutter section,
• If burner flame is blowing or noisy, reduce airflow to
burner.
• If burner flame does not hold its shape, increase airflow
to burner.
A
Burner
A—¼ inch to ½ inch long
Surface Burner Flame


