


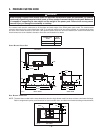
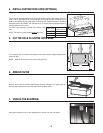

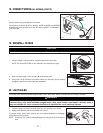
Using a Robertson or a Phillips no. 2 screwdriver, remove both wiring cover
retaining screws (A). Detach it from the power pack and set aside with its screws.
Then, remove both sides screws (B) retaining the front panel to the power pack.
Carefully detach the front panel from the power pack and set aside with its
screws.
HD0365
- 7 -
8. REMOVE WIRING COVER AND FRONT PANEL
A
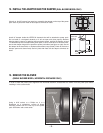
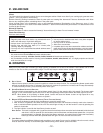
From inside the power pack, punch out the electrical knockout hole on top left
side (C) OR on back left side (D). Install the wire clamp (included in parts bag).
9. REMOVE THE ELECTRICAL KNOCKOUT
B
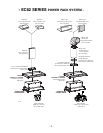
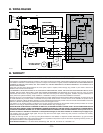
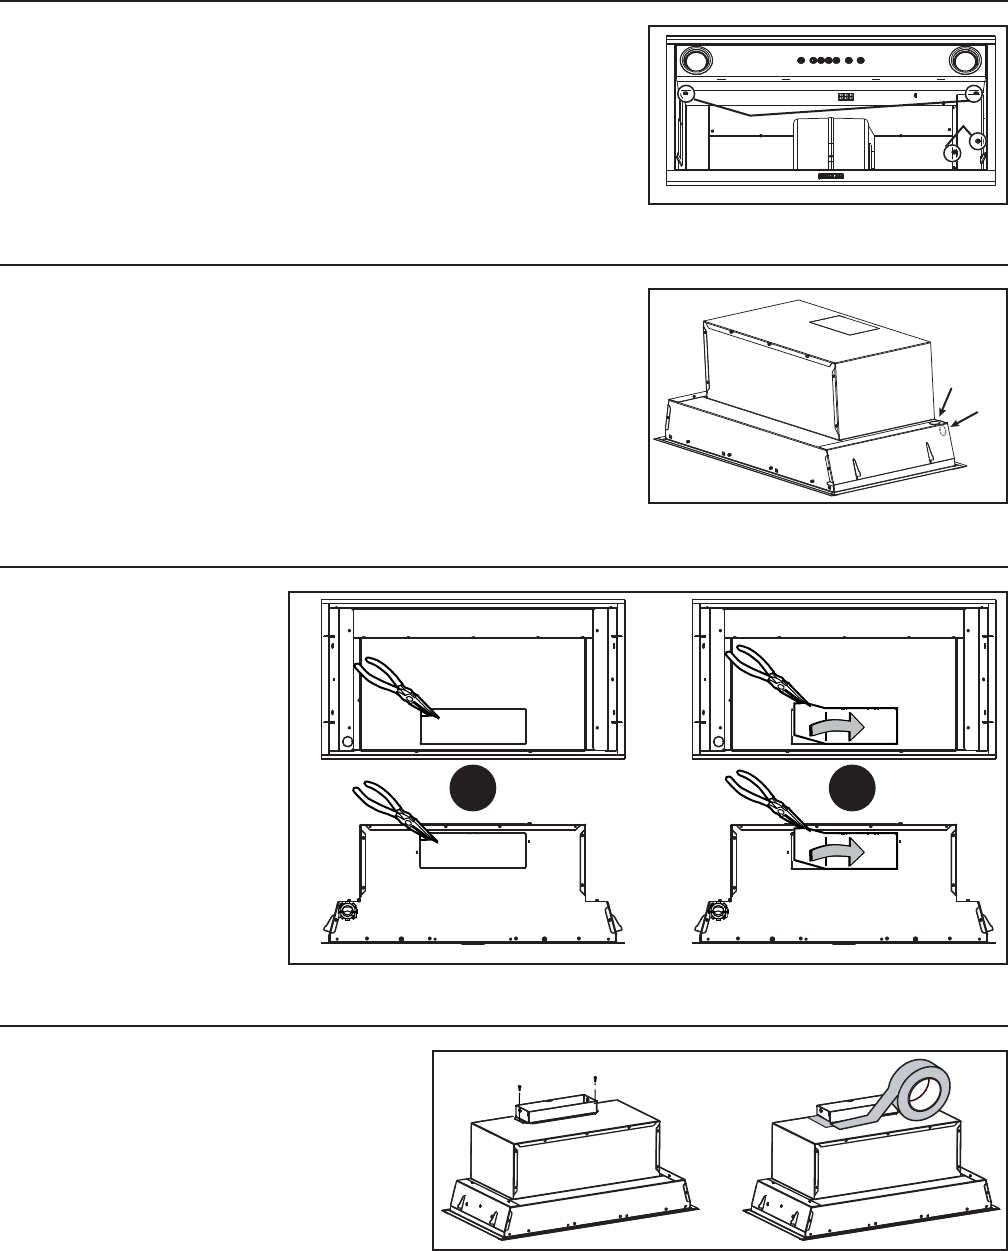
10. REMOVE THE KNOCK-OUT OPENING (SINGLE BLOWER MODEL ONLY)
Remove the knockout opening on
top (vertical discharge installation)
or on back (horizontal discharge
installation) of the power pack.
1
2
HR0037
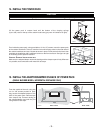
Using 2 no. 8 x 3/8’’ screws provided in parts bag,
secure the adapter/damper to the top of the power
pack. Remove tape from damper flap. Seal the
adapter to the power pack using metal foil duct tape.
11. INSTALL THE ADAPTER/DAMPER (SINGLE BLOWER MODEL ONLY)
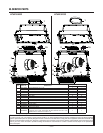
VERTICAL DISCHARGE INSTALLATION
HO0137
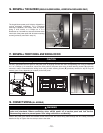
The adapter/damper will be installed on the back of the power pack once the power pack will be mounted in the custom hood.
Refer to step 15.
HORIZONTAL DISCHARGE INSTALLATION
HR0030
C
D