25
J4
J1
J2
J3
J4
J1
J2
J3
J4 J3
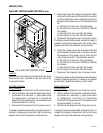
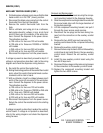
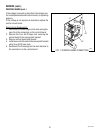
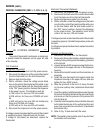
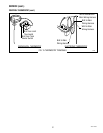
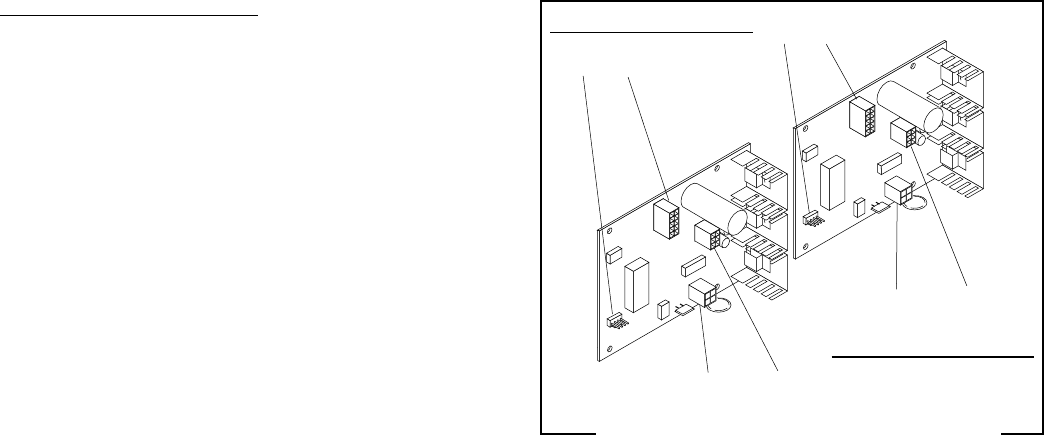
FIG. 13 CONTROL BOARD CONNECTORS
P2637
J1 J2
J1 J2
J4 J3
CONTROL BOARD #1
CONTROL BOARD #2
SERVICE (cont.)
CONTROL BOARD (CONT.)
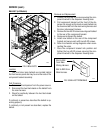
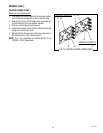
Removal and Replacement:
1. Disconnect the three plugs on the main wiring har-
ness from the connectors on the control board.
2. Remove the four #6-32 keps nuts securing the
control board to the component bracket.
3. Remove control board and discard.
4. Install new control board on the component bracket
using four #6-32 keps nuts.
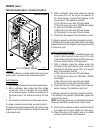
5. Reconnect the three plugs on the main harness to
the connectors on the control board.
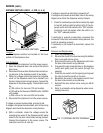
NOTE: J4 is not connected on Control Board #2 on
120/208 - 240V dispensers.
42672 122209


