Page 23
PROGRAMMING THE BREWER (cont.)
PROGRAMMING FUNCTIONS - LEVEL 2 (cont.)
9. When finished, press the other batch size and repeat
step #8.
10. When finished setting both batch sizes, press and
release DONE. The display should read 2 BATCHES
DONE?
11. If both batch sizes are not correct press and release
NO to return to the BREW OZ setup screen and
repeat steps #8, 9 and 10.
12. If both batch sizes are correct, press and release
YES to advance to the SET PULSE BREW function.
(Refer to page 35 for description of the SET PULSE
BREW function.
13. To
SET PULSE BREW press YES and proceed with
the setup instructions for SETTING PULSE BREW,
on page 35.
14. To skip setting the PULSE BREW and to use the
FACTORY DEFAULTS, press NO to proceed to the
DRIP TIMES function.
Procedure for Setting the Recipe:
NOTE: Before beginning setup, place a server beneath
the brew funnel.
1. Insert the funnel into the grinder and select the
small batch size to grind. It is not necessary to have
coffee beans in the hopper(s) in order to program
the brewer. The coffee name is pre-selected and
stored in the grinder’s memory for the side being
ground.
2. Press the GRIND pad. When the grinder stops
grinding, remove the funnel.
3. On the brewer, press and hold the right hidden but
-
ton until the display reads SET LANGUAGE. Press
and release the right hidden button until the display
reads SET NEW RECIPE. Release the right hidden
button.
4. Press and release
YES. The display should read
INSERT FUNNEL WITH NEW NAME, then QUIT SET-
UP? These two displays will repeatedly cycle.
5. Insert the funnel into the rails on the brewer. The
display should read the name of the coffee that was
ground into the funnel, along with a NO and YES.
If the name on the display is correct, press YES.
6. If, for some reason, the name of the coffee from
the grinder did not load properly into the funnel,
or if a grind has not yet been done, the display will
read MUST GRIND INTO FUNNEL FIRST. It will be
necessary to grind another batch following steps
1 and 2.
NOTE: If brewer memory is full, the display will read
RECIPE STORAGE AREA IS FULL and then REMOVE
A FLAVOR? To remove a recipe press and release
YES. Press NEXT to scroll through the stored recipes.
When the display reads the name of the recipe to be
removed, press and release REMOVE. The display
will read REMOVE? Press CANCEL to exit the SET
NEW RECIPE function. Press OK to remove that
recipe. The display will then show BEGIN SETUP
OF (COFFEE NAME). Continue with step 7.
7. If the grind is acknowledged by the brewer, the
display will read BEGIN SETUP OF (COFFEE NAME).
Then the screen will display BREW OZ and a batch
light will be blinking. (Refer to page 34 for descrip-
tion of BREW OZ function).
8. Using
(-) and (+), set the amount of brew water to
be dispensed for that batch size.
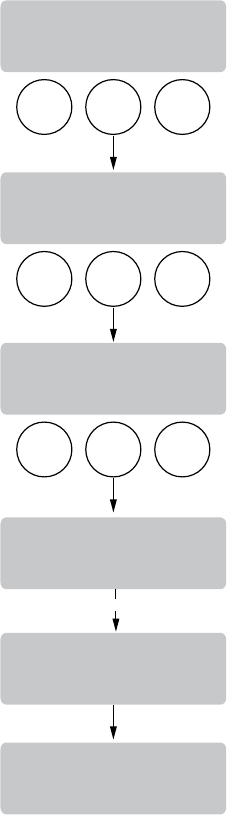
BREW
A
BREW
B
BREW
C
BREW
A
BREW
B
BREW
C
BREW
A
BREW
B
BREW
C
5 SEC.
SET PULSE BREW
NO YES
BREW OZ XX.X
(-) DONE (+)
DRIP TIME XX.X
(-) DONE (+)
(COFFEE NAME)
SETUP COMPLETE
THAT WAS THE
LAST RECIPE
MASTER TEMP XXX°
NO YES
P2855
36748 051304


