


15
SERVICE (CONT.)
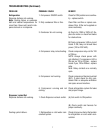
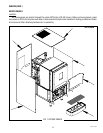
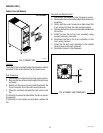
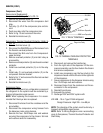
Ballast (JDF-2S,4S)
P1684.40
FIG. 3 BALLAST
Location:
The door lamp ballast is located inside the dispenser
door mounted in the center of the door rear cover.
Test Procedure:
1. Disconnect the dispenser from the power source.
2. Disconnect a black and blue wire from one set of
lamp sockets.
3. Connect an ohmmeter to the end of each wire.
4. Check for continuity between the two wires.
If continuity is present as described, the ballast is
operating properly.
If continuity is not present as described, replace the
ballast.
5. Check for continuity between the other pair of black
and blue wires.
Removal and Replacement:
1. Disconnect the dispenser from the power source.
2. Remove door cover by taking out the 5 screws and
unplug the dispense switch harness from the door
harness. Set door cover and screws aside.
3. Disconnect the 3-pin connector from the ballasts
to the door harness.
4. Remove fluorescent bulbs from the brackets. Pull
off the four snap-in light sockets from the light
panel.
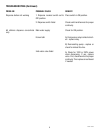
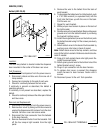
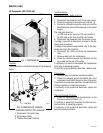
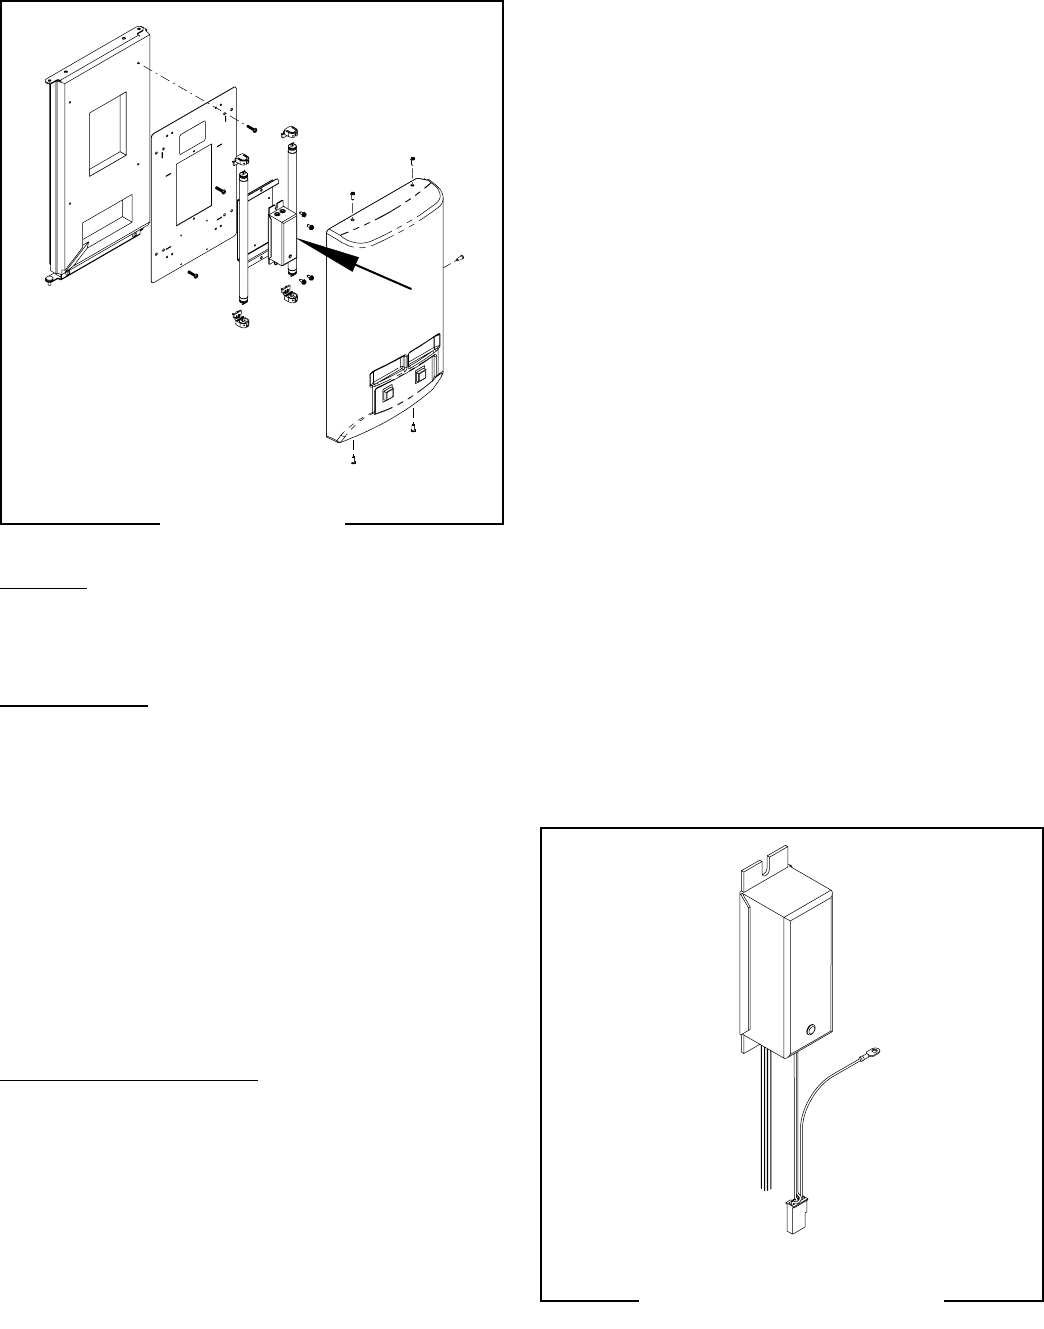
FIG. 4 BALLAST TERMINALS
P1219
5. Remove the wire to the ballast from the back of
each bracket.
6. To disengage the ballast wire from the bracket, push
a 1/16” allen wrench (or equivalent tool) into the
front hole that lines up with the wire in the back.
Pull the wire out.
7. Repeat for each bracket.
8. White jumper must remain in place on the back of
the light socket.
9. Remove screws from each ballast. Remove the green
ground wire from the ballast bracket by removing
the bracket’s bottom screw.
10. Install the single ballast (wires on the bottom) onto
the ballast bracket using 2 of the screws previously
removed.
11. Attach ballast wires to the back of bulb sockets by
pushing wires into holes in back of socket.
Note: Attach black wires to the top sockets, and blue
wires to the bottom sockets. Reference electrical sche-
matic if needed.
12. Snap all 4 bulb sockets back onto light panel. Re-
install fluorescent bulbs.
13. Attach green ground wire to the bottom hole of the
ballast bracket using 1 screw.
14. Plug in 3-pin connector into the door harness.
15. To replace door cover, re-connect the dispense
switch harness to door harness. Fasten with 5
screws.
16. Reconnect power to the unit. Test operation.
JDF-2S shown
49179 110613