


40
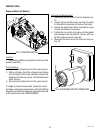
SERVICE (CONT.)
LED Lamps (JDF-2S, JDF-4S)
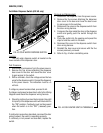
Removal and Replacement:
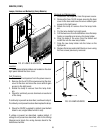
1. Disconnect power from the dispenser.
2. Remove the five #6-32 screws securing the door
cover to the door.
3. Carefully lower the door cover and disconnect the
lamp terminals from the LED regulator board.
4. Remove and discard the faulty LED board.
5. Install a new LED regulator board exposing the
adhesive backing.
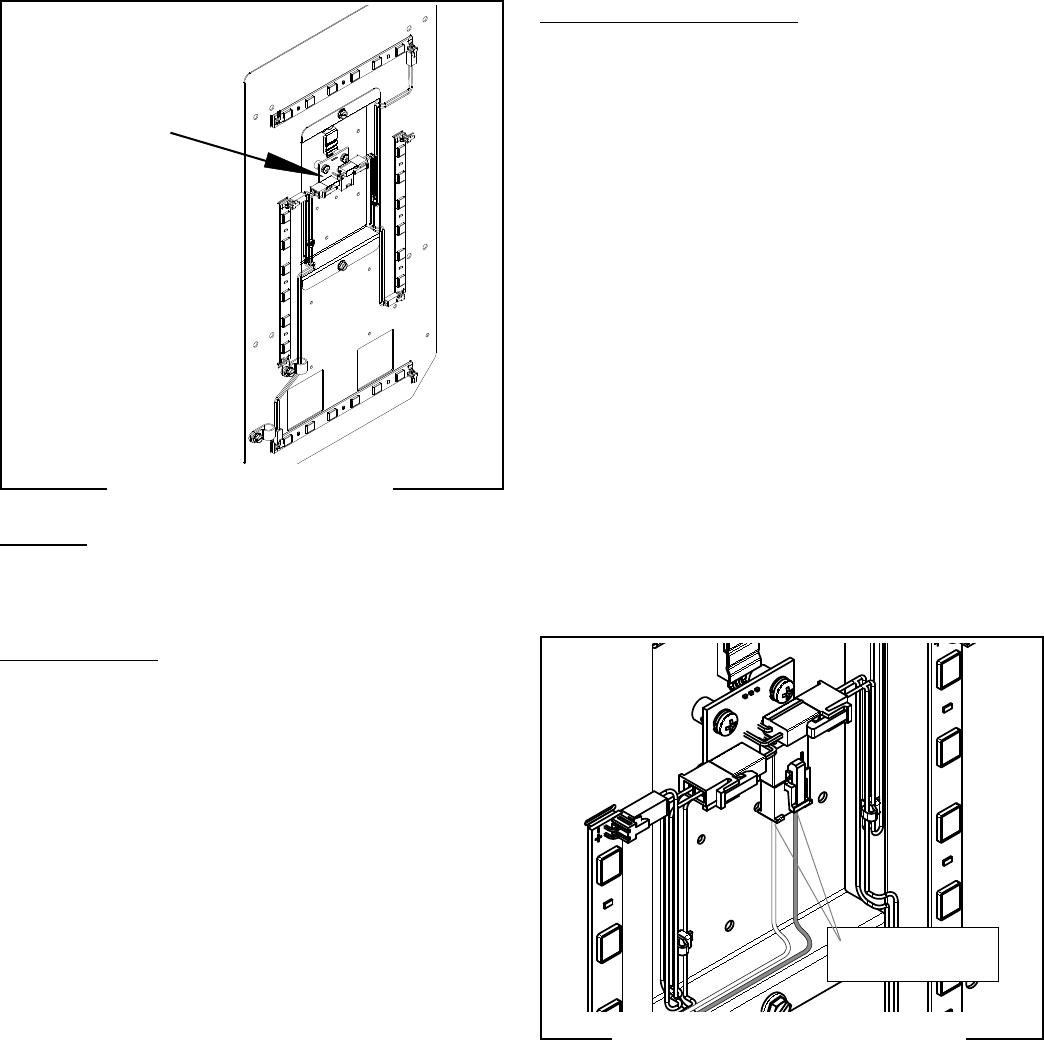
6. Refer to Fig. 54 and reconnect wires to the LED
regulator board.
7. Replace the door cover and secure with the five
#6-32 screws.
8. Return power to the dispenser.
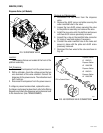
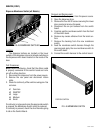
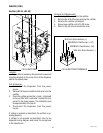
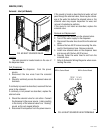
FIG. 54 LED DOOR LIGHT WIRING
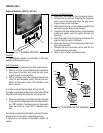
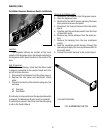
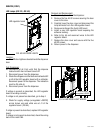
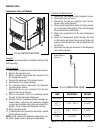
FIG. 53 LED DOOR LIGHTS
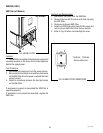
Location:
The LED door lights are located inside the dispenser
door.
Test Procedures:
No illumination at all: First verify that the dispense
lockout switch has not been turned off!
1. Disconnect power from the dispenser.
2. Check the voltage across the black and red leads ofJ2
or J3 at the LED regulator board with a voltmeter.
Reconnect power to the dispenser. The indication
must be 24 volts dc.
3. Disconnect power from the dispenser.
If voltage is present as described, the LED regulator
board is working correctly.
If voltage is not present as described, go to step 4.
4. Check for supply voltage (unregulated +30VDC)
across brown wire and white wire at J1 of the
regulator board. (FIG 54).
If voltge is present as described, replace LED regulator
board.
If voltage is not present as described, check the wiring
back to the main CBA.
White to brown
unregulated +30VDC
J1
J2
J3
LED regulator board
49179 110613