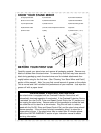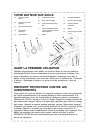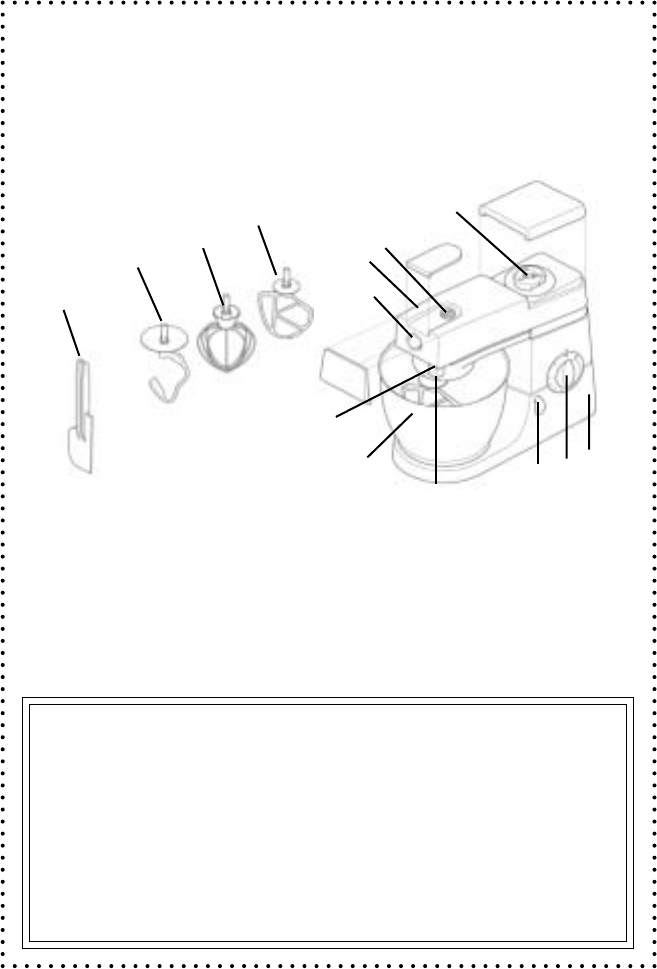
KNOW YOUR STAND MIXER
A) High-Speed Outlet
B) Citrus Juicer Outlet
C) Low-Speed Outlet
D) Attachment Outlet
E) Mixer Head
A
B
C
D
F) Outlet Catch
G) Stainless Steel Bowl
H) Head-Lift Lever
I) On/Off, Pulse and Speed Control Dial
J) Body
K) Non-Stick Flat Beater
L) Stainless Steel Whisk
M) Non-Stick Dough Hook
N) Spatula
O) Outlet Covers (1, 2, 3)
F
G
H
K
L
M
N
Your stand mixer is equipped with an Overload Protection Device that will
automatically terminate operation if overloaded. If the Overload Protection Device
is activated, turn the On/Off, Pulse and Speed Control Dial to the “O” position and
then unplug the stand mixer. Remove some of the ingredients to reduce the load,
then allow the unit to stand for a few minutes. Plug the unit back in, select a
speed with the On/Off, Pulse and Speed Control Dial, and the stand mixer should
resume operation. If the unit does not start immediately, allow it to stand for a
longer period of time. If the stand mixer fails to restart after 20 minutes please
refer to the LIMITED WARRANTY section of your instruction manual to obtain
servicing information.
OVERLOAD PROTECTION DEVICE
O-1
O-2
O-3
J
BEFORE YOUR FIRST USE
Carefully unpack your stand mixer and remove all packaging material. Remove any
labels or stickers from the stand mixer. To remove any dust that may have accumu-
lated during packaging, wash the stand mixer and its included attachments thor-
oughly before using for the first time. (See “Cleaning Your Stand Mixer and Parts”)
section of this manual).
Note:
You may find a small amount of grease on the outlets.
This is normal and it will not affect the performance of your machine. Just wipe the
grease off with a paper towel.
E
I


