38
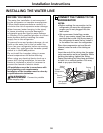
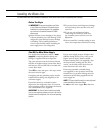
Attach the fitting with the male thread supplied
with the water supply kit to the shutoff valve (or
pressure limiting valve, if fitted), and tighten.
NOTE: PTFE tape should be used for a water tight seal
when assembling all the above fittings.
Route the tubing through a hole drilled in
the side of the cupboard as close to the wall
as possible.
Make sure there is sufficient length of tubing
[approximately 240 cm coiled into 3 turns of
approximately 25 cm] to allow the refrigerator
to move out from the wall after installation.
Insert and push the end of the tubing into the
fitting as far as possible.
With the free end of the tubing located in a
suitable container, turn the main water supply
On and flush out the tubing until the water
is clear.
Turn Off the shutoff valve after approximately
1 litre of water has been flushed through the
tubing.
Connecting the Tubing to the Shutoff Valve
Installing the Water Line (cont.)
Connecting the Tubing to the Refrigerator
Before making the connection to the refrigerator,
be sure the power is turned OFF and the power
cord is disconnected from the Power Outlet.
If your refrigerator does not include a water
filter, we recommend installing one in the
water line near the refrigerator if your water
supply has sand or particles that could clog
the screen of the refrigerator’s water valve.
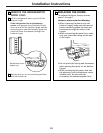
Remove the refrigerator access cover.
Remove the plastic flexible cap from the water
valve (refrigerator connection).
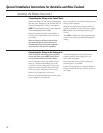
Attach the fitting with the female thread
supplied with the water supply kit to the
water valve and tighten.
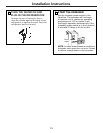
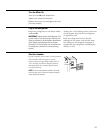
Insert and push the end of the tubing into
the fitting as far as possible.
Fasten the tubing into the clamp provided to
hold it in position. You may need to pry open
the clamp.
Special Installation Instructions for Australia and New Zealand.


