


SECTION 2: INSTALLATION/OPERATION INSTRUCTIONS
OPERATION INSTRUCTIONS
PREPARATION:
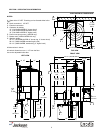
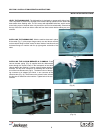
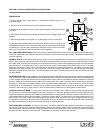
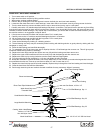
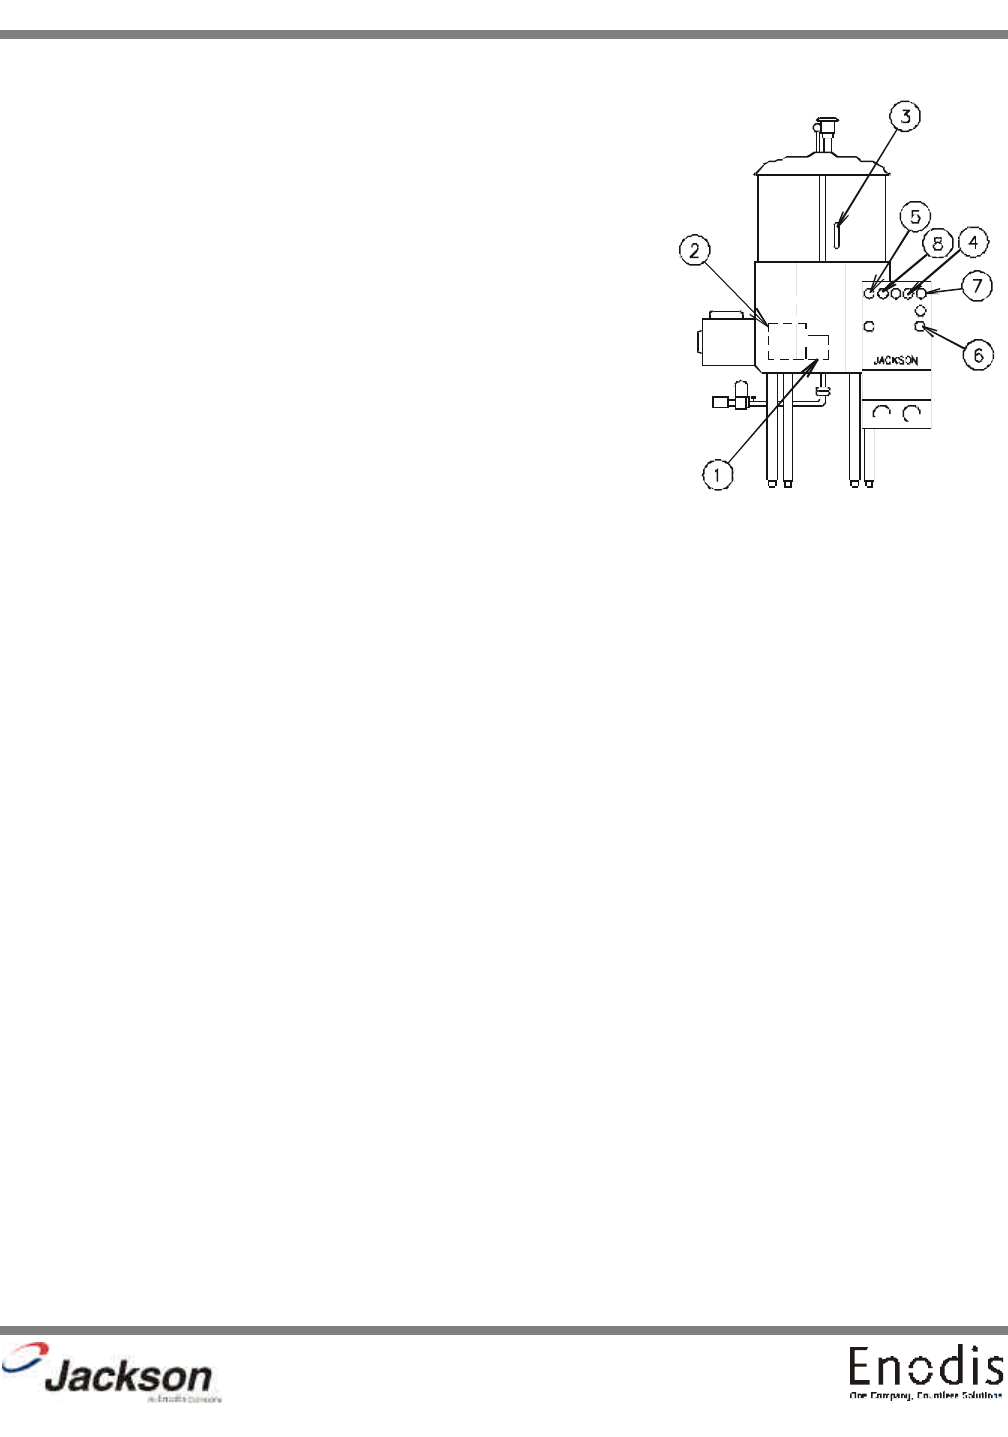
1. Ensure that the pump intake strainer (1) and basket overflow strainer (2) are
inserted and tight.
2. Ensure that the wash and rinse arms are installed and secure.
3. Remove all solid wastes in order to avoid obstructing filters, drain and wash and
rinse arms.
4. Ware that is encrusted with soil should be presoaked prior to being placed in the
machine.
5. When placing dishes into the racks, do not allow them to lean on each other.
6. Place the glasses upside down in the open rack. With the model 10 series, a four
compartment silverware rack is supplied. Place silver in compartment rack loosely
not allowing it to mix with other silverware of the same nature. Place the compart-
ment rack in the open rack and wash with the cups and glasses.
DAILY MACHINE PREPARATION: Refer to the section entitled “PREPARATION” at the top of this page and follow the instruc-
tions there. Afterwards, check that all of the chemical levels are correct and/or that there is plenty of detergent available for the
expected workload.
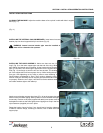
WARM-UP CYCLE: At the beginning of each work day, a warm up cycle will need to be performed. Close the hood (3). Turn
on the master switch (4). Raise the fill switch (5) until the machine is filled to the top of the basket overflow strainer (2.) Once
the proper water level has been reached, turn on the heater switch (6). Observe the temperature gauges, the rinse tempera-
ture should rise to a specified level of 180°F within five minutes if the incoming water to the booster tank is 140°F. The wash
heater will take longer to reach 150°F as the element is designed for maintaining temperature, not heating. Once the proper
temperature has been reached, with the hood closed, turn on the manual wash switch. You should hear the water being
pumped as it strikes the top of the hood. Turn off the manual wash switch. The dishmachine is now ready to proceed with wash-
ing of the dishes.
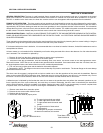
WARE PREPARATION: Proper preparation of ware will help ensure good results and less re-washes. If not done properly, ware
may not come out clean and the efficiency of the dishmachine will be reduced. It is important to remember that a dishmachine
is not a garbage disposal and that throwing unscraped dishes into the machine will defeat the purpose altogether of washing
the ware. Scraps should be removed from ware prior to being loaded into a rack. Pre-rinsing and pre-soaking are good ideas,
especially for silverware and casserole dishes. Place cups and glasses upside down in racks so that they do not hold water
during the cycle. The dishmachine is meant not only to clean, but to sanitize as well, to destroy all of the bacteria that could be
harmful to human beings. In order to do this, ware must be properly prepared prior to being placed in the machine.
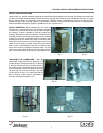
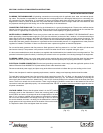
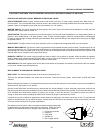
WASHING A RACK OF WARE: To wash a rack, open the hood completely (being careful for hot water that may drip from the
top of the hood), manually load detergent into the wash chamber, or if automatic detergent dispenser is used, follow the man-
ufacturers instructions. Slide the rack of dishes into the dishmachine. Close the hood. Start the automatic wash and rinse cycle
of the dishmachine by flipping the start switch (7) either up or down (NOTE: The start switch, is a three position switch. Up =
Start, Center = Off, Down = Start) the indicating light (8) will come on at the start of the cycle. When the light goes off, the cycle
is complete. Open the hood, remove the rack of clean dishes to air dry. Repeat the cycle by adding another rack of soiled dish-
es, adding the detergent, close hood and flip start switch (8) in opposite direction.
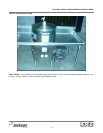
SHUT DOWN AND CLEANING: At the end of meal time, shut off the dishmachine by placing the start switch in center posi-
tion and turn heat switch off. Drain the dishmachine by removing the overflow strainer. Remove the pump intake strainer after
water has drained. Clean both strainers. Clean the inside of the unit. Clean wash head, upper and lower rinse arms and replace
the clean strainers. Replace all removed parts. The machine is now ready for refilling and operation.
12