


AJ-44C Series Technical Manual 7610-001-76-22
Issued: 03-21-2006 Revised: N/A
SECTION 2: INSTALLATION/OPERATION INSTRUCTIONS
CHANGING THE AJ-44CE/CS DIRECTION OF TRAVEL (CONTINUED)
37
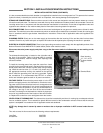
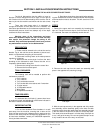
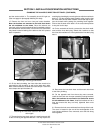
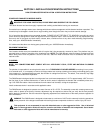
and the strainer within in. The assembly should lift right out.
(See next page for photograph detailing this step)
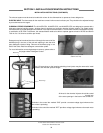
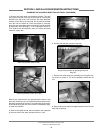
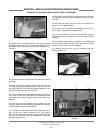
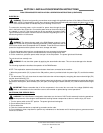
15. Remove the front and rear rinse pan locator brackets.
Note: the brackets are mounted to the bolts that secure
the tub weldment to the frame. Once the locknuts are
removed, pull the locator brackets off and immediately replace
the locknuts back onto the bolts. Failure to do so at a minimum
may cause excessive leaking of the tub once the unit is placed
back in operation.
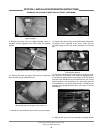
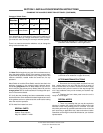
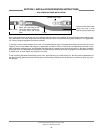
16. On the drain plumbing, the rinse drain tube needs to be
removed from the plumbing, as well as the wash drain tube.
Both of these tubes are secured with hose clamps. Loosen the
hose clamps and pull the tubes off.
17. The tee that the rinse drain nipple is in must be turned 180°
so that it is facing the opposite direction. This may require dis-
mantling the plumbing by removing the tee with the wash drain
barb in it. Put the plumbing back together, after ensuring that
the rinse drain tee has been rotated. Use thread tape to pro-
tect the threads while putting the plumbing back together.
Ensure that the wash drain barb is in the exact same position
it was prior to this step.
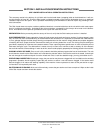
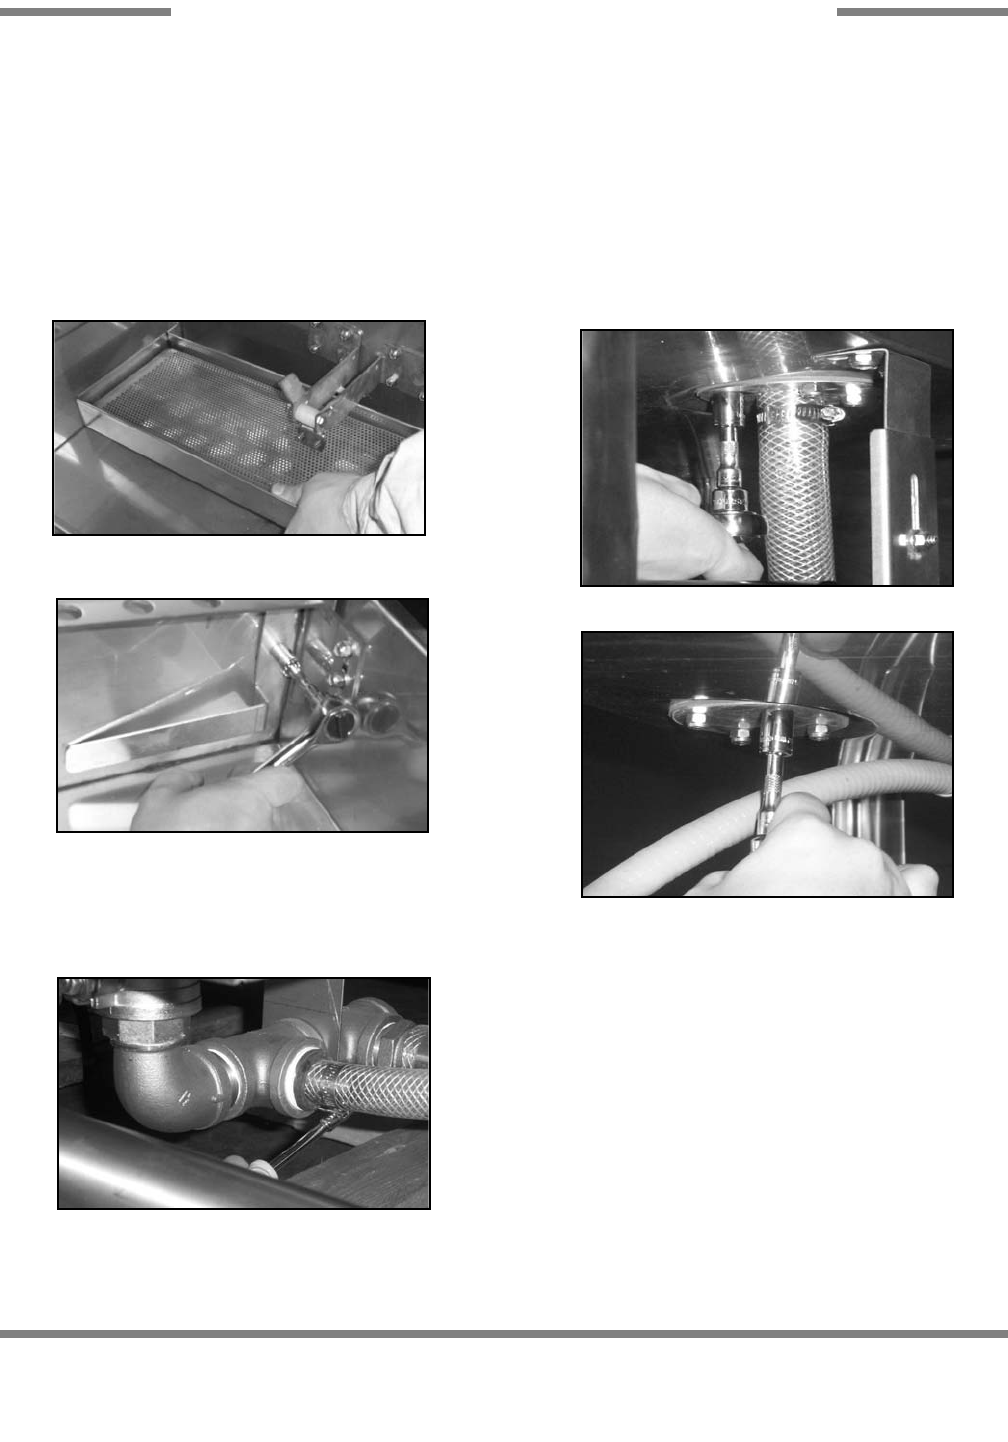
18. On the underside of the tub, remove the rinse drain weld-
ment and the rinse drain plug. Switch their locations so that
the rinse drain weldment is in the spot that the rinse drain plug
was in.
19. Reconnect the rinse drain hose and the wash drain hose
to the drain plumbing.
20. On the opposite end from where they were removed,
install the front and rear rinse pan assembly locating brackets.
Note: the brackets are mounted to the bolts that secure
the tub weldment to the frame. Install the brackets one at a
time and ensure that they are firmly tightened down once
installed.
21. Remove the hole cover weldment from the top of the hood.
The cover is located on the end of the hood opposite of the
rinse injector weldment. Once removed, set to the side along
with its gasket.
Lifting out the rinse tray assembly
Removing a rinse tray guide bracket
Loosening the rinse drain hose from the rinse
drain nipple
Removing the rinse drain weldment
Removing the rinse drain plug